

Goodbye, Messy Garden Tools: The Easy DIY For A Cheaper Outdoor Storage Solution
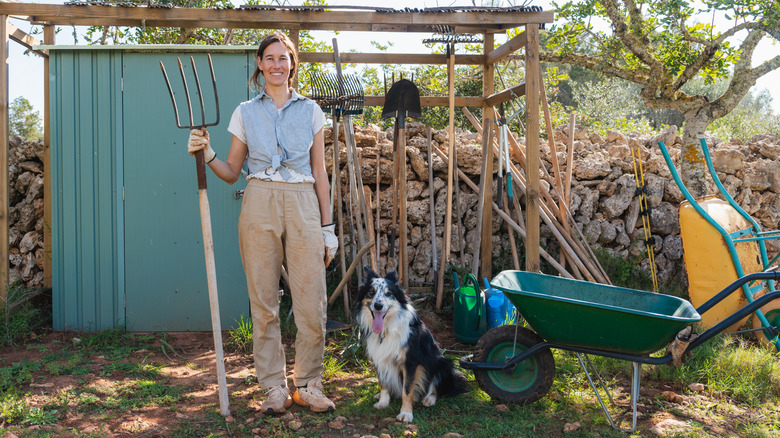
If you love gardening or looking after your yard, you may have found that your long-handled tools such as rakes, shovels, and digging forks have begun to build up and become cluttered in your shed or yard. Now, while there are plenty of suggestions out there for organizing garden tools — from purchasing hanging racks to buying bulky, freestanding organizers — there is actually one quick DIY that can save you money and make your tools much less messy than before. Believe it or not, the main component of this project is a barrel or drum.
Yes, by taking a large, plastic drum, drilling holes in the lid, and filling the bottom with a heavy material such as rocks, you can create a sturdy, portable organizer for all your long-handled tools. This simple project is relatively affordable because plastic barrels can be sourced from local factories for as little as $15 or online for a similar price. You will also need a drill with a hole saw attachment and a simple marker, which will allow you to outline the holes before you drill them to make sure they are evenly spaced.
Finally, you should also have some protective equipment for added safety when drilling the holes, such as a pair of gloves and some goggles. This DIY storage is helpful because it is portable, doesn't take up wall space in your shed, and helps to keep tools separate and easy to locate. With that in mind, let's walk through the key aspects of this DIY and how you can do this yourself to keep all your gardening essentials organized.
How to make a tool holder out of a plastic drum
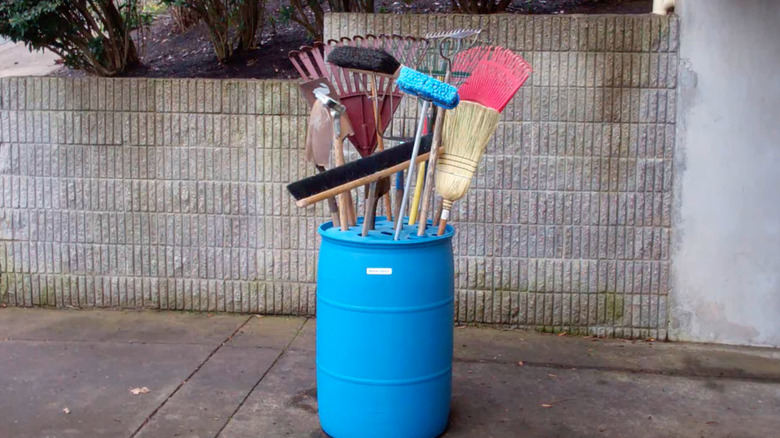
After you have gathered all the materials listed above, your first step in this DIY that'll organize your tools is to clean out the drum to get rid of any leftover materials. This is particularly important if you sourced the drum from a local company, as it would likely have been used for other purposes and there may be some residue left inside.
After your drum or barrel is clean, mark out where you want the holes in the lid to be, making sure to count your garden tools to ensure there are enough holes for the amount you want to store. Then, using the hole saw attachment on your drill, make multiple holes in the lid where you marked. If you do plan to put this DIY storage unit outdoors, make sure to also drill a few small holes in the bottom of the barrel to ensure any precipitation doesn't pool in the bottom.
Then, you want to fill the bottom of the barrel with something heavy to make sure it doesn't topple over, such as river rock or gravel. Just remember that whatever you fill the drum with needs to be in small pieces so that the tool handles can slide in between them easily. Make sure to put enough in that the drum will be stable but not so much that you won't be able to move it as needed. Finally, you can start adding your tools to the open slots! It is likely a good idea to put the tallest ones near the center so that you don't have to reach over them to access the shorter ones.