

Turn An Old Frying Pan Into An Adorable Storage Basket With A Savvy DIY
We may receive a commission on purchases made from links.
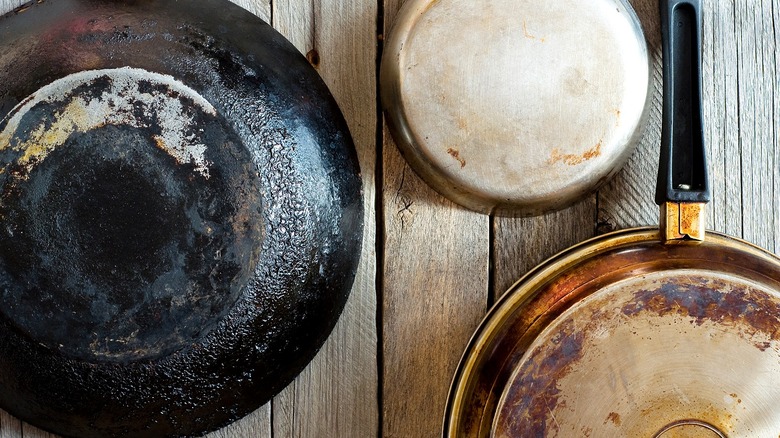
During their use, frying pans can take a bit of a beating, including burned bottoms from overcooked food, scrapes from metal utensils, and even the occasional ding from being shoved in a cabinet. Like with any piece of cookware that's become too worn, your first thought may be to bid farewell to that old frying pan, and replace it with a brand new one. But before you retire it, consider giving it new life by upcycling it into a stylish storage basket for your home.
YouTuber DIY Lena shared a creative way to do this by using only popsicle sticks, cardboard, cotton rope, and decorative fabric. She even incorporated bottle caps and wooden beads as decorative feet for the basket. The design has a detailed weaving pattern, which becomes easier to follow once you get the hang of the over-under rhythm. The result? A basket that fits right in with some of the best storage ideas for keeping small items organized without hogging space.
All the project's supplies are available on Amazon or at craft stores. For example, you can get a 50-foot bundle of Amazon Basics Cotton Braided Rope for $6, while the Jdesuna 50-piece Wooden Bead Set is $7.99. Additionally, a few other items to gather include (beige) paint, a paint sponge, craft fabric, 4 plastic bottle caps, a hot glue gun, scissors, and pliers. You'll also need a bowl with a rim that's about half to a third of the size of the pan's base, and a cardboard piece large enough to trim to this size.
How to turn a frying pan into a basket
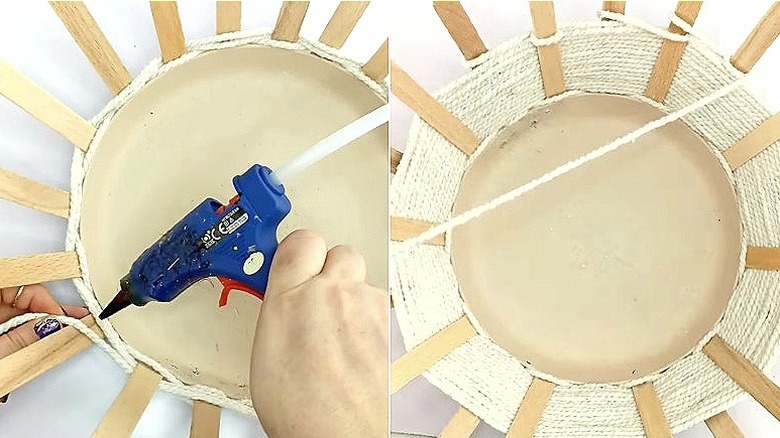
The first step for this project involves creating the basket's base. Clean the frying pan, making sure it's grease-free. This will prevent the finish from appearing blotchy or peeling prematurely. Next, add one or two coats of paint on both sides of the pan using the paint sponge. Afterward, paint the beads and bottle caps as well, then set them aside. Once the pan dries, remove the handle using pliers, if needed. The next step is to build the basket's wall.
Place one popsicle stick vertically on the outer edge of the pan, securing the stick near its bottom inch with glue. Repeat this step all the way around the pan, spacing each stick roughly the width of two sticks apart. These will serve as the basket's spokes or stakes. Next, grab your rope (or cord) and make a knot around the bottom of one popsicle stick where it meets the pan's edge. Then, create rows of rope by threading it over-and-under the consecutive sticks. Work your way around the pan, using your fingers to pull the rope snug at each pass. As you do, keep each new row pressed firmly against the previous one.
At the third row, add a bead of glue to the rope (at a popsicle stick), before adding the next row. Doing so will prevent the rope from loosening or shifting later on. Once the rows of rope reach the halfway point on the sticks, wrap the rope around each individual stick, creating a single row of this pattern. Cut the rope, securing it to a stick with glue. Then, picking back up with the rope roll, continue building rows up the rest of the sticks using the previous over-under weaving method.
Add fabric, build the base, and customize
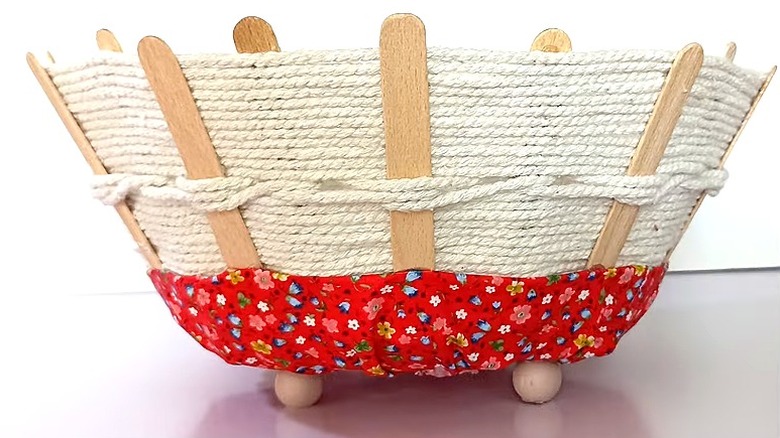
Cut a piece of fabric wide enough to wrap around the entire lower third section of the basket, and long enough to cover most of the base — sort of like a skirt. Next, glue the fabric around the basket at the top and bottom edges, hiding the frayed strings with a small ½-inch fold. This will create a bit of a pleated look toward the bottom, so be sure to straighten the pleats and space them evenly. Cut out a cardboard piece using your bowl's rim as the outline.
Use the same bowl with the fabric, but make the circle about 3 inches bigger all the way around. Next, create 1-inch slits around the excess fabric edges, spacing them an inch or so apart. Place the cardboard circle onto the underside of the fabric circle, then fold the excess edges snugly over the back of the cardboard, securing them together with glue. This will serve as a base attachment.
Glue the fabric-covered circle to the basket's underside, with the printed side facing out. For the basket's feet, glue one bead to the top of each bottle cap, and then glue these four pieces to the basket's base attachment, spacing them out evenly. And you're done!
Once you have the DIY down, consider exploring other design options, like sewing beads into the basket. Create other looks by switching up the weaving pattern, or making it more intricate. Other options include placing the fabric up top, or even adding multiple rope/cord colors, alternating rows (or several) for a modern or timeless look. And, perhaps, instead of beads and bottle caps as feet, you opt for brass feet or black round rubber legs. (Check out a similar DIY that upcycles metal lids into flower baskets.)