

Goodbye, Runaway Rocks: The Smart Feature That Keeps Gravel Driveways In Check
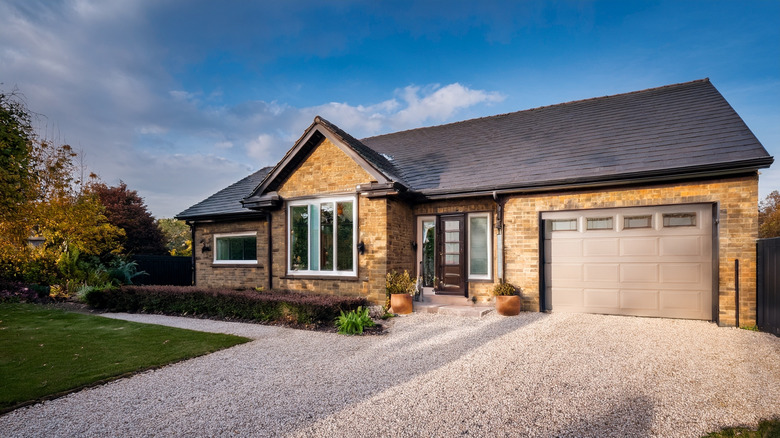
Gravel driveways offer multiple benefits for homeowners; they are relatively inexpensive to install and provide good drainage, and are easy to replenish and repair. But one annoying downside is the tendency for gravel to migrate to places that aren't your driveway.
Gravel can wash away with the rain, but individual gravel rocks can take a leave of absence just about any time a vehicle drives up or down your driveway. Some homeowners have found a scaled-down version of a highway rumble strip the answer to fleeing gravel. A rumble strip at the end of your driveway also gives it a neater, more finished look.
Driveway rumble strips are much more widely used in the United Kingdom than in the United States; some local U.K. governments even require them to keep gravel from spilling into the road. Rather than the grooves made in the road that make noise when vehicles drive over them and cause the vehicle to shake, driveway rumble strips typically consist of paving materials, such as cobblestones or block pavers, that cause a gentler vibration, but one that's sufficient for shaking gravel loose from the vehicle. You can simply sweep gravel that has dropped onto the rumble strip back into the driveway. The strip is an attractive and functional way to add driveway curb appeal.
How to install a rumble strip for your gravel driveway
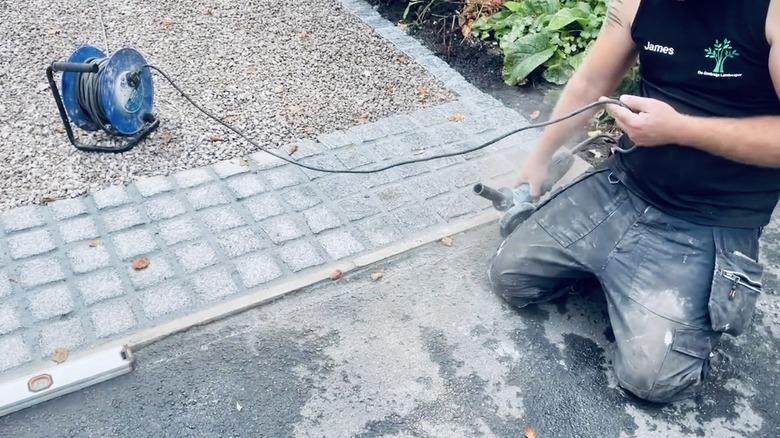
To install a rumble strip at the end of your gravel driveway, first choose your paving materials. Since cobblestones are a low-maintenance material that gives your driveway an upscale, historic look, they're a great choice. The same can be said of their square counterparts, cobble setts. Clear the area of debris and excavate a 4- to 6-inch deep strip across the driveway entrance as your strip's foundation, digging deeper if the area drains poorly. Apply a 3-inch to 4-inch base layer of gravel or crushed stone in the excavated area, compacting it firmly. This layer enables the rumble strip to absorb the shock of frost heave.
Spread a generous mortar bed over the base layer, allowing room for your paving materials. Set your paving materials into place in the mortar. Ensure a snug fit by tapping each piece into place with a rubber mallet. Allow gaps of 5/16 inch to 5/8 inch between paving pieces.
Apply a sand-cement joining mix (one part of each), using a pointing tool to fill gaps between pieces of paving material. An often neglected detail at this point is installing a hidden steel edge between the paving portion and gravel portion of the driveway; paving material can shift out of place without it. Allow the rumble strip to cure for at least 3 to 7 days before allowing vehicle traffic on it. For further issues with straying gravel, check out more ways to keep your gravel driveway secure and locked in place.