

No More Messy Counters: Upcycle An Old Frying Pan Into Stylish Storage With A DIY
We may receive a commission on purchases made from links.
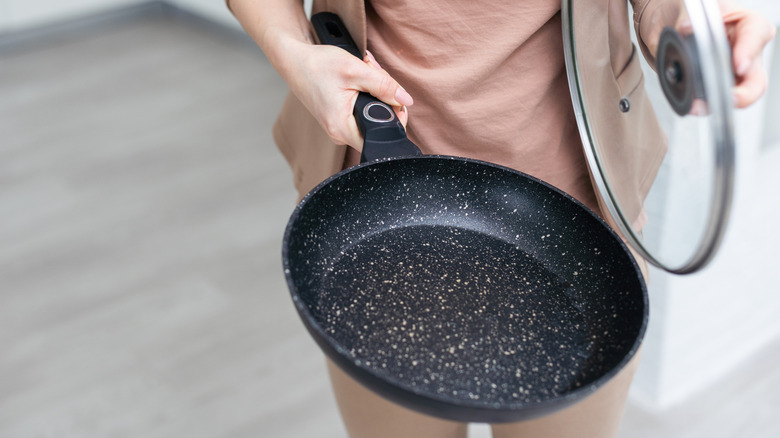
How can you tell that your old frying pan is at the end of its life? It's probably warped, scratched, has Teflon flaking off, and the food stays stuck on. But that pan doesn't have to head to the trash. You can instead turn your old frying pan into good-looking countertop storage with a savvy DIY and easy decoupage. All you need is that old scuffed up frying pan, recycled jar lids, metallic bottle screw caps, decorative paper napkins, and lots of patience and creativity. Other necessary supplies include acrylic paint, super glue, fast-acting glue with activator spray, Mod Podge, and decorative paper napkins. Tool-wise, you'll require scissors, screwdriver, paint brush, and a sponge brush.
This DIY will transform the pan into a storage bowl, and turn the jar lids into its decorative feet. After that, you'll decoupage the pan with handcrafted farmhouse style decor. Beyond saving money, this DIY also gives new life to an item that would otherwise be trash and gives you eco-friendly sustainable interior decor and storage. More so, the end product is very versatile. It can hold anything from produce and toiletries to craft supplies and keys and wallets
How to DIY a countertop organizer from an old frying pan
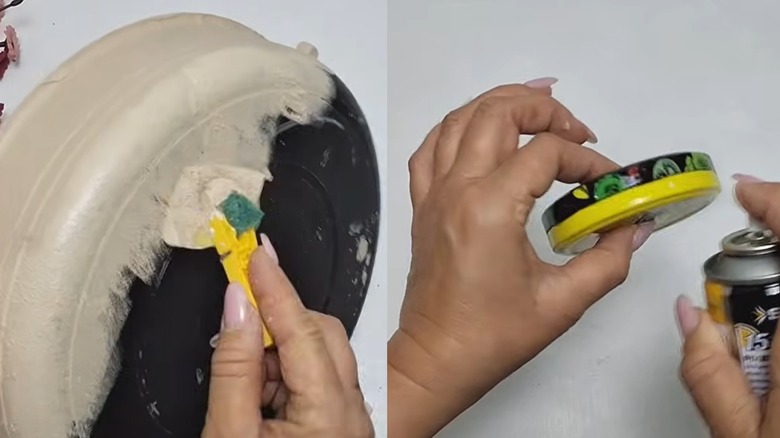
To get started, first, unscrew the frying pan's handles and cover the entire pan in a coat of acrylic paint using a sponge brush or traditional bristle brush. After the first coat dries, spread a second coat for better coverage. Next, glue the metallic bottle screw caps on the handle's two mounting holes and paint it too. For a more rustic finish, instead of the bottle caps, furnish simple handles using small but sturdy branches, which you can leave unpainted if desired. Just drill a hole through the middle point of the branch then pass a screw through and onto the side of the pan where the original handles were.
Now time to make decorative feet. You can follow the YouTuber's lead and use metal jar lids. To do so, run a line of super glue on one lid's rim, then press a second lid into it till you make a solid puck. Use the fast-acting glue with activator spray to enhance bonding and repeat this with the other lids till you have four matching feet. Paint them, then turn the frying pan upside down, and glue in a square near the center of its base. Alternatively, you can also use four little wooden door knobs glued at the bottom along the edges. Or go for a chunky wood candle stick holder or simply a block of wood. With that, you're ready to creatively use decoupage to jazz up this storage item.
Adding the finishing touches to your old frying pan countertop organizer
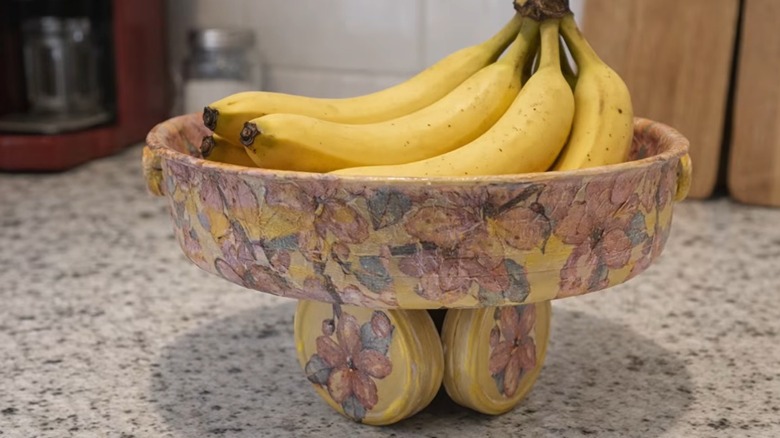
First cut a piece or two of your decorative napkins around their motifs, and use them to decoupage the metallic jar lid feet using Mod Podge. Next, decoupage the inner surface of the pan. Apply Mod Podge and spread the fancy napkin layer atop it. Finally, cover the outer surface with more paper motifs, overlapping their edges for a natural look. Remember to spread a layer of Mod Podge over the work of art and leave it to dry.
To give a vintage touch, apply hints of gold paint over the entire organizer. Now finish by brushing the entire surface with acrylic varnish. This will make the glue and napkin layer more durable for everyday use. Once dry, place whatever you desire in your beautiful raised countertop basket.
To elevate this DIY further you can mix baking soda to your acrylic paint for a textured ceramic or stone effect. If the bowl will hold fruit, consider adding a decorative and functional removable lace, linen, or burlap liner, to protect the finish and keep it clean. You can also vary the final look by decoupaging only part of the pan, like the outer surface only and leaving the inner surface plain with the painting only. Test out different decoupage patterns to vary the decor style, e.g., polka dots for vintage vibes, birds or butterflies for a garden-based style, or seasonal themes like snowflakes or pumpkins.