

Why Do Water Heaters Leak — And What You Can Do About It
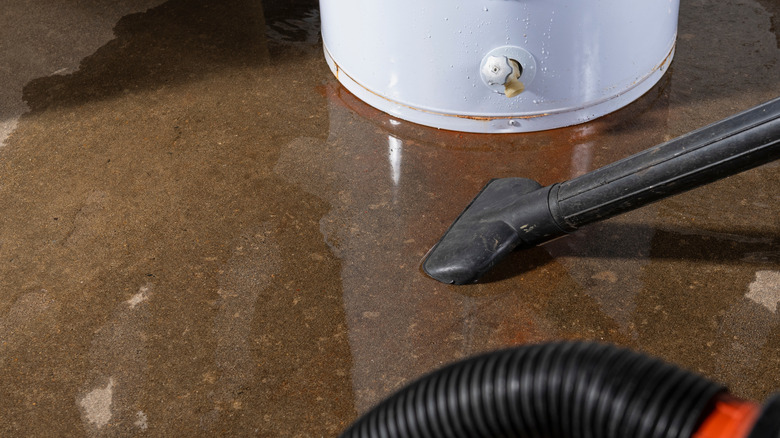
Nothing ruins a morning faster than stepping into your utility room and finding a puddle beneath your water heater. Because water heaters run constantly under heat and pressure, small component failures and internal rust can quickly turn subtle drips into major household headaches. Fortunately, a puddle on the floor doesn't always mean you need an expensive new appliance. Sometimes, it's just a quick, low-cost repair you can easily handle yourself.
Water heaters leak for plenty of reasons, but tracking down where that puddle is starting from will tell you everything you need to know. Usually, the culprit falls into one of three spots: top connections, side or bottom valves, or the inner tank itself. Dripping from the top usually means a loose plumbing fitting you can fix in minutes. Moisture creeping out of the side or bottom valves points to a failing safety valve. But if water is pooling directly under the base from a corroded inner tank? That's game over, and you're likely looking at a full unit replacement.
While you can tackle minor valve adjustments or fitting fixes on your own, it's crucial to know when it's time to call in a pro. If the leak stems from inside the sealed tank or involves gas line connections, you'll need to call a licensed plumber. If water is actively pooling around your unit, turn off the power (at the breaker) or gas supply first. Next, turn the cold water inlet valve at the top of the heater clockwise to stop fresh water from feeding the leak. To safely drain a severe leak, let the water cool, open a hot water faucet upstairs to prevent a vacuum lock, and then attach a garden hose to the bottom drain valve to run the water outdoors or into a floor drain.
How to fix a leaky water heater
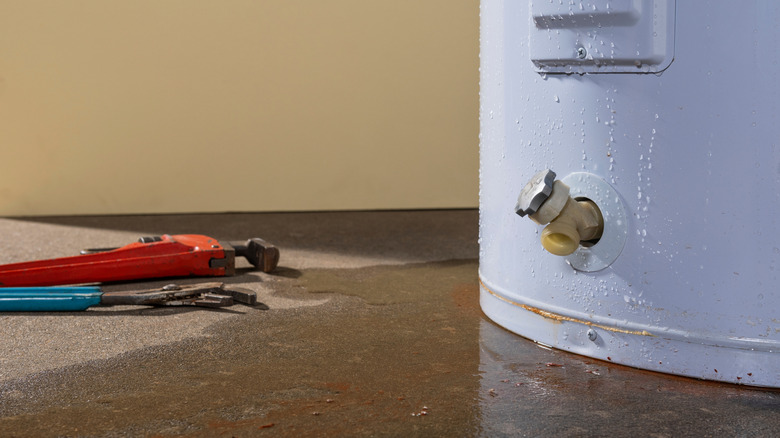
If water begins pooling on top of your water heater, the good news is that you are usually dealing with an accessible, above-tank plumbing issue. Drips in this area typically trace back to loose plumbing connections, where a quick turn with a pipe wrench is often all it takes to stop the leak. However, if the fittings are secure and water is still pooling around the top ports, a cracked or threadbare steel nipple or a degraded seal around the hex bolt of your anode rod is likely the culprit.
Leaks around the middle or base of your unit usually stem from a faulty valve rather than a ruined tank. The temperature and pressure relief valve on the side may drip if it's venting excess pressure, and a continuous leak usually means either the valve has failed or your home's water pressure is dangerously high. Further down, the drain valve can seep water if sediment gets trapped in the seal or the internal washer wears out. Luckily, both are quick, inexpensive fixes that don't require replacing the entire heater.
Water pooling directly beneath the base of your unit is usually the sign every homeowner dreads: an internal tank failure. Over time, minerals settle at the bottom of the heater, creating a layer of sediment that eventually eats through the inner steel lining. Once the internal shell cracks and water starts seeping out, the heater has reached the end of the line, and the only fix here is a complete replacement. When it comes time to shop for a new unit, knowing which type of water heater is right for your home, whether it's a standard tank or a tankless model, will help you make the best choice for your budget and energy needs.
How to prevent water heater leaks
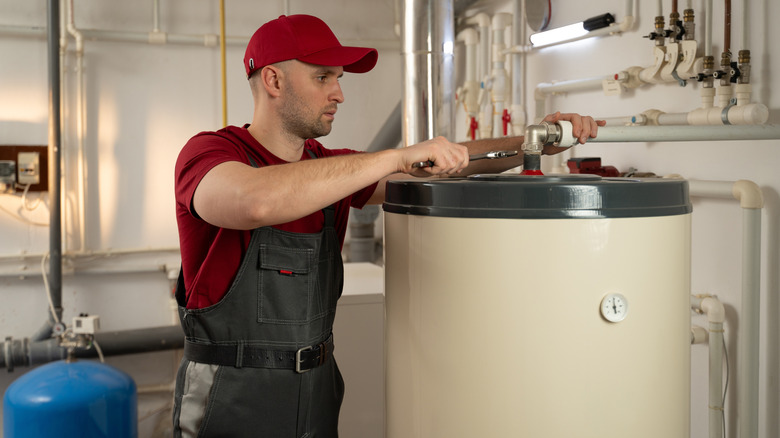
While some water heater wear and tear is inevitable over time, routine maintenance can easily double the lifespan of your unit and prevent catastrophic indoor flooding. Avoiding common water heater mistakes that ruin the appliance (like skipping yearly maintenance) is the best way to keep your system running smoothly. To combat naturally occurring mineral buildup, attach a garden hose to the bottom drain valve once a year to flush out sediment before it bakes into a hardened layer and corrodes the lining.
It's also important to routinely inspect and replace the anode rod to protect the tank from premature rust. Often called the sacrificial anode, this metal rod hangs inside the tank to attract corrosive elements in the water so the steel walls don't have to. Check it every two to three years and replace it when it's heavily eaten away. A $30 anode rod replacement can add years to a costly unit.
To protect your pipes and internal seals, you'll also need to check to make sure your home's water pressure is within a safe range. Water pressure consistently above 80 PSI puts immense strain on your tank's welded seams and safety valves. Make a habit of testing the temperature and pressure relief valve yearly by lifting the lever to ensure it snaps shut freely and doesn't stick. A functioning valve prevents dangerous pressure spikes that can crack your tank. Taking these preventive steps keeps your current system healthy. Better yet, if you eventually upgrade to an energy-efficient water heater, learning what to know before you install will help you get the most out of your investment.