

Gardener Builds An Epic Self-Watering Garden Bed Entirely From An Old Hose
We may receive a commission on purchases made from links.
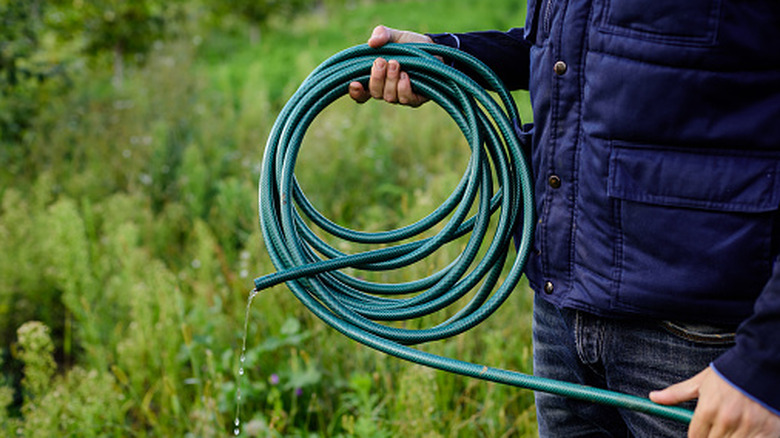
If you've ever built your own raised garden bed, you know the amount of work that goes into it. The entire process, including hauling the compost and building the retaining wall, can be a lot — especially for larger builds. According to a Facebook video posted by Simon Akeroyd Garden Writer, if you happen to have an old garden hose, you may have the makings of a small garden bed already.
In it, he demonstrates how this essential gardening tool can be coupled with a handful of tree branches to create a cute raised garden bed. Using six tree branches as pillars to create a circle-shaped frame, the entire old garden hose is looped around the branches as the retaining wall. However, the real standout part is the added self-watering feature, created with a few slits cut in the hose and a hose timer.
This creative raised garden bed design is not only ingenious, but one of the more budget-friendly options out there. Garden hose timers are inexpensive, and you can find them on Amazon for under $10, such as the Orbit Mechanical Water Timer. You'll also need a pair of scissors and a pair of loppers, such as the Fiskars 28" Garden Bypass Loppers, to cut the branches, which should be about 1 to 1 ½ inches in diameter. Quick note: For this DIY, you'll need a second hose to connect to your spigot.
Steps to create a raised garden bed with an old garden hose
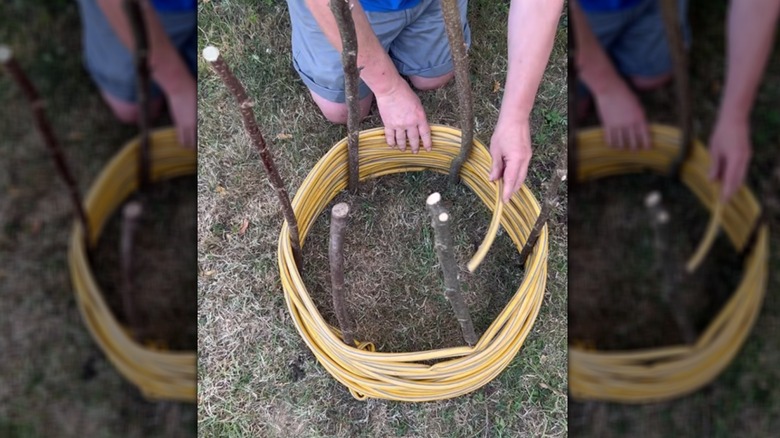
When choosing branches, be sure they're sturdy and tall enough to accommodate the full length of your garden hose wrapped around them; for longer hoses, be sure branches are at least 24 inches. First, plant the branches in the ground like stakes to create the frame. To make it easier, place a small object, like a rock, in the center, and position the branches about 20 inches away from it. Space the branches about 10 inches from each other, giving you an even circle.
Next, unravel your garden hose and attach one end to your second hose connecting to your water spigot and timer. Create the first row by wrapping the hose around the perimeter of the branches. Make additional rows by placing each new row on top of the previous one, ensuring the hose touches all the branches to prevent gaps and keep its shape. After wrapping the entire hose, use loppers to trim the branches down to roughly four inches taller than the top row.
Next, use your scissors (or a box cutter) to create anywhere from three to five half-inch slits in the top row of the garden hose. Afterward, turn on your water hose briefly to test how they spray and make any adjustments. Once that is good to go, add your compost and plants. Position the plants so they're not too close to any forceful water spurts, which may damage them.
Using paint to add more style plus other options
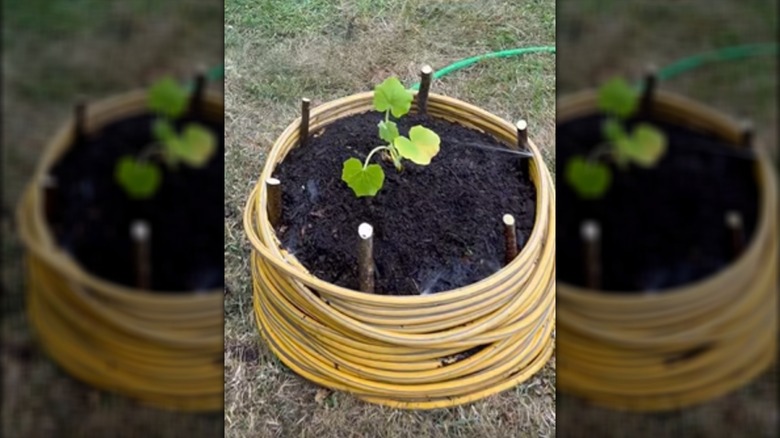
If you've been searching for practical ways to repurpose a garden hose around your home, this DIY raised garden bed idea might just be the most functional one yet. However, this is just the beginning. You can replicate this idea to create more raised garden beds or change up the final design. For example, if you want a cleaner, more uniform look, replace the branches with something like these $9.99 Natural Garden Bamboo branches.
With this upgrade, you can also spray paint the water hose (before adding your compost) to help the DIY design blend better with your garden area. Or, try using more than one paint color for a fun striped or gradient effect that's sure to give it a stylish, vibrant look. You can even toss in a bunch of decorative stones around the hose for added dimensionality.
This also offers a discreet way to hide the connection point to the other water hose. Another option for hiding it is to add a layer of mulch or other plants around the design. And if you have multiple hoses, or one long hose, consider setting up a row of raised garden beds.Paint each one a different color, or even add little decorative elements like shapes and designs to the walls.