

Don't Sacrifice Beauty: The Backyard Privacy Solution With A Natural Look
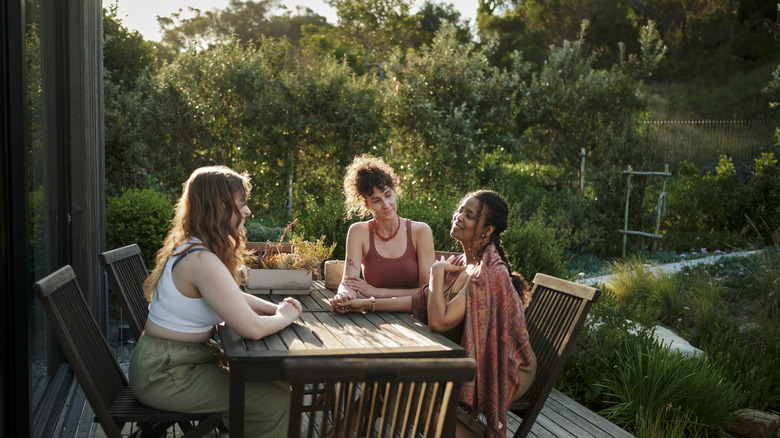
Adding privacy to your backyard or patio doesn't have to be a costly undertaking. In fact, there are plenty of ways to achieve a cozy, closed-off space with just a few affordable materials. While readymade screens are widely available, these can be pricey or a real eyesore. Instead, consider upgrading your outdoor space with a handmade piece that embraces nature. Of the many items you can repurpose into a stylish privacy screen, scrap wood tops the list and packs a major visual punch when paired with faux moss, as TikToker onechiclook showed off. By creating a square frame and covering it with artificial moss, she crafted a simple yet beautiful solution that looks like a slice of greenery rather than a traditional fence or screen.
Start by measuring the space you plan to cover, then cut the wood pieces to size using a hand saw. Create several square frames or one larger horizontal frame by stapling the corners of the wooden slats together (wood glue will also work). Next, choose artificial moss mats that are the right size and color for your project. Picking moss in a shade that complements your existing plants can help the finished panels blend in more naturally. Just a few top-rated options on Amazon include a 19.7-inch square mat for $9.99 and a larger 39-inch mat for $14.99.
Using hot glue or a staple gun, attach the moss to the back of each frame, pulling it tightly across as you work. Cut off any excess material, then attach it directly to your fence using hot glue, Command strips, or nails. Choose the mounting method based on the surface and the panel's weight, and make sure the attachment is secure enough to withstand wind.
How to customize your faux moss privacy screen
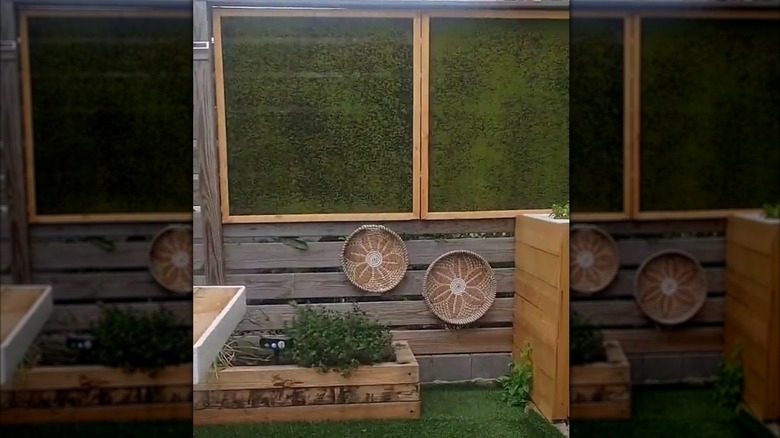
Not only is this budget-friendly DIY privacy solution for your outdoor space an easy one to make, but it's also totally customizable. While the DIYer opted to create two squares for her backyard, the same process can be used to create installations of any size, whether square or rectangular. Staining the wood is another great way to add your own touch to the project, as is mixing and matching faux moss mats in various hues to add visual interest. You can also vary the spacing between panels to create a more open, decorative screen rather than a solid wall.
@onechiclook DIY Privacy Screen for the backyard or patio #privacyscreen #diyproject #homedecor #backyardtransformation #backyardgarden #privacyfence #homedecor
The way the moss mat is attached can also change the aesthetic. While the basic DIY involves stapling it to the back of the wood frame, consider spreading a larger piece across the top, pulling it tightly around the frame, then gluing or stapling it to the back, thus hiding the wood altogether. Another alternative is to use a ready-made picture frame to save time. Simply remove the glass and hot glue the moss to its backing. If you're placing the panels outdoors, choose materials rated for outdoor use to help them withstand moisture and sunlight. Swap in real moss for an even more impressive creation. Just keep in mind that it will have different light and moisture requirements and may need more upkeep.
You can then attach these DIY panels to an existing wooden fence, hang them from a trellis, or use them to cover a chain-link fence with zip ties or wire. Alternatively, pair this DIY with another fun project: transform wood pallets into a privacy screen for your patio, then attach the moss panels to the pallets with nails or staples.