

Turn Old Wine Barrels Into Cheaper DIY Planters That Add A Rustic Touch To Your Garden
Have you been keen on finding a planter that's not only interesting to look at but also repurposes materials that may otherwise be thrown away? If so, you're in luck. There are a variety of items — from an aged bucket to even a disused tool box – that were designed for a specific purpose but which can also be adapted for a new life as a garden planter. One super-appealing option is an old wine barrel.
If you're able to get your hands on a barrel previously used to store wine (or another type of alcohol), these can be great for adding a rustic vibe to your outdoor space while saving you from buying a new planter. However, it's important to consider the other tools you'll need in order to make this charming container a viable option for plants. For instance, many different plant species need good drainage to prevent their roots from sitting in water and rotting away.
So, for this project, you'll need a drill to help you create the drainage holes. In addition, you'll need a saw to cut the barrel in half as well as a sander to soften the edges and make splinters and cuts less of a concern when planting and watering. To make sure you're cutting a straight line around the barrel, meanwhile, it can be helpful to have a pen and a measuring tape to create a preliminary guide for cutting.
Crafting a DIY wine barrel planter
To find a barrel for this project, try looking at preowned ones, which can sometimes be on sale for half their regular price – much less than some store-bought planters – such as these gray used oak wine barrels from Paso Wine Barrels. However, you may be able to find even cheaper ones on sites like Facebook marketplace or a yard sale. Once you have your barrel, you'll need to cut it in half.
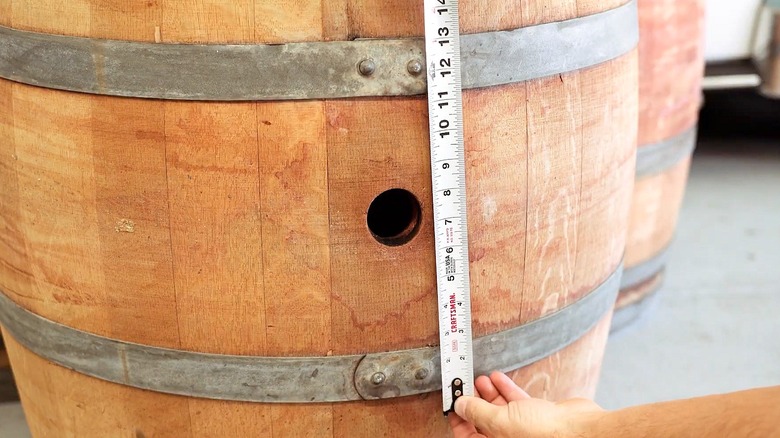
Using your pen, draw around the barrel's circumference, measuring from the bottom as you go to ensure the line stays level. One consideration here is that you can always cut slightly lower down so you have one shorter planter and one taller one. In addition, make sure to wear safety glasses, gloves, and ear protection when operating drills and saws.
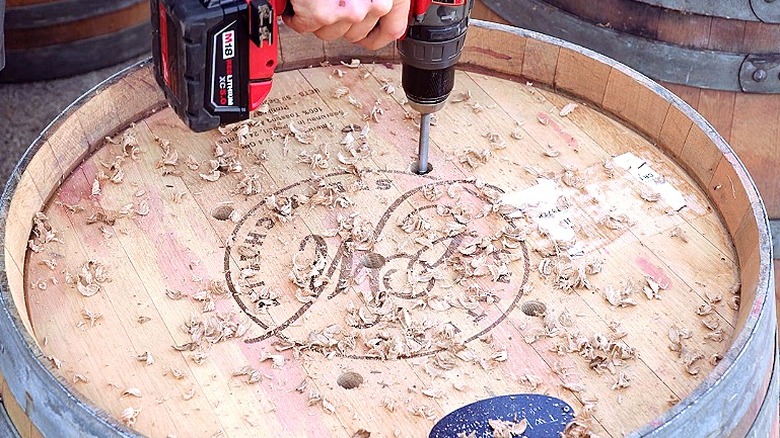
As shown by Jason Explains Things on YouTube, sanding around the cut edge can help to create a polished look and make the planter safer to use. The last step is to drill drainage holes. Planters the size of most wine barrels typically have at least five drainage holes, though you can always add a few more if you notice the plants becoming yellow and soggy or growing less.
To make sure excess water doesn't sit under the barrel's bottom, you might want to place it up on some bricks or wood blocks so that the liquid can run away from the outside rim of the barrel. You could even use wheels to accomplish this goal, as YouTuber Studio Home does with a similar wine barrel planter, and make the planter portable at the same time! Finally, you might want to line the barrel with a waterproofing membrane or a permeable liner to help your stunning DIY planter last longer.