

Turn Unused Lumber Into A Cheaper DIY Birdbath
We may receive a commission on purchases made from links.
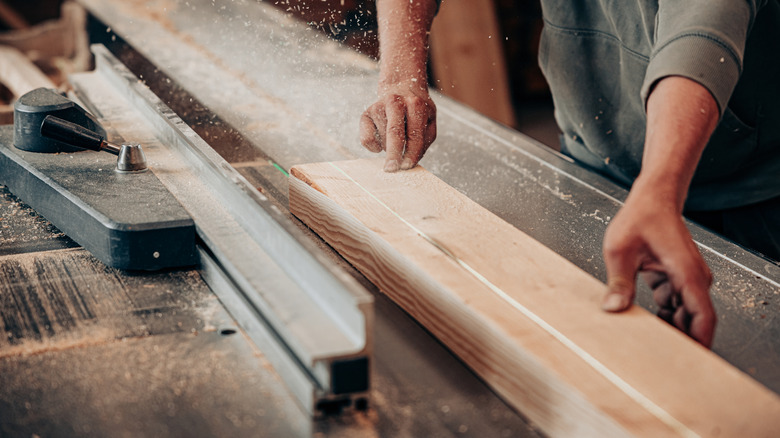
For avid woodworkers, it isn't uncommon to end up with random pieces of lumber from past projects. Maybe a block of wood was too large for that table leg and needed to be cut down. Perhaps you have some oddly shaped scraps you can't find a good use for but are holding onto anyway. Instead of tossing this wood away in your next workshop cleanout, why not turn it into a birdbath? It's an easy way to attract birds to your garden. Plus, DIYing a birdbath is certainly going to be cheaper than buying one from the store. We're not talking about the typical birdbath, either, where a plastic or ceramic bowl sits atop a wooden plinth. In this case, the lumber itself forms the bowl, per the tutorial by YouTuber Instant Birds.
You make a shallow, bowl-shaped depression in a thick chunk of wood that's large enough to hold a pool of water. The depression will be no more than 2 inches deep so that the feathered critters that visit your backyard can safely splash around in this new-to-you birdbath. The straightforward process is unlikely to put a dent in your wallet since the only supplies you need are a piece of used lumber, a handful of river pebbles, and some water. Tools-wise, you'll need an angle grinder with flap discs or a jigsaw and a chisel and mallet to carve out the depression — as a woodworker, you should have at least one of these tools already. You'll also need a ruler, a gas torch, a kitchen sponge, a brush, safety goggles, and a dust mask. Ready? Let's get building!
Making a unique DIY birdbath using scrap lumber
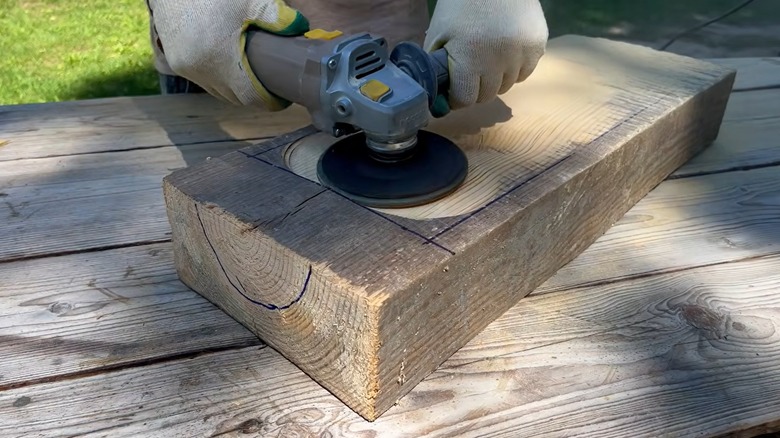
First, select a piece of lumber that's more than 2 inches thick and wide enough for a depression where several songbirds could bathe at once. A length of 18 to 30 inches should do the trick. For example, Instant Birds used a block of wood measuring about 9 inches by 4 inches by 26 inches. Place the lumber on a flat surface — a worktable is ideal — and use a carpenter's pencil to draw an oval or rectangle on one of the wide sides. Leave a border of about 1 inch around the shape to give your birdbath a perch.
Now it's time to create the depression. Put on the safety goggles and dust mask and grab an angle grinder fitted with a flap disc. Start sanding the area within the penciled line to slowly but surely create a bowl in the piece of lumber. Gradually deepen the depression — the edges of the bowl should be shallower than the center — stopping at a maximum depth of 2 inches. Pause grinding every so often to measure the depth with a ruler. If you encounter any hard knots in the wood as you're sanding, use a drill to remove them before continuing.
If you don't have an angle grinder or can't get access to one, there's another way to create the depression in your piece of lumber. Draw the oval or rectangle shape on the wood as usual, then make crisscrossing cuts within the pencil lines with a jigsaw. Use a chisel and mallet to chip out the small pieces of wood one at a time. Brush off any wood chips or dust and you're done!
Putting the final touches on your DIY wooden birdbath
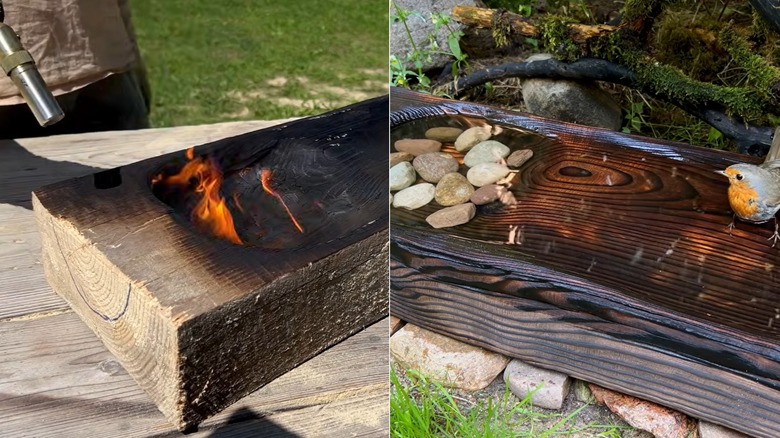
Once you've created the depression in your piece of wood, the next step is to use a gas torch to char it. Charring the wood helps to prolong its life since it forms a carbonized layer that helps prevent moisture absorption and insect infestation. Once the wood is thoroughly charred, use a kitchen sponge to clean the surface and rinse out the bowl with fresh water. Now your birdbath is ready for use!
Where should you put a birdbath to invite beautiful wildlife to your garden? Choose a shady spot in your yard to stop the water from overheating and slow down algal growth. Your birdbath should sit at least 10 feet away from dense vegetation to help your winged friends spot predators. Once it's in place, plop a handful of Pulovin Natural River Rocks inside the bowl for traction and fill it with fresh water.
Spruce up your creation with unique birdbath designs that add instant delight to any yard. For example, you could transform it into a hanging birdbath by screwing hooks in the corners to attach metal chains. Alternatively, pop the bowl onto a tall stand to create a pedestal birdbath. You could also put an Szmp Solar Fountain into the bowl — moving water is attractive to certain bird species. Be sure to heed all the birdbath cleaning dos and don'ts to keep it safe for your feathered visitors.