

Homeowner Gives Plain Tiles A Luxurious Custom Look With A Cheap Printer Hack
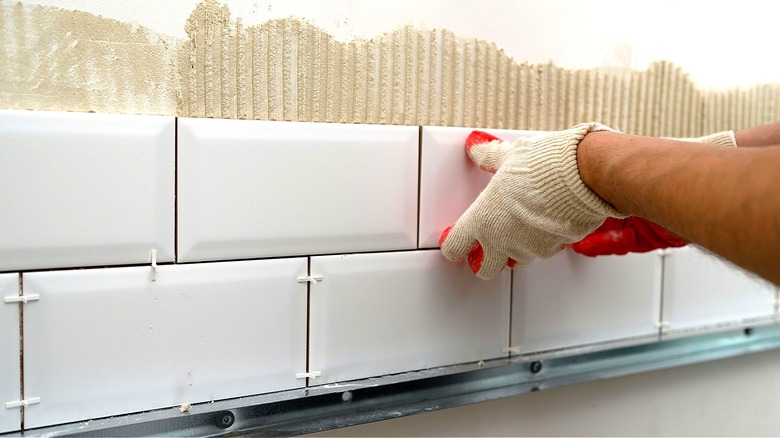
Ordinary, solid-colored tile can make a kitchen look sterile. Fortunately, there are ways to get the look of builder-grade tile without paying the prices that come with it. Enter waterslide decal paper. One creative Instagram user, thehandyhalf, gave a masterclass on how to use waterslide decal paper and dozens of 11-cent ceramic tiles to create a kitchen backsplash that looks like it can easily cost $4,000 to build.
The awesome thing about this hack is that it's such an affordable workaround for custom tiles, as the demonstrator reportedly only spent $107. So if you don't feel like paying the cost for a complete kitchen renovation, this project is a perfect way to easily get that boutique, made-to-order look.
Additional steps for this specific hack include adding a coat of sealer to the decals and placing the tiles in the oven for the sealer to cure. For this DIY, you'll need some waterslide decal paper, like this 20-sheet pack of Sunnyscopa Waterslide Decal Paper for inkjet printers (make sure to buy the right paper for your printer type; waterslide decals are made for laser printers, too), a paper cutter or box cutter, and a sealant like that used for decoupage paper, such as Mod Podge Crystal Clear Gloss Glue.
Preparing the decals and tiles
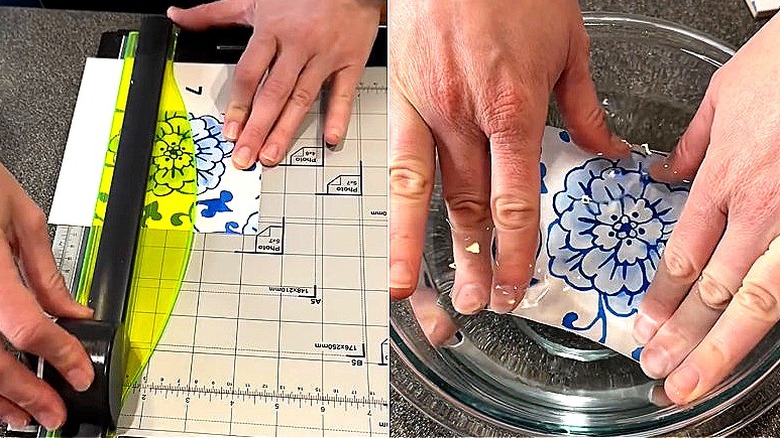
First, print out your decal designs. Then, in a well-ventilated area and after donning a ventilator mask, place the decals on a covered worktable and apply a couple of coats of clear Mod Podge Spray Acrylic Sealer. Let the first coat dry for about 15 minutes, then apply a second coat, letting it dry for 30 minutes. It's also helpful to number your tiles on their backs with a marker to keep their order in the process. (Note: Sealing the decals is a step for inkjet printers only; laser waterslide decals don't require sealing.)
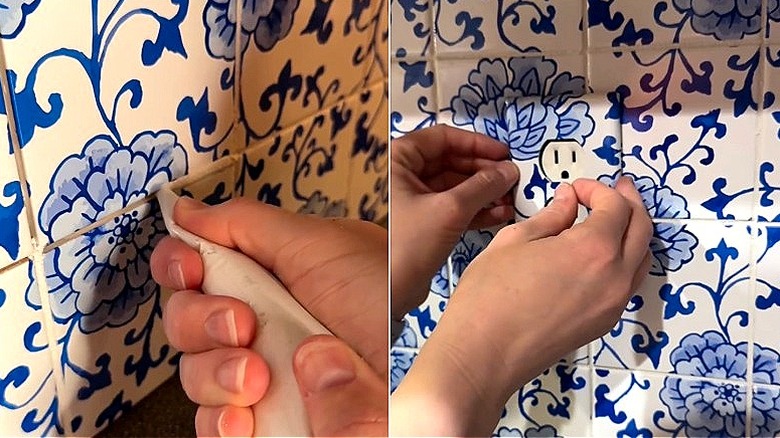
Once they're dry, cut the decals to the size of your tiles. If you don't have a paper cutter, you can score them with a box cutter, using something like a book to create a straight cut line. Fill a bowl with enough water to submerge the decals, then dip one in the water for 60 seconds to loosen the backing. Next, place the decal on the tile, lining up the bottom edge. And while holding it at the bottom, grab the backing and slide it off with your other hand. Blot any extra water using a dry cloth.
Then go over it with a felt-edge squeegee or credit card to get rid of any bubbles. Don't skip this step, as it can impact the final look. Next, place the tiles on a flat baking sheet for 15 minutes, then put them into an oven preheated to 230 degrees Fahrenheit. To speed things up, start on your next batch while your current ones are curing in the oven. This assembly line setup will save you time. Once the tiles are cured, they're ready to go on your kitchen walls.
Limitations and customization options
This DIY tile idea offers a great way to decorate your home on a budget. But before you commit to this hack, know that it does have some limits. For example, it may not be best suited for bathrooms or other areas where there's constant moisture exposure. The reason is that it may break down the sealer, leaving you with tiles that look like they're partially melted. And if used in the kitchen, wipe down any splashes from chemicals or food as soon as they occur, as this can also negatively affect the sealant. For grease splashes, it's best to wipe off tiles using soapy water and a dish rag, instead of harsh chemicals.
Also, some of the video commenters questioned the oven step, specifically, using a regular oven versus a craft-only oven, to which thehandyhalf included this disclaimer: "I've heard a lot of feedback about using my food oven for this. I did this back in January and we had no ill effects, but please do your own research!" As for the curing time and temperature of 10 to 15 minutes in an oven set to 230 degrees Fahrenheit, this falls right in line with the standard curing range for decals on ceramic or unglazed terracotta.
Once you've nailed the process for making customized waterslide decal tiles, you can have a little more fun with it. For example, you can use different looks, such as faux marble, granite, or a floral print, or even one main pattern going across multiple tiles, sort of like a racing line. Also, many inkjet printers support specialty cartridges, such as metallic finishes, which can pair well with trendy wall accent ideas, especially if you're considering using the idea with a broader pattern or in other rooms.