

Don't Toss Old Bed Frames — Turn Them Into Functional Storage Shelves
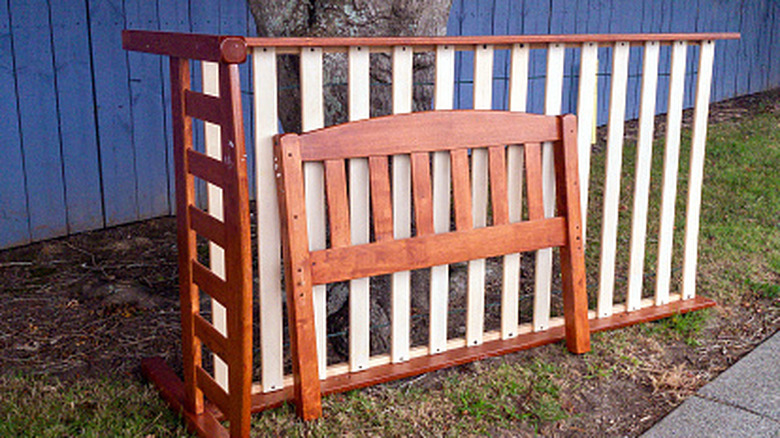
Buying new furniture for your home is always exciting. Working out what to do with the items you're replacing? Not quite so fun. Unfortunately, the vast majority of Americans simply throw away their old furniture, according to Environmental Protection Agency (EPA) data. The processing — or lack thereof — of this waste produces greenhouse gases, contaminates the soil and water, and contributes to poor air quality. Ideally, we would all try to sell, give away, or upcycle the furnishings we no longer love. In fact, one of the many creative ways you can repurpose your old furniture is to turn a wooden bed frame into storage shelves. For example, it's an entryway storage hack that works even in the smallest studio apartment, and it won't take a big chunk out of your household budget to boot.
Bed frames are bulky and often heavy, especially if they're made of solid wood. It's no wonder people pile them up in their garages once they break or go out of style. Once they're there, they serve no practical purpose — they only collect dust and occupy precious floor space. When you realize you can create a unique wall shelf from what is essentially a pile of free, high-quality timber, you'll be dragging them out of storage quick-smart. You only really need the headboard or footboard from a bed frame to create a shelf, but keep the side rails, too. They may come in handy at some point. You'll need some nails, shelf brackets, and a few large screws. If you want to add a little color to your shelf, grab a pail of paint in your preferred hue, too. Tools-wise, get a hammer, a saw, and a paintbrush.
Cut the side rails to size and attach them to the headboard
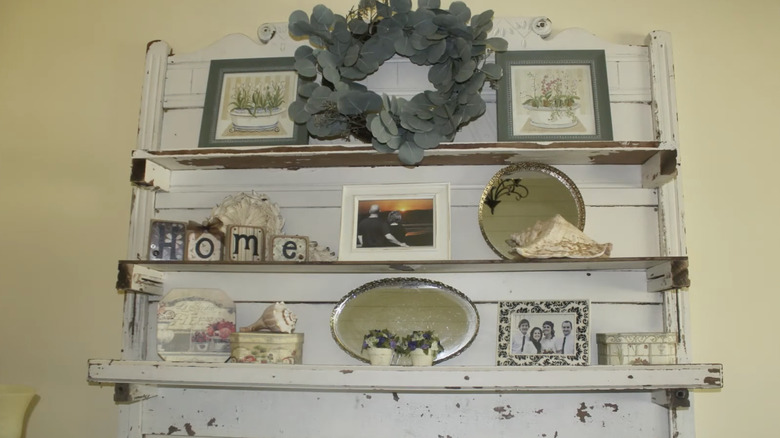
Since the headboard or footboard of a bed frame forms the decorative back of the storage shelves, begin this DIY by sawing off the legs. Next, measure the width of the headboard or footboard — whichever you're using — and cut one of the side rails from the bed frame to fit. Attach the side-rail-turned-shelf to the bottom of the board using nails, screws, or shelf brackets. Work out how many more shelves you want to add to the board and mark their location. The standard height between shelves ranges from 10 to 16 inches, depending on what you want to store. Cut more shelves from the bed frame's side rails and mount them as you did with the first shelf.
Jazz up your new storage shelf by giving it a fresh coat of paint. Paint everything one color or paint the shelves a different hue from the board. Once it's dry, mount the shelf to the wall indoors using studs or high-grade anchors. It will likely be heavy, so recruit a friend or family member to hold the shelf against the wall while you check its level and then secure it in place.
One easy way to make your DIY shelf a little more decorative is to turn the headboard or footboard upside down and mount the shelves from the top down. You could leave the legs on the board, too. You can also add more functionality to your storage shelf. Mount a rod below the lowest shelf for towels or hanging planters. Screw a few hooks onto the headboard or footboard and hang utensils, clothing, or even a seasonal wreath, depending on where you're using the shelf. Short on space? This bedroom shelving idea will maximize every inch!