

Goodbye Brick: This Stone DIY Transforms Your Home's Exterior
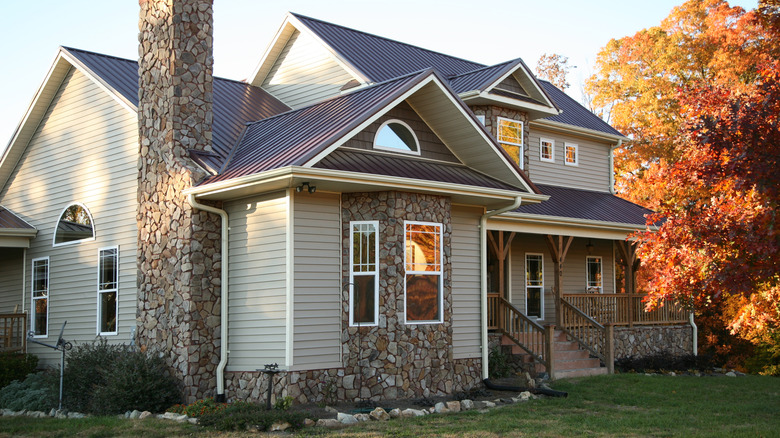
Who wants a house that looks like every other one on the block? If you'd like a bit of originality and a unique look, switching from a brick exterior to stone, just some of the different types of house sidings to consider, might be just what you need. While that sounds complicated, there's a pretty simple DIY that people with no experience can do, as long as they have the patience for it.
The idea comes from TikTok creator @karis_creates, who posted a three-part video series about how she stone cladded her brick house to give it a brand new look. This is a technique used to mimic the look of a true stone wall, except it's done with a thin layer that's added to the exterior of a house, and doesn't require any substantial construction work. It's a creative way to boost a home's curb appeal, especially if you want to make it look like an old stone house.
To do this, you need a strong adhesive, typically a polymer-modified mortar, but you should ask your local hardware shop for advice depending on the type of stone you choose and your home's walls. As for stones, you need either natural ones, such as granite, limestone, sandstone, or slate, or you can use manufactured ones, which are made of concrete or other materials (sometimes recycled) and tend to be more affordable and slightly lighter. You also need a trowel for the mortar, and a wet saw to cut smaller stone pieces.
How to DIY stone clad your home
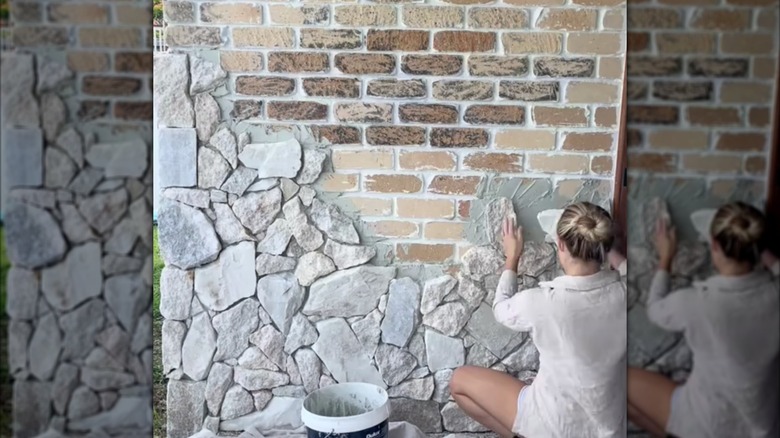
Prep is the most important step, and that includes a whole lot of cleaning. @karis_creates insists that any dust, paint, or flakes can lead to application disaster, so ensure you prepare properly to make sure the adhesive bonds to the brick and holds up the stones. In @karis_creates' case, she had to remove an entire layer of paint off the bricks before starting. Prep work also means arranging all your stones on the ground to see how they fit with each other, sort of how you would when planning out the perfect gallery wall.
@karis_creates if you're thinking about stone cladding, prep is honestly the most important part and something I learnt the hard way. if your surface isn't clean, solid and properly prepped, the stone won't bond properly and it won't last. we had painted surfaces, so we had to grind everything back before we could even start, which took time but made such a difference to the final result. we also laid out all of our stone first to plan where everything would go, and mixing the adhesive was a lot harder than I expected, getting that consistency right is key. this is part one of our DIY stone cladding process, and next is where I actually start laying the stone and everything begins to come together. if you're renovating on a budget or planning a home exterior upgrade, this is definitely something to get right from the start. #stonecladding #diyrenovation #stone #exteriordesign #renovation
Next, apply the adhesive to the wall in small sections. Here, make sure the piece you're working with fit into the section, then add some adhesive to it and press it firmly onto the wall. It's best to start with any edge pieces first (side and bottom). This may feel like a long game of Tetris, or a jigsaw puzzle, where you have to fit small stones in tight corners and connect larger pieces. There's nothing overly complex about this, but it does require that you take your time, and really apply yourself to avoid any massive gaps.
Once the adhesive cures, the final steps are to grout and seal the stones. @karis_creates does a first layer of sealant before the grout and another after, though the first is optional. The sealant protects the stone, but it doesn't make it look any different. As for grouting, choose a color that matches your stone and intended finish. The best and easiest method is using a piping bag or grouting gun, and pressing your fingers into the mortar so it fills all cracks and potential gaps.