

Use Old Milk Jugs To Create A Spacious Shower Caddy With This Clever DIY
We may receive a commission on purchases made from links.
The level of convenience a good shower caddy provides simply can't be overstated. And luckily, there's a range of options available, from small ones for storing a simple soap bar and shampoo bottle, to multi-tiered ones which allow you to store a wider range of toiletries, from pumice stones and razors to body wash and loofahs. However, sometimes the larger ones may cost a tad more than you're willing to pay for something that will get wet and eventually have to be replaced. And if that's the case, consider making one yourself with instructions from the YouTube channel The Starving Artist. This YouTube builds a DIY shower caddy from a plastic milk jug.
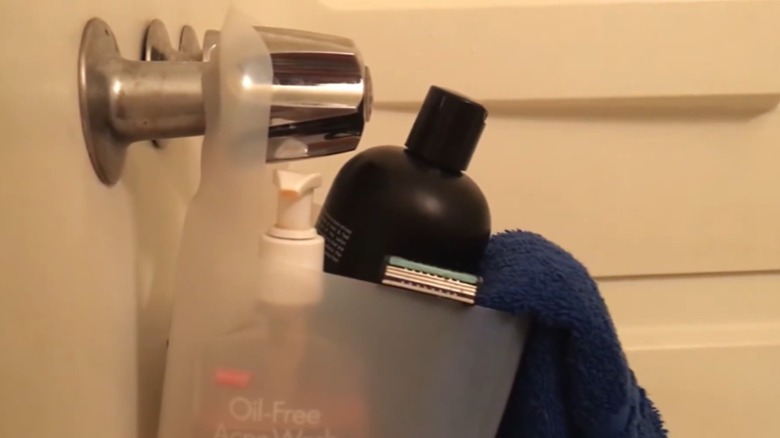
This amazingly clever hack is easy to do and doesn't take long at all. Who knew that a milk jug could be one of the items you can use to organize your bathroom? To create the caddy she carefully carved the milk jug to create the caddy shape and even made sure to add drainage holes at its base to prevent water from pooling. The spacious container gives you plenty of room for personal grooming products, and the cut-out handle design lets you conveniently hang it from your shower head or rod.
The hack is wallet-friendly and only requires a few supplies, many of which you likely already have at home. For this DIY, you'll need scissors, a marker, and a razor, such as an X-acto or utility knife. For example, this WORKPRO Premium Utility Knife will work well, and it's available on Amazon for $9. Overall, you'll find that this DIY presents an easy way to keep your bathroom clutter-free by removing some of your daily essentials from the countertops and around the tub area.
How to make a DIY shower caddy from a milk jug
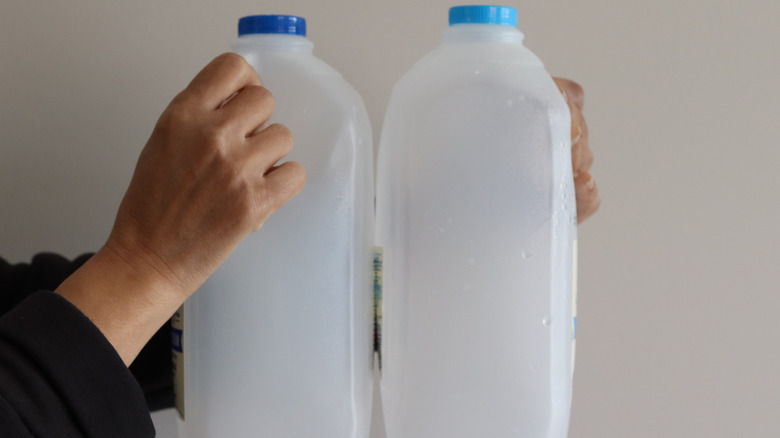
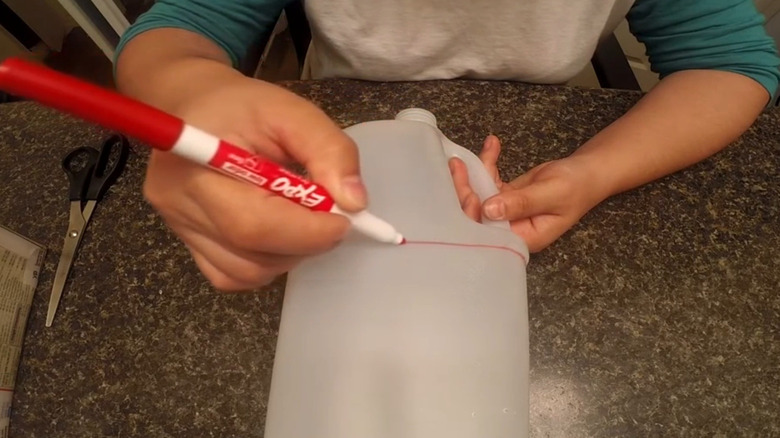
Before you start cutting the jar, be sure to rinse it out with slightly soapy water and let it dry. Next, use your marker to trace a horizontal line around the center of the jug. Then, on the side opposite the handle, draw an oval shape roughly 4½ inches long by 2½ inches wide.
Using your scissors, cut along your horizontal line, but leave the side with the oval cut line intact, since this will form the handle area. At this point, you should have essentially just the lower half of the milk jug, but with one side still at its full length. Now use your razor to cut out the oval shape. Your shower caddy is almost finished.
The final step is adding about four to six drainage holes to the base using your razor. The drainage holes don't have to be very big, perhaps a quarter of an inch will suffice. They should be close to the size of drainage holes on a planter pot. Now that your new caddy is ready, you can hang it from your shower handle and enjoy having all your bath products in one convenient spot.
Other design options and safety precautions
Not only can the shower caddy make your small bathroom seem bigger by freeing up precious counter space, but it can also add a decorative touch as well. For example, if you want to really impress yourself with this simple hack, try adding a coat of plastic-friendly, waterproof paint, like Krylon Fusion All-in-One, to match the caddy to your bathroom's theme. Milk jugs are usually made from a type of plastic that can be hard to get paint to adhere to — so, finding a specialized paint like this is key. Use stencils to draw creative designs and patterns on it, giving it a more customized feel.
You can also slightly alter the aesthetic of a shower caddy by cutting out a heart or perfect square shape for the handle. Keep in mind that the narrow oval cutout in the caddy may not be able to accommodate larger shower heads, so be sure to take that into consideration beforehand. And if your shower head is too big, try cutting small holes on the handle side of the jug and attaching suction cups for shower wall storage instead.
To keep the cut edges of the jug soft and safe, smooth them with 220 to 320 grit sandpaper. You can do this by hand or with a small handheld Dremel tool. If you prefer to add a protective layer over the rough edges, you can cut a length of silicone tubing like the Metaland silicone tubing from Amazon, split it down the center, length-wise, with your utility knife, and slide it over the sharp edges to act as a bumper.