

Gardener Transforms Scrap Paper And Cement Into A Rustic Planter With An Impressive DIY
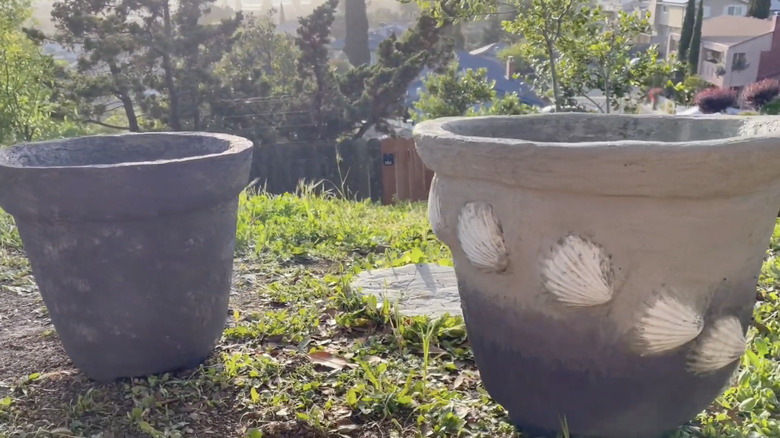
Surprisingly, an edgy concrete planter DIYed with easy-to-find items can be as sturdy as a brick wall and add a slick, modern vibe to an outdoor living room or front porch. What's not to love? That said, concrete planters are not without their problems. Once you fill them with dirt, they can weigh a lot. Plus, most don't look very rustic, which is a downer if you're trying to channel that aesthetic outdoors. Thankfully, YouTuber lishare123 has figured out a way to make a planter from scrap paper and cement — a mix that's aptly dubbed papercrete. The material is easy to make and use and hardens to a sturdy finish that's similar to concrete but lighter. Best of all, your finished planter will exude those coveted warm, rustic vibes.
To make papercrete, you'll need some paper pulp and a bag of Quikrete Concrete Mix. We'll show you how to make the paper pulp below. You'll also need some Styrofoam mash, which you can make by crushing the packing materials from your last UPS delivery into tiny pieces. You'll also need a Guuozzli 3-Gallon Plastic Nursery Pot or similar large plastic planter to use as a mold. You'll make the papercrete pot inside the plastic planter, so it will be a little smaller than the original plastic pot. Keep this in mind when selecting your mold. Finally, grab a pair of gloves, a mixing bucket, a stir stick or a trowel, and a spatula or a large palette knife. A tub of outdoor paint and a paintbrush round out the list of supplies.
How to make rustic papercrete pots for your garden
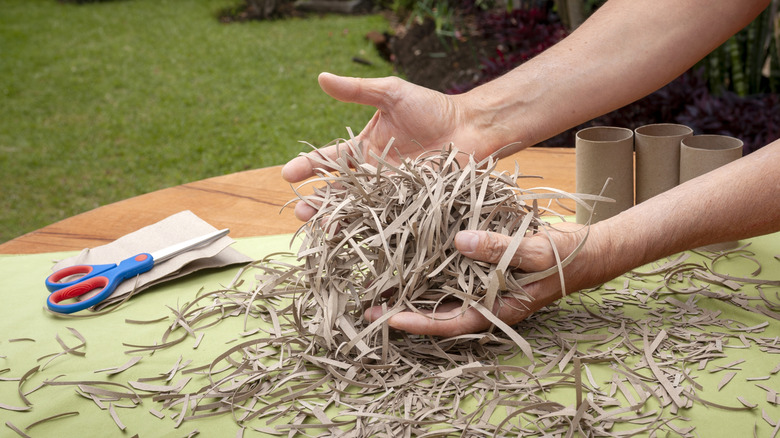
You'll need to make the paper pulp first. Old newspapers or magazines, toilet paper tubes, craft paper, cardboard, and other plain paper recyclables work well for this DIY. Place the shredded paper into a 1-gallon bucket and fill it about three-quarters full with water. The paper should be submerged with about 1 to 2 inches of water above it. Leave the paper soaking in the water for one to two days until it's completely saturated. Snap a mixer attachment onto your drill and mix the paper and water until a pulp forms. Portion out the three parts of paper pulp you need. Now you can move on to making your papercrete planter!
Pour the three parts of paper pulp, the two parts of cement, and one part of Styrofoam mash into your mixing bucket and mix with your stir stick or trowel. The paper pulp should contain enough water to activate the cement. Use your hands to press the papercrete mixture onto the inside of the plastic planter mold. Use your spatula or palette knife to smooth out the papercrete and adhere it to the walls of the mold. Smooth the papercrete around the rim of the planter, too. Poke drainage holes in the bottom of the planter using the plastic planter's drainage holes as guides. Set the mold aside somewhere sheltered so the papercrete can dry — this could take anywhere from a few days to a week, depending on the weather. Once it's dry, remove the papercrete planter from the plastic planter mold.
Paint your pot with stone-effect paint or stencil on some patterns
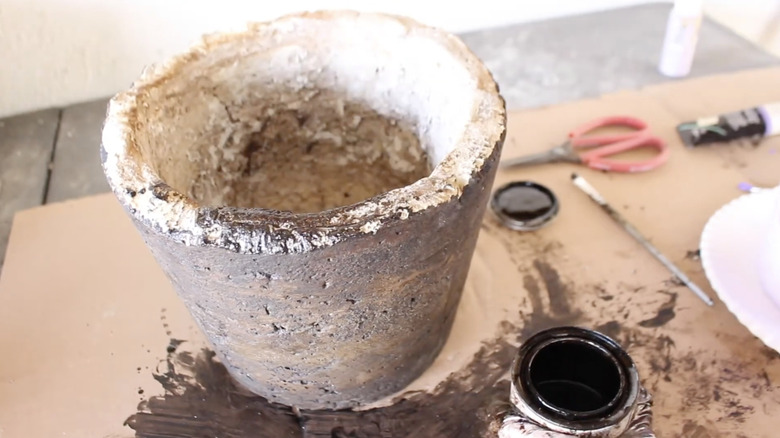
Papercrete is paint-friendly, making it easy to add color to your new planter. If you like classic stone containers, you can fake the look using Rust-Oleum Stone Creations Pebble Spray Paint. If you want something a little quirky, paint your planter with MayJoyDIY Reusable Kokopelli-Style Stencils or use desert cacti as inspiration. Use a Southwest color palette to keep the look authentic. These tiny details can add rustic charm to your porch on a budget.
It's also possible to mix smooth glass pieces or mosaic tiles into the wet papercrete to give the walls of the planter a boho vibe. A 34-ounce bag of QYGL Rainbow Frosted Sea Glass Pieces costs about $18. This is a two-part process: you add the amended papercrete to the mold, let that first layer dry a little, then add another layer of unadorned papercrete. The second layer reinforces the decorative outer wall, creating a sturdy planter. Although you technically could paint this glass- or tile-infused planter, the additions provide dots of color on the walls that contrast nicely with the gray papercrete.
If you want to raise your planter off the ground to improve drainage or protect your deck or patio pavers, you can make some feet for it. Form some leftover papercrete into three or four small, stepped blocks. Once they're dry, you can paint them and set your planter on top. If you're struggling to create a nice shape, Garden Molds sells all kinds of cute molds for planter feet — from cars to ladybugs to sunflowers. It's a simple way to transform your patio with flowers and plants.