

How To DIY A Natural Wood Stain In Any Color Or Shade With A Simple Solution

If you've ever stained wood for a project, you know it isn't rocket science. You probably didn't study all the savvy DIY staining tips out there and still reached your goal, as there are several ways to stain natural wood. Staining works by utilizing a solvent to absorb pigment into wood; there are tons of surprising solvent combinations that can work, too, from using coffee to naturally stain or working with self-tanner to stain. From there, it's pretty simple to alter your end result — the color, that is. All you need is some added pigment, and you can completely skew the resulting color of your wood.
Any stain becomes adaptable when you control the pigments. So, customizing your own stain is an affordable alternative to purchasing multiple stain colors. You can work with whatever pigments, like oil paint, you already have on hand. By adding different colors to a stain, you can update the hues that appear in the wood, though it might take some experimenting to find your desired color.
How to customize and apply your wood stain shade
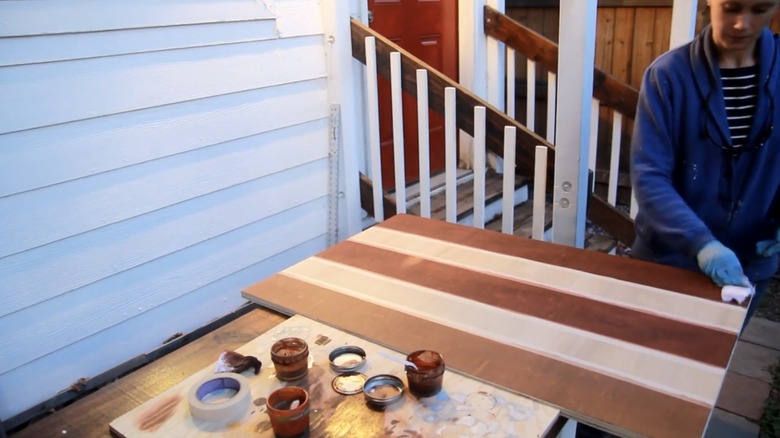
Aside from your regular staining tools, all you need for this DIY is a stain, a compatible paint, and a diluent, like boiled linseed oil or mineral spirits. You can also skip the stain and use a natural pigment, like coffee, but keep in mind you'll need to add more pigment to make up for the lack of stain. When using a stain, keep your solvent consistent so it can mix. For example, if you're using an oil-based stain, use an oil-based paint or pigment. If you're not sure about a wood stain and paint color combo, test it on a strip of wood before applying it.
The first step in staining wood is to wipe away any dust or debris, then sand the surface. Sanding creates a smoother surface and opens the grain to absorb the stain. Next, apply your DIY stain and allow it to fully dry. Lastly, you can apply a top coat to protect the wood.