

Say Goodbye To Traditional Gardening With A Hands-Free Solution From Shark Tank
We may receive a commission on purchases made from links.
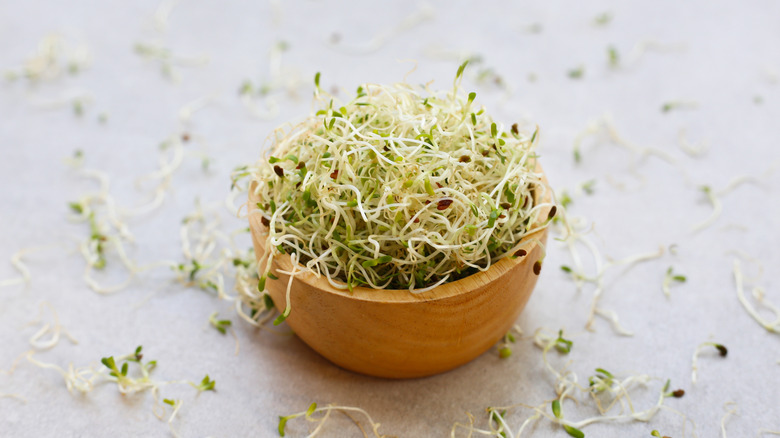
If you've been longing to grow some of your own food but don't have a garden, you're not out of options. Even without an outdoor space for container growing, such as a balcony or patio, you'll be impressed by an interesting hands-free solution from Shark Tank: The Sprouter. While sprouting your own seeds isn't a new concept, this kit is designed to make the process cleaner and simpler.
With this unit, you can enjoy all the benefits of a seed sprouter and say goodbye to traditional gardening, which means you don't have to dig in the soil, plant seeds, water the plants, or apply fertilizer. Growing your own sprouts is about as hands-free as gardening can get because all you have to do is rinse them twice a day and reap the harvest. The sprouter comes complete with a large jar, a stainless steel filter, its own angled stand, and even a drip tray, so you don't have to sit it on a piece of paper towel. The stand allows the jar to drain fully without you having to worry about it.
How to grow your own greens using The Sprouter
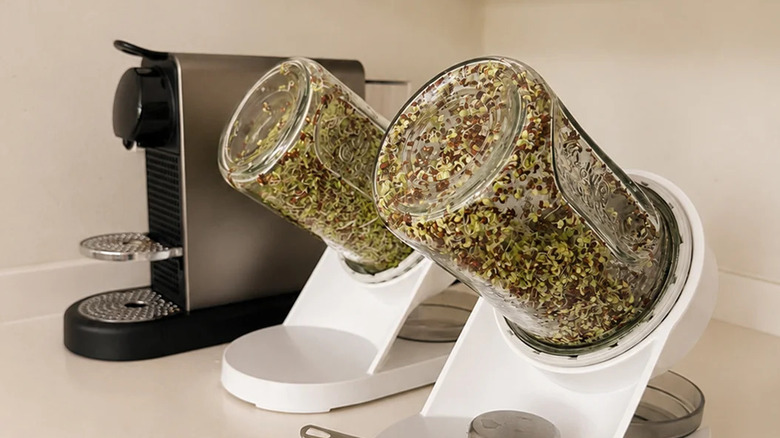
If you already know how easy it is to grow alfalfa sprouts in a jar, using this sprouter follows a similarly simple process. Start with a clean jar and add your sprouting seeds to the base. Depending on the kind of seeds you're using, you may need anywhere from two tablespoons to a quarter of a cup. You don't want to add more than this because overcrowding the jar could result in mold growth. Cover the seeds with cool water and then drain. Rinse the seeds twice more, then cover them with water again and let them sit overnight or for around eight to 12 hours at room temperature. Place your jar upright away from direct sunlight, preferably in a dark spot. This soaking allows the seeds to absorb enough water to begin germinating.
The following day, drain the water and rinse your seeds again before allowing the water to drain out. Set the jar in its angled stand and put it into a dark spot again. Continue to rinse and drain your seeds two to three times every day to ensure that they don't dry out completely. It can be quite fun to watch the seeds begin to sprout and then develop their seed leaves. This shouldn't take more than a few days, and then your sprouts are ready to rinse and consume. You can store them in a lidded container in the fridge for up to seven days, as long as you dry them thoroughly first with a salad spinner.
Tips for sprouting success
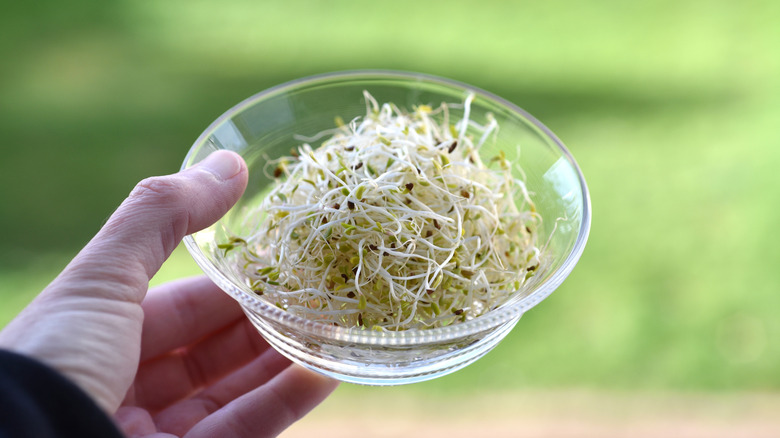
Make sure you don't skip the daily rinsing, as this is important for removing impurities and preventing mold growth. When you first start, it's probably a good idea to stick to one species at a time and not mix your seeds. This will help promote more consistent germination. Once you're more experienced, you can experiment with mixes, but try to stick to species that are likely to germinate in the same time frame. You can even purchase mixes that are designed for this, like the Food to Live organic salad mix containing radish, broccoli, alfalfa, and clover seeds.
For the greatest success, you want to make sure that all the water can drain completely after each rinse, which is where the angled stand comes in handy. Although most of the sprouting will happen when the jar is kept in a dark spot, you can expose the sprouts to a bit of sunlight for around an hour or so just before you harvest them, as this will help them turn green and improve their flavor and nutritional content. You also want to ensure that you harvest your sprouts and consume or store them in the fridge before the first true leaves start to grow, as this is likely to make them taste bitter. And now that you know exactly how to grow your own sprouts, you might like to expand your indoor garden and grow thriving microgreens, too.