

The Dos (And Don'ts) You Should Know Before Pouring Concrete
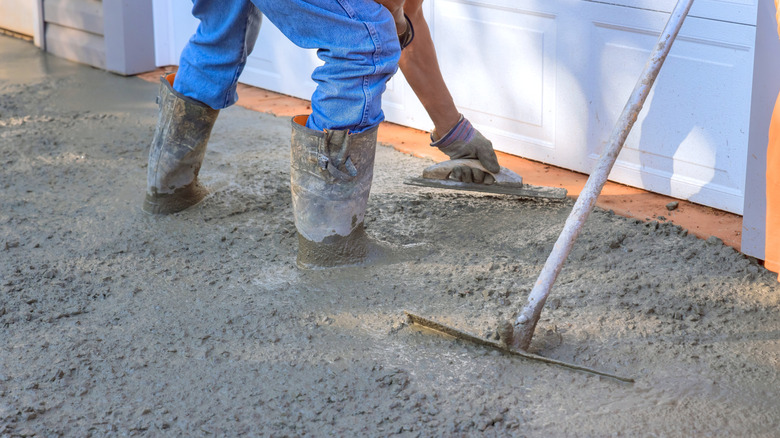
Pouring concrete seems like a relatively straightforward job. You mix it, pour it, screed it flat, and then walk away while it cures. That's true to a degree, but just because you've achieved a beautiful pour that looks fabulous while it's wet and untested doesn't necessarily mean that the job is a good one. Most of the things that go wrong with concrete at some point down the road, whether it's flaking, shifting, or cracking, are usually a direct result of things you did or didn't do the right way before you poured it. Loose bases can cause settling and cracking, water can run toward your house if the slope isn't graded properly, or a lack of reinforcement can cause significant cracking and shifting, rendering the concrete slab useless in a fairly short period. And if too much water gets mixed in, you can limit the strength and durability of the concrete.
A surprising amount of thought and science goes into preparing concrete for pouring. Plus, of course, you do need to make sure that you adhere to all local codes, including pouring and finishing regulations. Pouring the concrete is just one small part of the job, and by the time you do it, most of the decisions, good or bad, have already been made.
Be sure to call 811 before you dig

Pouring concrete usually requires some degree of excavation, even if you're only laying a very shallow slab. Before you start work, you must contact 811 to let them know that you're planning an excavation. This lets your local utility companies come out to the site and mark the location of any buried lines. The exact waiting period varies by state, so you need to check your local guidelines. Just because you've waited for the prescribed length of time doesn't mean you can go ahead and start digging. Before you start the excavation, you need to confirm that all of the utilities associated with the request have actually responded. Some people make the mistake of thinking that their excavation is too shallow to matter and therefore skip calling 811, but actually, some utility lines can sit just a couple of inches below the surface. Therefore, no matter how shallow the excavation site, it's essential that you call 811 first.
According to the Common Ground Alliance 2024 DIRT Report, about a quarter of reported utility damage was caused by people not dialing 811 before they started excavating. While that may seem excessively cautious, lots of ordinary DIY yard projects require you to call 811, even if you're just laying a small patio.
Don't pour concrete on frozen or waterlogged ground
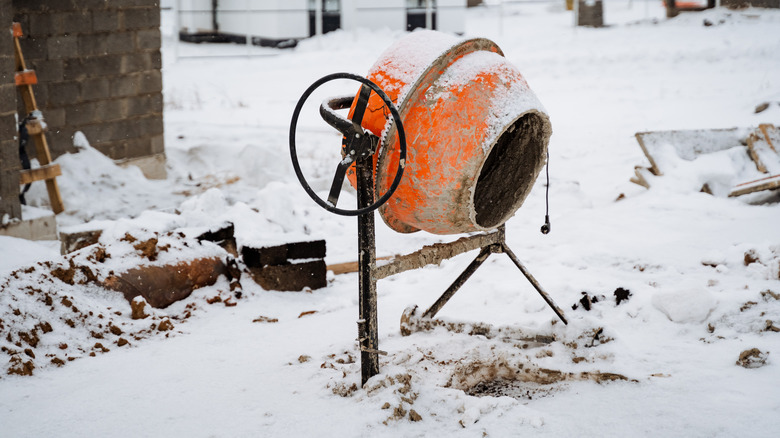
The condition of the ground when you pour the concrete has a significant impact on how the cured slab performs long term. When it freezes, the soil is temporarily firm, which can briefly mimic but is not the same thing as a stable base. After the temperature rises and the earth thaws, its firmness, condition, and volume change beneath the slab. Concrete science is fairly precise and requires more thought than just pouring it and covering it over with a tarp. Cold weather guidance for pouring concrete or working with concrete requires all contact surfaces to be above freezing before pouring. Aside from the potential instability of the base, if you pour while the ground is frozen, the concrete itself can actually suffer a loss of more than 50% of its potential strength if it's allowed to freeze before it's cured. This is another good reason to hold off if the conditions outdoors aren't favorable.
Waterlogging is another no-no. If the excavation site is squishy or has standing water, then don't pour. If it's waterlogged when you pour the concrete, you can end up with settlement issues, unevenness, and cracking as the water disperses and the subbase settles. Additionally, if there's lots of standing water, you change the cement-to-water ratio and end up with weak spots. Plus, there would be extra-wet patches that will take longer to dry. There's a lot to consider when pouring concrete in the winter months.
Compact a proper gravel subbase
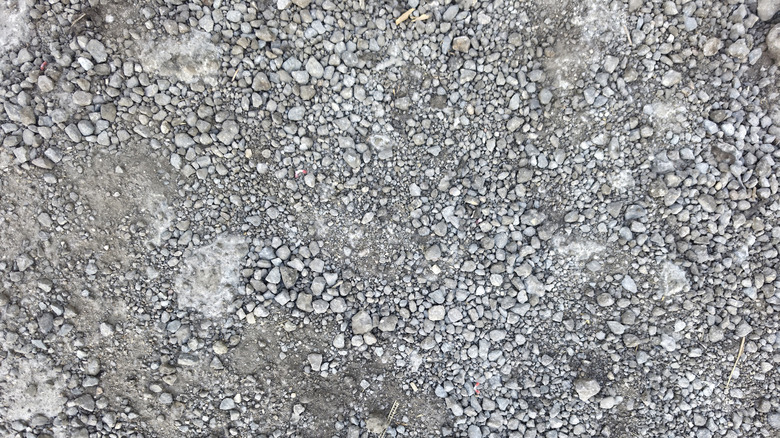
Some people talk about the subgrade and the subbase interchangeably, but they are actually two separate layers. The subgrade is the native soil and is the very bottom layer that's excavated in preparation for the subbase. The subbase is a layer of prepared material that sits on top of the subgrade. The subbase needs to be made up of properly compacted material to a depth properly suited to its eventual use. The compacted subbase for a residential driveway, for example, is usually around 6 inches. The type of soil in the subgrade, whether it's frost-prone or has poor drainage, all impact the subbase requirements. Sticking with the driveway theme, the type of concrete driveway you're building and the load it will need to carry also impact the necessary depth of the subbase.
Regardless of depth, the subbase needs to be well-compacted gravel or crushed stone. Contractors generally use a plate compactor or an appropriate tamper to get a firm, consistent surface. Remember too that the final compacted depth will be considerably less than the original fill depth. When compacted, there are fewer air pockets, and so a 5-inch fill can quickly become 3 to 4 inches. If you are attempting to DIY a concrete project — such as a small patio, for example — make sure you check the grade as you work on perfecting the compacting. After compacting, it's easy to end up with a shallower grade than you wanted and risk leaving water running toward the house instead of away from it. Make sure the subbase is relatively even, too. Sunken areas consume extra concrete, and raised areas leave you with thin spots once the concrete gets poured.
Match the concrete's strength rating and features to the job
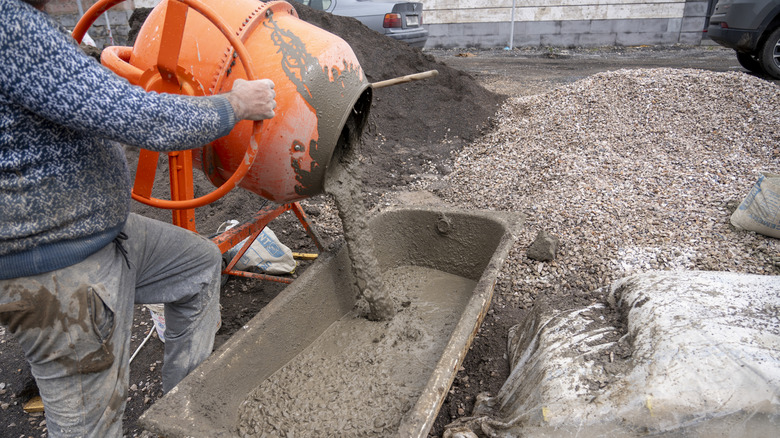
Don't just assume that any old concrete mix will do. The job you're doing determines what strength rating you need. A light-duty interior pad, for example, needs a much lower strength rating than a residential driveway. If you're planning a job outside, like a driveway, and you live in a climate that freezes during the winter, you also need to think about air entrainment. This refers to tiny intentional air voids that give freezing water a safe way to expand. Air entrainment improves durability and lifespan because the concrete is less likely to shift and crack with repeated freezing and thawing if the water is able to expand within these small voids. Nobody wants a crumbling concrete driveway just a few years after paying to have it installed.
Pressure per square inch (PSI) is the key strength rating for concrete, and a standard driveway generally requires 4,000 PSI. As well as concrete's strength and features such as air entrainment, the thickness of the poured slab also plays a part in its capability. Sticking with the residential driveway theme, most local codes require a 4-inch minimum slab depth, and driveways required to hold heavier vehicles will need more. Both concrete strength and slab depth are important factors. Again, local building codes differ, so be sure to check with your local zoning office before you start work.
Reinforce with rebar or wire mesh sized to the slab
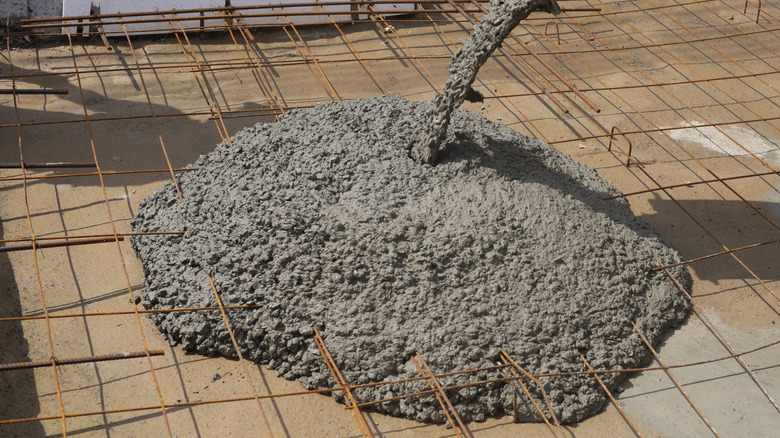
As a general rule of thumb, you use mesh reinforcement for thinner slabs and rebar for anything that's 5 inches or thicker, but that's only a general guideline. Appropriate reinforcement depends on the slab dimensions, the type of load it is expected to take, the joints, ground condition, its eventual purpose, and local requirements. A standard residential driveway will have different reinforcement requirements than a structural slab, a garage foundation, or a patio.
Make sure you use the correct reinforcement for the job that you're carrying out. Don't make the mistake of assuming that using extra reinforcement will let you cut corners in terms of the thickness of the slab or the strength of the concrete. It won't. However good your reinforcement, if you get the concrete mix or the depth wrong, there's still a good chance you'll end up with cracking and shifting. Some contractors also use synthetic fibers as an additional kind of reinforcement that helps reduce shrinkage cracking, but this doesn't replace mesh or rebar. It just adds to it.
Don't randomly add extra water to the mix
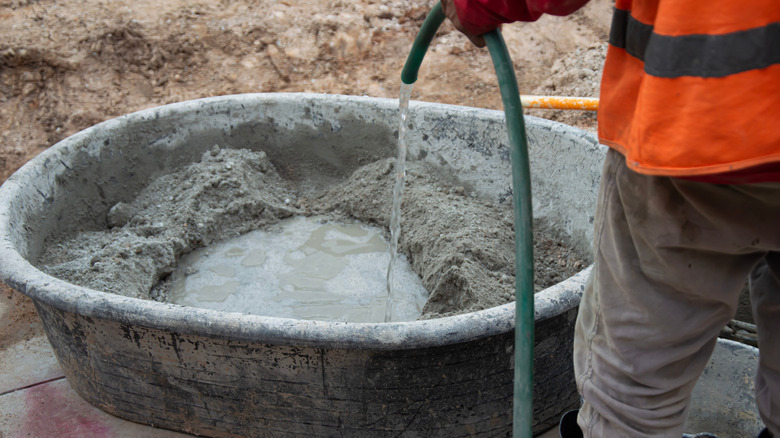
To most people, it doesn't seem like a huge deal to add a bit of extra water to a concrete mix. In fact, for some people, it could make sense at least on the surface because adding water makes the mix runnier and easier to work with and speeds up how long it takes to pour. However, doing this changes the water-to-cement ratio. Obviously, the wetter the material is, the longer it's going to take to dry and cure.
But it goes beyond just taking a longer time to dry and be ready to use. A bad water-to-cement ratio harms the final product in multiple ways. The inexperienced DIYer would argue that it doesn't really matter because the water is going to evaporate anyway, regardless of mix ratio. This is true. However, as the water evaporates, it leaves air pockets behind, which weakens the strength and structural integrity of the concrete slab. It may not be fit for purpose and will certainly have reduced durability and increased cracking potential.
Slope the slab away from the house
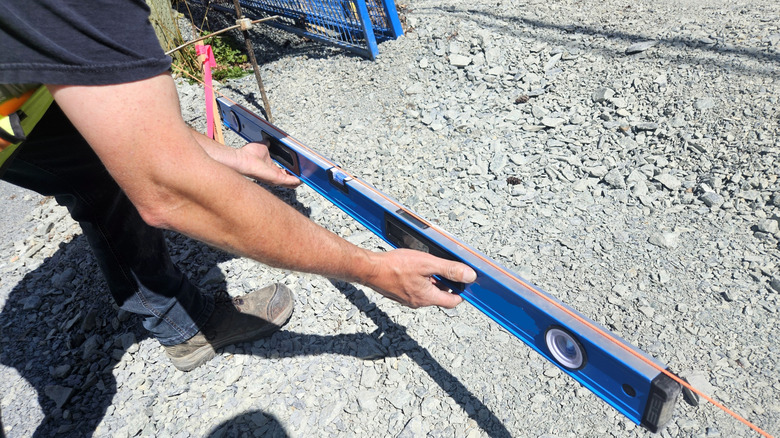
Appropriate grading is really important when it comes to pouring concrete. Water that pools against your house regularly can cause significant problems. If you're laying a patio or driveway, it's essential that it's sloped slightly, even if it looks level, so that the water runs away from your property. It shouldn't be dead level either, because then you'll get standing water, which also isn't a particularly good option.
Water needs a way off of the patio, walkway, or driveway that you're building. Your local planning office will have specific guidance, so be sure to check there before you start pouring. A common minimum is ¼ inch of fall per foot, or an approximate 2% gradient. The slope you need should be figured out at the very beginning. It will affect excavation depth and form height, so it's not just something you can wing as you go along. You also need to think about where the water is going as it leaves your property. You don't want it running off of the driveway or patio that you're building, straight into your neighbor's yard, against a retaining wall, or into a low spot that can't handle it or doesn't drain naturally. If you have no good naturally-draining options that won't upset the neighbors, you may need to add a channel drain, which is an effective way to stop your driveway flooding, or another type of drainage during construction to handle rain and storm runoff adequately.
Don't overwork or overfinish the surface
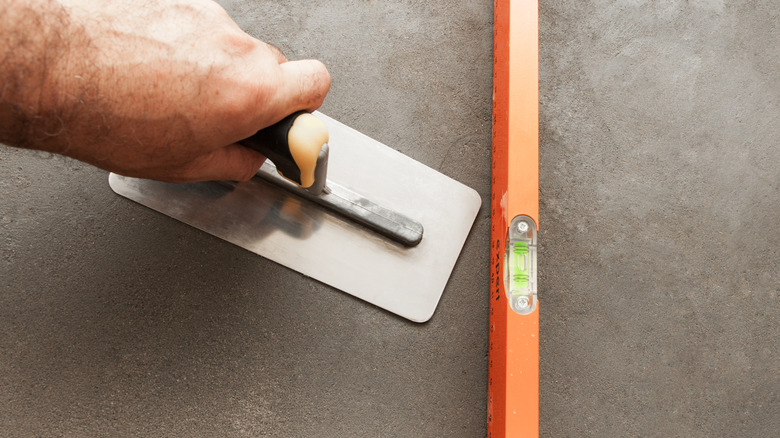
It's tempting when you're in the home stretch to try and get the job done as fast as possible so you don't have to worry about it anymore, but overworking or over-finishing concrete can ruin the finish and cause other problems like low spots, cracking, crazing, or delamination. After the first pour and initial level, waiting is essential because water will bleed upward as the concrete settles, and you need to let that water evaporate before you carry on with the finishing. If you attempt to do the final finish while bleed water is still there, you'll ruin the end result.
Avoid sprinkling cement onto wet patches to try and speed up drying. This will just end up with a dusty finished surface. Spraying water across a stiffening surface so that your trowel glides more easily will also result in a poor finish. Don't touch the concrete any more than is absolutely essential for getting the desired finish. Even excessively troweling the surface can cause problems. This can inadvertently create dark trowel burns. You'll also get an undesirable texture if you hold your trowel consistently at an improper angle. Additionally, air-entrained concrete bleeds at a slower rate, so you need to give the surface water more time to evaporate. If you go at it too early, you'll end up with a delaminated surface.
Cut control joints at the right depth and spacing
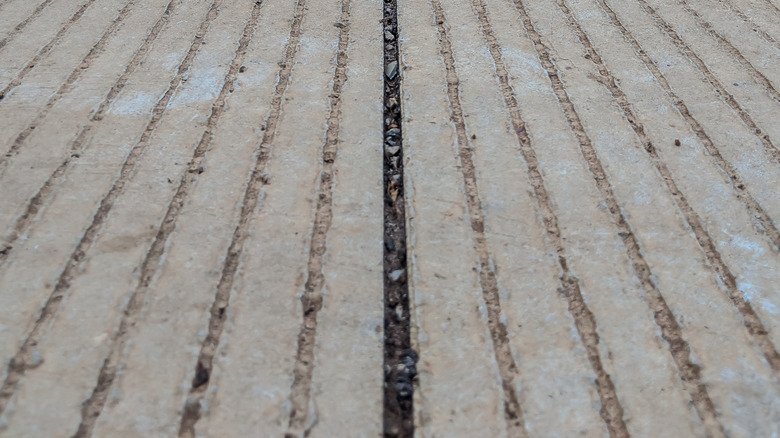
While repairing cracks in concrete is possible, most people prefer to minimize the risk. Even if the mix includes fibers to help reduce shrinkage, a certain amount of shrinking and movement is inevitable, so you can't completely eliminate the chance of cracking. However, placing control joints, which are deliberately positioned weakened planes, lets a contractor accommodate cracking in the right places. Contraction joints are no less than 1 inch deep or at least a quarter of the thickness of the slab and can be constructed with a hand tool, saw cutting, or by the insertion of forms.
Where you place these joints is also important. They shouldn't be any more than 36 times the thickness of the slab apart. Therefore, if you've got a 5-inch-thick slab, your contraction or control joints shouldn't be any more than 15 feet apart. Additionally, to avoid unwanted cracking, joints should be placed so the unbroken stretch of slab is approximately square, or no more than 1.5 times the width. L-shaped panels are also inadvisable because it's difficult to control cracking around corners.
Don't skip proper isolation joints where the slab meets a fixed structure
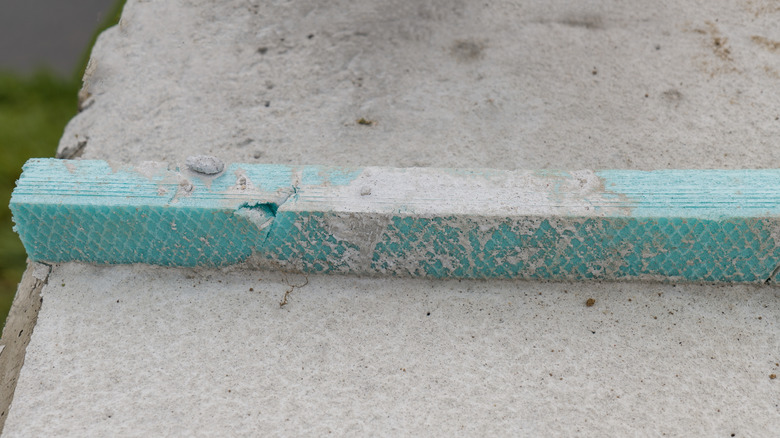
People who are new to working with concrete sometimes confuse isolation joints with control joints. They are not the same. Control or contraction joints are there to encourage cracking at specific points within a slab. Isolation joints separate the new slab from any adjoining structure. Their purpose is to allow the slab and the fixed structure to move independently without fighting each other. This reduces any potential stress that may result if the two butt firmly up against each other with no independent movement.
Isolation joints are used where a slab is poured next to fixed structures like footings, columns, steps, sidewalks, a house, or a garage. A compressible filler, such as asphalt-infused fiber sheeting or compressible foam, is used at the joint before the concrete is poured. This is to make sure that when it is poured, the slab is technically separate from the fixed structure it's sitting against. This process ensures that the slab or the structure doesn't heave or crack because without an isolation joint, the two structures can move against each other in the wrong way and result in one of those problems.
Wear the right PPE to avoid caustic burns
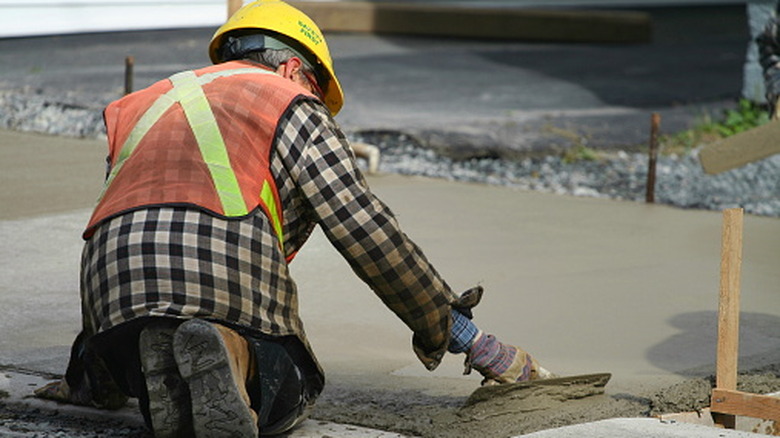
Cementitious mixtures are caustic, though most people treat concrete like thick, heavy mud. When you mix cement with water, it becomes strongly alkaline, and it only takes a few minutes to reach a pH of more than 12. A burn can become severe before you even notice that you've been exposed, especially if you get a little bit of the concrete mix inside a glove or your shoe. Wearing personal protective equipment (PPE) is a necessary precaution, even if it feels like overkill. You need alkali-resistant waterproof gloves, waterproof boots, long tough work pants, a long-sleeved top, and eye protection.
If you do all of this and still manage to get wet concrete inside a glove or a boot or on your skin, stop working immediately and wash it off with clean running water. It's also a good idea to make sure that you have your hose set up ready to rinse off just in case. If you don't have an outdoor tap, then have a clean bucket full of water ready nearby just in case you need it.
Don't strip the forms too early
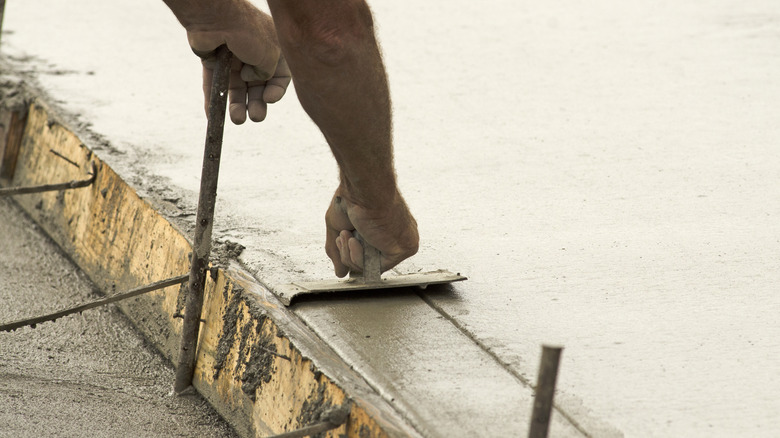
Concrete forms keep the wet concrete in place so it doesn't slump or escape. They need to be properly braced so they can resist the considerable pressure of the heavy wet cement. They need adequate framework and stakes driven along their length to keep them steady so that the bowing forms don't compromise the slabs' overall dimensions, edge thickness, and shape.
Do make sure, though, that the stakes are on the outside of the forms. After you've poured the concrete, don't try to rush removing the forms. Just because the concrete looks like it's hard-ish on the top doesn't necessarily mean that it's dry enough below the surface to not slump outward without support. You'll need to leave the forms in place for at least 24 to 48 hours depending on the temperature, how wet the mix was when it was poured, and the thickness of the slab. In cold and damp conditions, you may have to wait much longer before you can safely remove the boards.
Cure the slab for at least a week
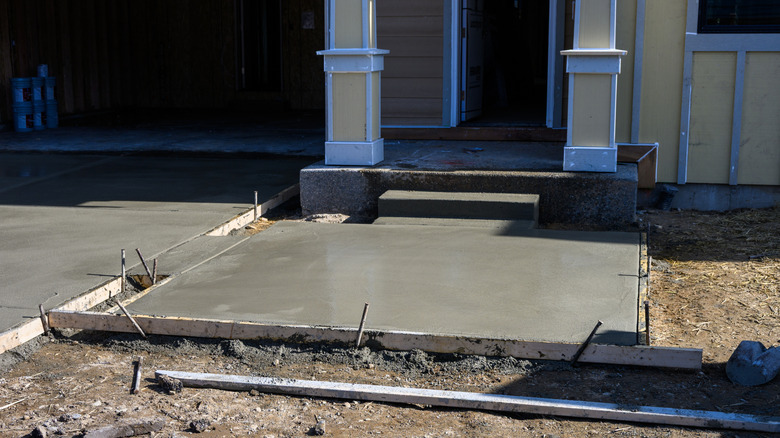
Curing concrete isn't just letting it dry out in the sun. Concrete hardens through a chemical reaction between the cementitious materials and water. To cure concrete, you need to keep the area suitably moist and within a specific temperature range so that the reaction can happen in its own time.
Generally, this external curing takes between three and seven days, depending on the mix, weather conditions, and the specifications of the job you are actually doing. Continuous sprinkling or fogging is one common option, as is wet burlap or other absorbent coverings if they remain wet. There are also liquid membrane-forming curing compounds that can reduce evaporation from the surface. White plastic sheeting is useful because the plastic retains moisture underneath while the white color reduces heat gain. Curing correctly is vital because concrete that's just left to dry out can lose as much as 50% of its potential strength. The curing process, when done correctly, also improves surface hardness and durability and reduces the likelihood of surface dusting, crazing, scaling, and cracking.