

How To Transform A Pickle Jar Into Countertop Storage With A Rustic Touch
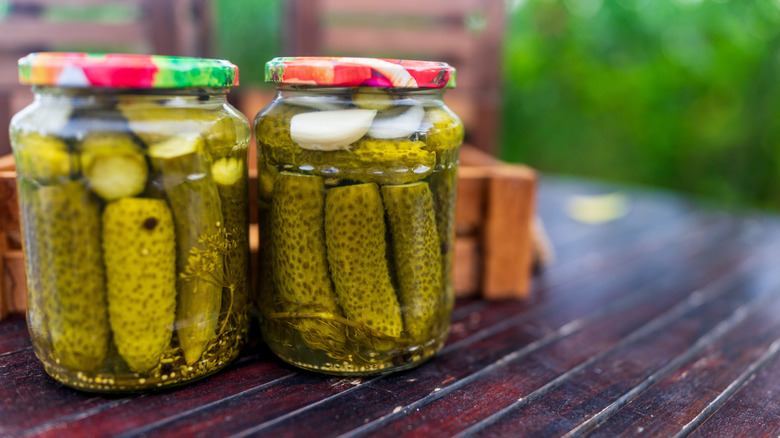
Ever felt guilty about tossing out an empty pickle jar after you finish it? Next time, instead of throwing it in the garbage or recycling can, you could use it in a DIY project to create more countertop storage. It's a simple craft that elevates the jar lids with an ornate handle. When finished, these jars almost look like Mason jars, which are perfect for creating a rustic feel in your home. To pull it off, you'll need the jar, a wooden spindle from an old chair (or something similar, like a dowel), a dresser drawer or cabinet knob, a bolt or wood glue, and spray paint.
In the inspiration TikTok, the creator put different types of candy in the jars, placing them next to fall-themed decor for a functional and festive display. If you want to stick with the seasonal theme, you might add artificial leaves for autumn, or you could DIY an adorable Christmas village in December and use the jar to store candy canes or hot chocolate packets for rustic holiday ornaments. Beyond decor, your upcycled pickle jars would also be great for holding snacks, baking ingredients, or tea bags.
So, what are the steps involved? First, you'll need to put in a little prep work to get the jars ready for this project. Begin by washing the inside and outside with dish soap and warm water. If necessary, you can use baking soda and olive oil to make a DIY Goo Gone to easily remove the label. Once the jars dry completely, it's time to decorate the lids.
How to customize your DIY storage jars
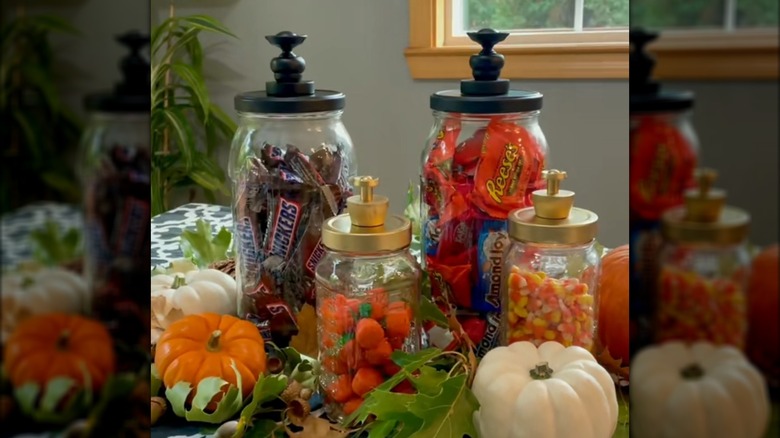
Next up: Building the jar lids. If you're using long spindles or dowels, you'll need to cut them into thinner slices, so each one is a few inches tall. Then, drill a hole into the middle of the lid and the spindle pieces. To make sure they're aligned and fit together, thread the bolt through the underside of the lid and screw the pieces on top. (Don't feel like drilling and screwing? You can use wood glue instead.) If you're happy with the way it looks, take the stack apart, lay each piece on a sheet of newspaper, and spray paint them whatever color you'd like. Matte black and gold naturally fit the rustic theme, but you might prefer a more vibrant shade, like pink or blue. When everything is dry, reassemble the lid.
At this point, you can decide if you want to stick with the clear glass look, or if you'd rather customize your jars, like etching the glass to make it your own. But if that's not your style, you could always paint your jars, draw on them with glass markers, or add stickers to the outside. For a more of a rustic look, you could wrap twine around the outside or glue pieces of denim.
Outside of the kitchen, these jars would blend in nicely on a bathroom counter or on a vanity. They'd be great for storing cotton balls, Q-Tips, hair accessories, or toiletries. You might even put one on your desk and fill it with office supplies, or in your crafting room to organize thread, needles, and other supplies. It's a simple project to elevate your storage with a chic, rustic touch.