

Use Seashells To Create Budget-Friendly Coasters With A Clever DIY
We may receive a commission on purchases made from links.
Walk through a crafters' market and you'll likely see some incredible resin art, ranging from keychains and trinket trays to wall hangings and sculptures. There are lots of ways to incorporate resin art in your home, and you don't need to be an expert crafter or spend a lot of money to make most of them. Creating stunning beach-themed resin coasters with seashells is a particularly budget-friendly beginner project.
If you're new to working with resin, the options can feel overwhelming. Many products are labeled as epoxy resin, but not all of them will be right for this project. They have different purposes, viscosity, working and curing times, hardness, clarity, heat resistance, and more. For example, tabletop epoxy resin is used to coat large surfaces like countertops and tables, and deep pour resin is best suited for thick projects. For small projects like coasters, you need craft epoxy resin. The Puduo Crystal Clear Epoxy Resin Kit for $14 is beginner-friendly and commonly used for making coasters, jewelry, trays, and other small decor items.
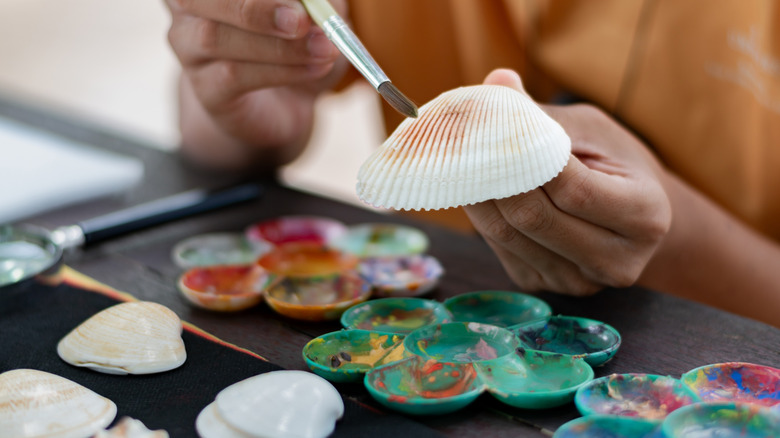
If you already have some seashells among your craft supplies, you can definitely use those for this project. Alternatively, you could keep the empty clam, oyster, or other shells from a meal. To best save seashells to use as decor, boil the empty shells in water for five minutes or soak them in a one-to-one solution of bleach and water. Otherwise, you can purchase seashells for your project — this 100-piece pack of Weoxpr Mixed Seashells and Starfish costs about $9. Get some Tumbler Home Real Beach Sand, too.
Making a layered epoxy resin coaster with seashells and sand
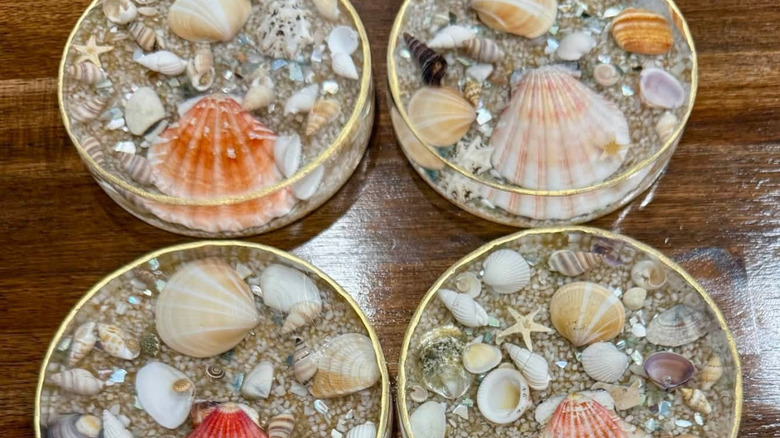
You need to slowly and consistently mix the resin and hardener in your craft epoxy resin kit in a 1:1 ratio. To reduce the chance of getting air bubbles in the resin, put the bottles in warm water for 10 to 15 minutes before mixing. Once the resin is ready, choose a mold in your preferred shape from the 18-piece Let's Resin Silicone Coaster Mold set and fill it halfway. Again, go as slowly as possible to avoid bubbles.
Gently place the shells on this first layer of resin and sprinkle on some sand. You can push the shells into the resin a little, but don't let them touch the mold's base. Set the mold to one side for four to six hours to stop the shells and sand from shifting around when you pour the second layer. Mix another batch of epoxy resin and pour it over the shells and sand, making sure it gets in all the crevices. Then fill the mold with more resin. Place the mold in a room with a temperature of 70 to 75 degrees Fahrenheit for best results, and leave your creation to cure for however long the manufacturer recommends.
If you're worried about how the shells and sand will look, do a trial arrangement before mixing and pouring the resin. You can photograph your test to refer to later. Customize the coaster for yourself or another person by embedding Looconi Gold Letter Beads in the resin, spelling out a name, destination, or year. Or add a touch of cuteness to your coaster with some Dtofoot Hawaiian Summer Beach Flatback Charms. You could also color the resin with SigWong Translucent Epoxy Resin Pigment. A 16-color set costs about $10.