

The Impressive DIY That Transforms Old Wood Pallets Into Beehives
We may receive a commission on purchases made from links.
Beekeeping offers plenty of benefits for gardeners, from providing a supply of honey to helping pollinate plants. Unfortunately, in summer 2026, the price of lumber reached the highest level in four years, according to The Wall Street Journal, making it expensive to buy — or build — beehives. To reduce costs, you can make five-frame nuc boxes, which each hold a nucleus colony of bees, from old pallets. YouTuber Bruce and His Bees has a helpful tutorial, though it also helps to have some woodworking experience since the project involves cutting and reassembling lumber. Still, if you're relatively new to woodworking, it's doable, so don't let that put you off.
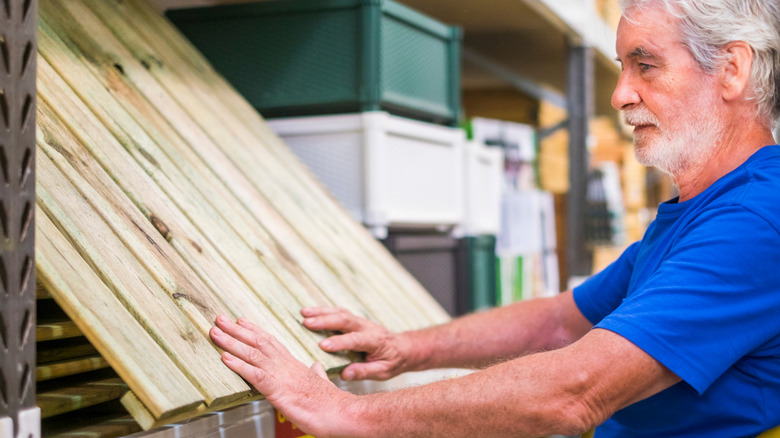
To start, you'll need to get some wood pallets. Luckily, there are likely lots of places to find free pallets near you, including construction sites and online marketplaces. That said, there's an important safety check you can't skip before working with wood pallets: reading the codes. The codes on pallets tell you whether the timber has been exposed to or treated with chemicals that might harm bees. Look for the stamps DB (debarked), HT (heat-treated), and KD (kiln-dried), and avoid anything with SF (sulfuryl flouride) and MB (methyl bromide). You'll also need a couple of pieces of 4-inch by 8-inch lumber from Home Depot and five frames. This 10-pack of MayBee Medium Super Beehive Frames with Wax Foundations costs about $38. Get, too, some Titebond III Ultimate Wood Glue for around $5 and some wood screws. For tools, you'll need a hammer, a circular saw, a router (and, ideally, a router table), a table saw, an electric drill, and safety goggles.
How to assemble a beehive made from wood pallets
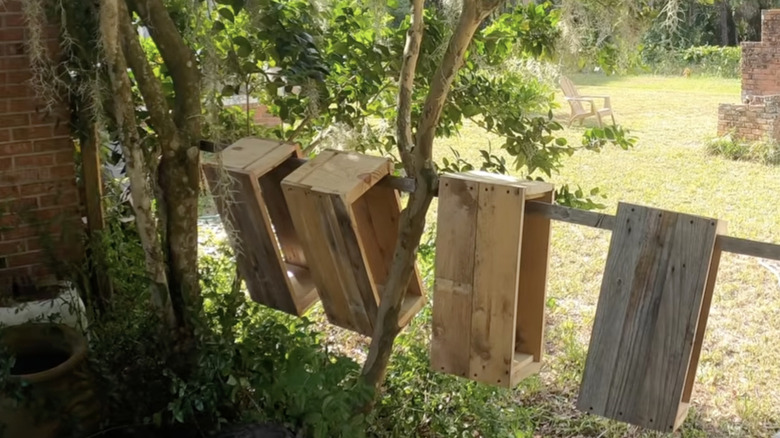
After gathering your supplies, put on the safety glasses and disassemble the wood pallets using a claw hammer and a piece of wood. Break the pallets into individual planks and remove and discard the nails. From there, use a circular saw to cut each plank shorter, keeping them all the same length. How long you make them depends on the length of your beehive frames. Set the pallet wood aside and take the store-bought lumber over to your router table. Make a groove near the end of each plank for grip as you work. On the other side of the plank, cut out a shelf or rest for the frames to hang from. These are the short ends of your beehive. YouTuber Bruce and His Bees makes a ¾-inch-deep rest, but you can vary the depth based on the size of your frames.
To assemble the beehive, stand the short ends on your workbench with the finger grooves at the top facing outward. Apply a layer of wood glue to the top surfaces of the short ends and lay the first piece of pallet wood on top — the edges should be flush. Screw the pallet wood to the end pieces, then repeat this process to create the first side of your beehive. A few tips to help you safely use a table saw to trim overhang include using the right blade, standing correctly, and ditching the gloves. Flip the beehive over and repeat these steps to build the other side. Treat the outside of the beehive with a bee-safe wood preservative like Eco Wood Treatment Silvery Patina Wood Stain, and, optionally, fit a screen to the back. Slide in three to five frames, and your new beehive is ready to use!