

Transform Large Egg Cartons Into A Funky Lampshade With A Simple DIY
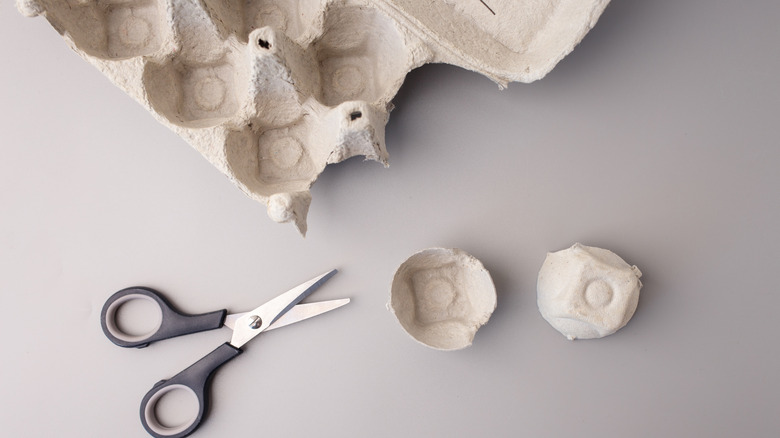
Egg cartons are such unique packaging with a clever arch design that fits your fragile eggs perfectly and protects them from getting crushed. But avid DIYers know very well that these cardboard trays can do much more than hold eggs. Once you've used up all the eggs, you can transform the egg cartons into stylish DIY home decor. And one of our favorite ideas is making a funky lampshade from large trays. It's one of our favorite types of DIY projects that doesn't require a lot of effort.
The supplies needed are things you probably already have at home or can source for cheap. First, get three large egg trays, the kind that hold 30 eggs each. If you don't have any on hand and don't want to buy eggs just to get the carton, try your local breakfast place. They may have some clean, empty egg trays they'd be willing to give you rather than throw away. You'll also need a few zip-ties, spray paint (or regular acrylic paint and a paint brush), and a utility knife. Optional decorations include gemstones or decorative buttons, which you can attach using a hot glue gun and glue sticks.
How to make a DIY lampshade using large egg cartons
The first step is to make openings in the cartons, which will create an interesting pattern when the finished structure is illuminated. Grab a utility knife and carefully cut off the pointed ends of the egg divider sections. You can either cut only the upward-facing pointy ends or also snip off the ones on the bottom side. The choice is yours.
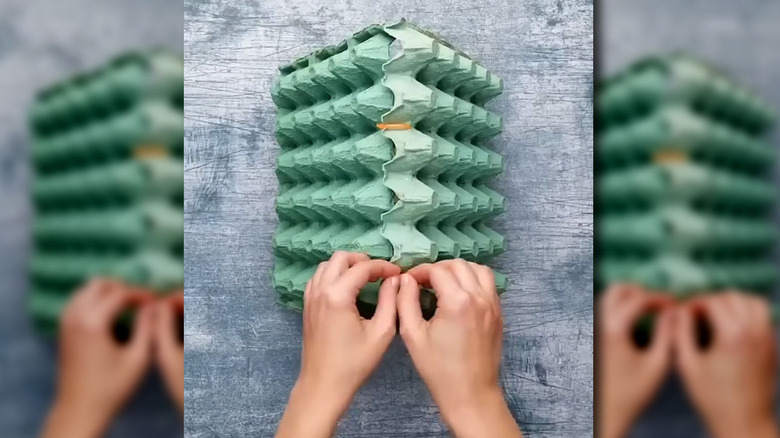
Next, to put the trays together, place one tray flat on a surface, then position the other two vertically on opposite sides of the bottom tray. Let them slant inward and touch at the center to form a triangular shape. Seecure the trays together along all three seams. You'll use the zip-ties and pass each one through the holes you made that are closest to the edge of each tray. Start with one or two zip ties along each seam, adding more if needed to keep the structure stable. Alternatively, use a needle and thread to sew the cartons together along each joint.
Finally, turn your creation over so the triangular structure stands upright. At this point, the basic shape is complete and ready for decorating. However, you may want to add one step to ensure the DIY lampshade is not a fire hazard and that involves adding a heat-resistant inner lining. This will prevent the carton from overheating when the bulb is on or potentially catching fire.
Decorating your DIY lampshade and mounting it
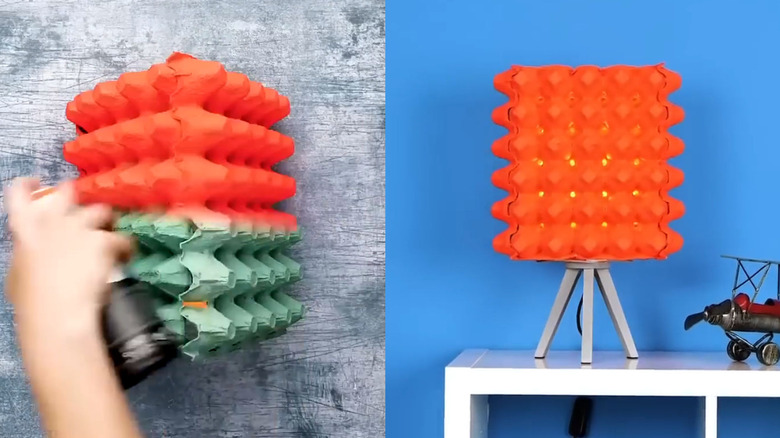
Jazzing up your DIY creation comes down to personal preference. You can leave the lampshade in its original cardboard color if you want a quirky, extra-rustic vibe. But you can also add a coat of paint on the outer surface for a cleaner finish. So either use spray paint for a quick and easy process or go for acrylic paint and apply it using a brush. Make it even more interesting by painting each of the three sides a different color. Want some sparkle? You can use a hot glue gun to attach little rhinestones or decorative buttons at various points on the egg cartons (just avoid covering the holes you made as they also allow for ventilation).
With that, your lampshade is ready for installation. If your lamp base has a flat support plate below the lightbulb, you can place this DIY lampshade to sit on it. A better option, however, is to use a lamp base fitted with a lampshade frame that's compatible with our triangular DIY shade.
Again, to prevent a fire hazard, ensure sufficient space between the cardboard shade and the light bulb: at least 1 to 2 inches if using a low wattage incandescent bulb or an LED one, or 3 to 4 inches if using a high wattage incandescent bulb. If you used the large egg trays for this DIY, your clearance should be good. And lastly, for choice of lightbulbs for you lampshade, you're better off going with LEDs as they are both energy efficient and generate the least amount of heat.