

Why Painters Shine A Light Across A Wall That Already Looks Smooth
We may receive a commission on purchases made from links.
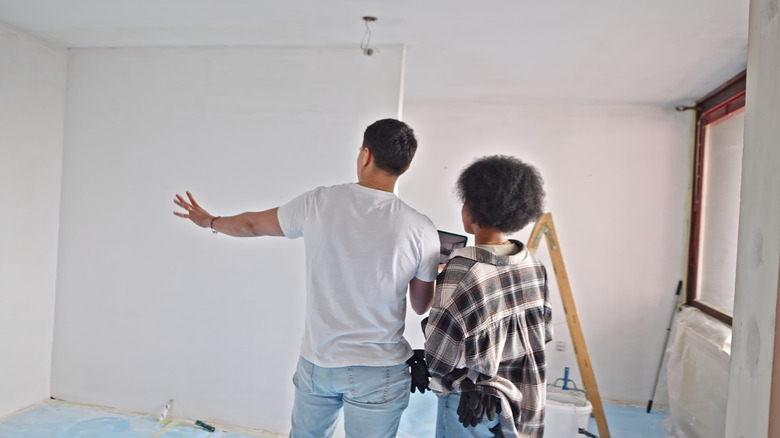
Have you ever watched a professional painter apply red paint to the walls in a living room? Or perhaps they used a bold shade of blue, a neutral hue like tan, or any of the various tones of white. If you were privy to the entire painting process, you may have seen them shine a light along the wall. Why? Allow us to illuminate you. They use the light to prepare a room before slathering on a coat of paint — the bright beam highlights imperfections.
While your wall may look perfectly smooth to the naked eye, it's surprisingly easy to miss minor dents, divots, cracks, rough spots, or seams where sheets of drywall join. Standard overhead lighting tends to smooth imperfections and hide flaws from sight. Normally, that's a good thing, but if you apply a fresh coat of paint or two to an uneven surface, the lumps and bumps can become more noticeable.
That's why some professional painters rely on an optical effect called glancing lighting. You hold a flashlight or work light nearly parallel to the wall — at a low angle of five to 15-degrees. The beam of light exposes cracks, rough spots, and dents you can't see when looking at the wall straight on. If you move the light around so it shines at a variety of angles, you'll expose all the areas that need to be sanded or filled in before painting.
Use a light on your walls when preparing to paint them
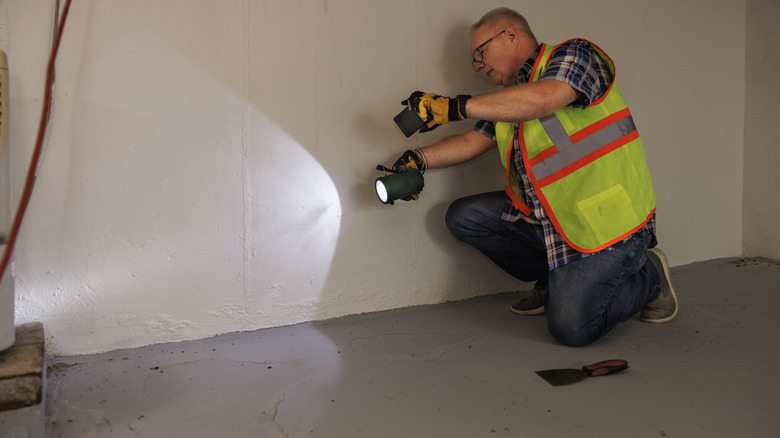
To illuminate your wall's imperfections, use an LED work light on a tripod, like the Husky 7,000 Lumens Portable Corded LED Work Light from The Home Depot, or a hanging work light, like the Woods 500 Watt Yellow Portable Work Light. Move the light slowly across the surface of the wall, rotating it through a variety of acute angles to catch all the flaws. Lightly circle every problem area until you've identified the extent of the imperfections.
For walls finished with water-based paint, sand any rough spots with fine-grit paper. If the walls are covered with oil-based paint, you'll want to reach for a middle-of-the-road sandpaper, like 100- or 150-grit. Using a putty knife or your fingers, fill indentations and cracks with spackling paste. Allow the spackling paste to dry for at least 15 minutes before going over the spot again with fine-grit sandpaper. Then, prep your walls for painting in just a few easy steps: apply a coat of primer and repeat the lighting check to ensure you've fixed every flaw.
To avoid the mistakes everyone makes when painting their home, don't forget to clean the surface thoroughly before applying the first coat of paint. This removes dust, hair, or other debris that you don't want to get trapped under a layer of paint. No matter how skilled you think you are with a brush and roller, mark off your painting area with painter's tape to ensure a precise finish.