How To Prep Your Walls For Painting In Just 5 Easy Steps
We may receive a commission on purchases made from links.
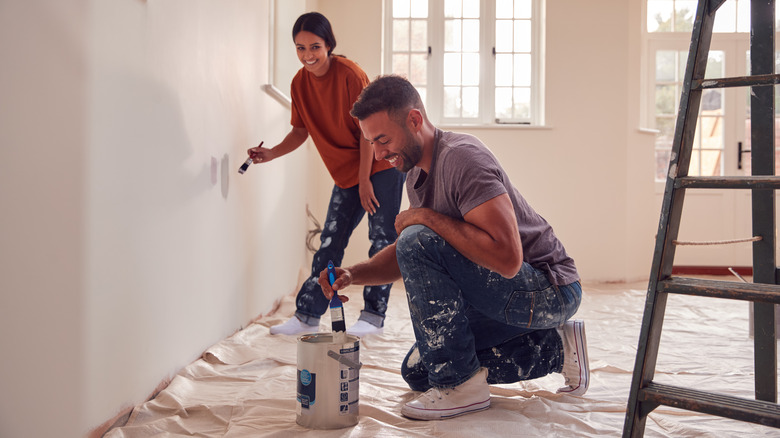
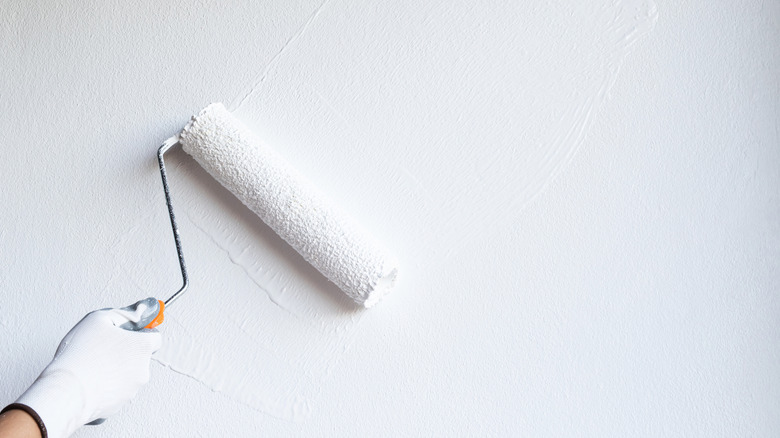
When deciding to paint a wall, it's normal to want to skip to the fun part: actually painting the wall. However, before you open your new can of paint and start going to work, you'll need to prepare your wall. Bear Mountain Painting highlights the importance of preparing before painting. They say that, when following the right steps, your paint will better adhere to the wall, and you'll get a better result overall, with crisp lines and a smooth finish. Also, your color will be more evenly distributed on your wall's surface. And, if you prepare the wall, it will be more durable and resistant to damage.
Luckily, the five steps required to prepare your wall are pretty simple. These steps could easily be completed by just about anyone, and they won't take very long. Below are the five easy steps you'll need to follow to prepare your wall for paint.
Fill

The first step is to fill any dents, cracks, or holes in your wall. Home Depot says to wear eyewear and other protective gear when completing this task to protect your face from dust and debris. To fill a small hole like one from a nail, you'll first scrape away loose debris with a brush or cloth. Then, fill the hole with spackling paste on a putty knife or the end of your finger. Unpakt says that you may need to wipe around the hole with a damp cloth, to remove excess spackle. You'll then allow the spackle to dry. Check the container for drying times.
Cracks in the wall will need to be widened with a knife before they are filled with spackle. You'll also need to wipe away any debris. When spreading on the spackle with a putty knife, go over the whole area around the crack, then allow it to dry. If the gap is over 1/2 an inch wide, you may need to cover it with drywall tape and repeat the spackling steps. For larger holes, you'll need to cover them with a self-adhesive patch or a small piece of drywall before spackling.
Sand
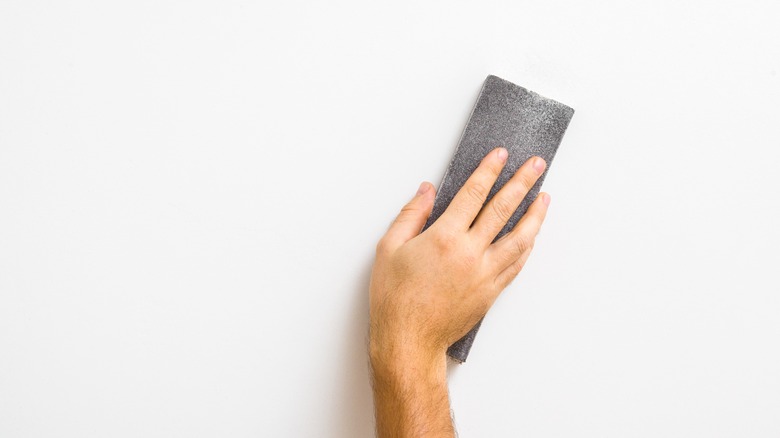
The next step is to sand your wall with sandpaper or a sanding block. Lowe's says that if a wall is filled, you'll need to sand the area down. Sanding will ensure the filling is even with the rest of the wall. However, even if you don't fill any gaps, you may still need to sand down your wall. Think about your wall as a canvas. You want your wall to be completely flat and seamless before beginning to paint, so you should take the time to smooth it down.
Benjamin Moore says to sand down any rough patches on the wall. Walls that have been painted in the past with water-based paint should be filed with fine sandpaper, while those painted with oil-based paint should be filed with medium sandpaper. Before sanding down flaking paint, make sure to remove any loose pieces. After sanding, wipe away the dust.
Clean
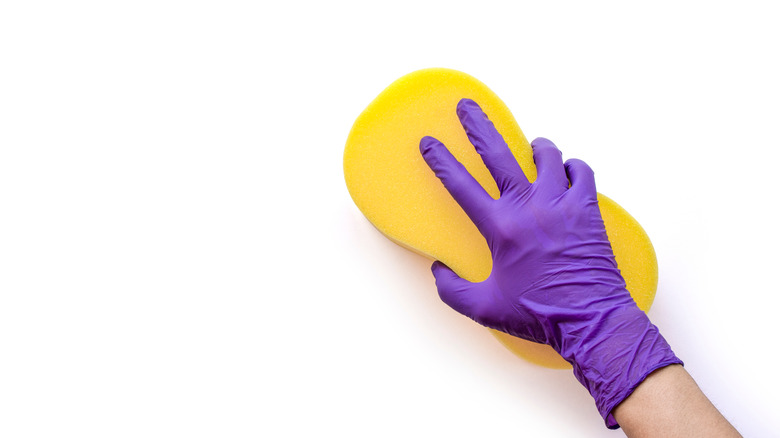
Cleaning your walls is a step that many skip in their prep process. However, cleaning is essential because your walls might be dirtier than you think. They are most likely covered in dust, hair, and debris. If not removed, these things could get caught in your paint and stick to your wall, per 21 Oak. According to Do It Best, cleaning is also essential for your painter's tape to stick to your walls. This will ensure you achieve clean and crisp paint lines.
Benjamin Moore says you can clean most walls with a warm, damp sponge. However, on walls with grease or oil stains, you may need to mix water with a detergent that cuts through grease. If using a soapy substance, wipe the wall with clean water to remove soapy residue. Also, make sure the wall dries thoroughly before continuing the prep process. Another issue to address is mold or mildew because these substances can grow through paint. Before cleaning, wear gloves and goggles. Mix three to four parts water with one part bleach and apply to the area with a sponge. After a few minutes, scrub the area with a soft brush, then rinse.
Tape
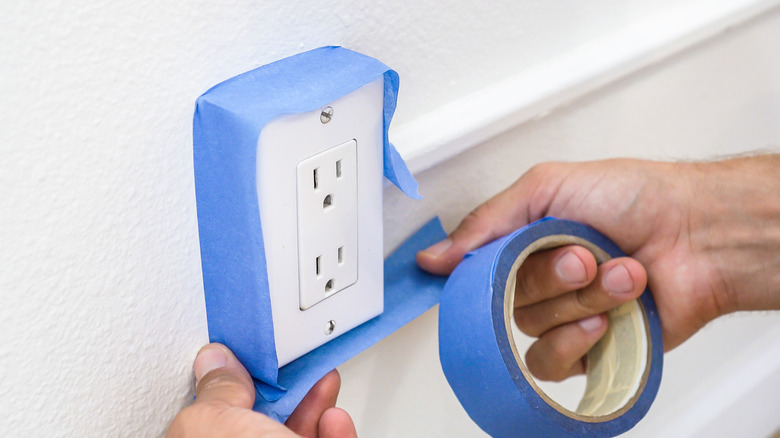
Once your walls are clean and dry, you can begin taping. Do It Best says that, before taping, paint with the original color around any corners, then let dry. This will allow you to get a straighter line when removing the tape. When applying tape to corners, it doesn't need to be perfectly placed in the corner. To get a nice, straight line, apply slightly off of the corner. Once stuck to the wall, apply pressure to make sure it's sealed.
To apply tape to trim and baseboards, use small amounts of tape. This will help you get a straighter line. Do It Best suggests using 6 inches at a time, while 21 Oak says to use a foot at a time. You can apply pressure with a putty knife. If you break off the small pieces of tape, make sure to overlap them. Avoid stretching the tape as the paint could seep through. To tape the corner, break off a larger piece than you need, then use a knife to cut the edge.
Prime
Finally, prime the wall before you begin to paint with your chosen color. Primer is typically white or neutral in color and appears flat, per The Balance Small Business. It's also sticky, so it allows the paint to apply easier. Primer prevents darker colors underneath from bleeding through, so your wall is as close to your chosen paint color as possible. If your wall has any stains from water or mold, a primer will hide these. Water-based primers are the best ones to use to cover stains. And, when painting a newly finished wall, the primer will hide drywall joints or seams. You can apply the primer in the same way that paint is applied, with a brush or a roller.
21 Oak says that if your paint comes with a built-in primer, you can skip this step. However, The Balance Small Business suggests not skipping the priming step, especially for walls originally painted a dark color. Applying the primer first will ensure you get the best results possible.