

Gardener Transforms Tuna Cans Into A Tiny Edible Garden
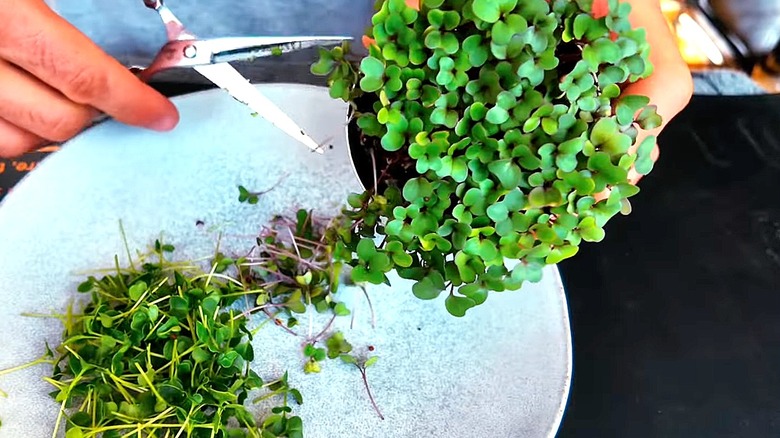
As gardeners head into the winter months, many are already mourning the ability to produce their own fresh, nutritious greens in the backyard. But all is not lost! You can still grow microgreens indoors for a quick and nutritious harvest. On his YouTube Channel, Greenhouse Gardener shows how to grow thriving microgreens without an outdoor space by using empty food tins.
Although they may sound like a space-age invention to the uninitiated, microgreens are simply immature seedlings that are planted thickly to grow in a dense mat. These get harvested when they're little more than a week old, by clipping the slender greens and heaping them over salads, sandwiches, and cooked foods. These greens aren't only packed with nutrients, but easy to grow indoors with the help of a sunny windowsill or a simple grow light.
Enthusiastic gardeners may start out with special growing mats or trays, but Greenhouse Gardener keeps it extra simple by sowing seeds in clean tuna cans. He pokes several holes at the bottom of the cans for drainage, using a hammer and nails. Next, he fills four cans with 4 parts peat or coco coir to 1 part compost. After thoroughly dampening the soil's surface with a spray bottle of water, he thickly sows the surface of each can with a different kind of seed. In the demonstration video, he chose red cabbage, kale, a radish mix, and broccoli raab. Again, you don't need to buy special "microgreen" seeds. Simply use the same seeds you would in your outdoor garden.
Follow a few simple microsteps before harvest time
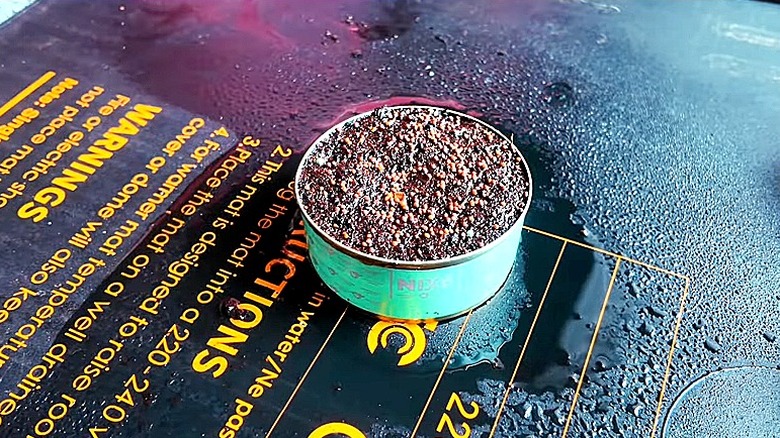
Next comes the germination prep. As an especially clever touch to ensure the crucial humidity and good soil contact between soil and seed, Greenhouse Gardener stacks the four filled cans. He then places a spare tuna tin upside down over the top filled can. This stack then gets placed in an area that stays between 60 and 75 degrees Fahrenheit.
A few days later, he unstacks the cans. The seeds have already begun splitting, with a bit of growth emerging. At this point, the cans can be placed on a sunny windowsill or under a plant light. Keep them damp either by using a spray bottle, or by placing the cans in a shallow tray to water from beneath. About a week after the "unstacking," the Green Gardener shows that his DIY microgreens garden is ready for harvesting! He cuts the tender greens off with small scissors, leaving an inch or two of the shoots left to regrow.
Keep in mind that you have plenty of options with your own microgreen garden. Even in the DIY realm, you're hardly limited to tuna cans. Any shallow container into which you can poke drainage holes will do. Fellow YouTuber Marfskitchengarden, for example, grows microgreens in sardine tins, mushroom trays, and even shallow cream cheese containers. You also have a wide range of options for microgreens you can grow indoors aside from those described. These include mustard, mizuna, cress, cauliflower, arugula, beets, and lettuces. Or try herbs such as chives, basil, and dill.