

The Simple DIY That Turns A Glass Jar Into Stunning Table Decor With Vintage Charm
We may receive a commission on purchases made from links.
There are plenty of beautiful DIYs that can turn mason jars into vintage countertop decor with everyday crafting essentials and a little imagination. One of our favorite projects uses lace, air-dry clay, and metallic paint to deliver a Victorian-inspired aesthetic that makes any glass jar look like a centuries-old family heirloom.
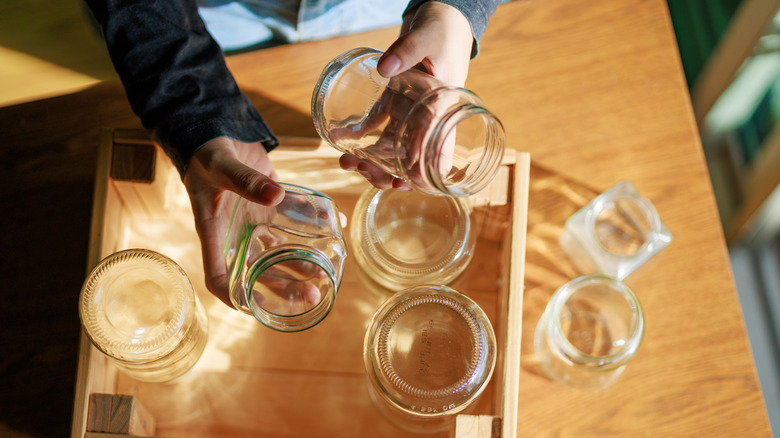
YouTuber Kitty Ideas showed off this stunning DIY, transforming a simple canning jar into a work of art in a few steps. Start by selecting a jar without any logos or designs, as these will be difficult to cover up. Wipe it down with a cotton pad and nail polish remover to get rid of dust and grime, then wrap a piece of masking tape around the center to delineate the top portion, which you'll cover with your design. You can split the jar down the middle or give yourself more or less room, depending on how much embellishment you wish to add.
Next, cover the top portion with black acrylic paint or enamel paint suitable for glass, let dry, and gently peel off the tape. Then, cut pieces of lace to size, removing any excess mesh backing that sticks out, and paint them black. Using hot glue, attach the lace to your jar, either sticking to the painted portion or allowing it to run over onto the clear glass. You could even cover the whole jar for a more dramatic effect. Now, it's time to get creative with the clay for your vintage-inspired DIY vase.
How to turn a glass jar into a vintage masterpiece
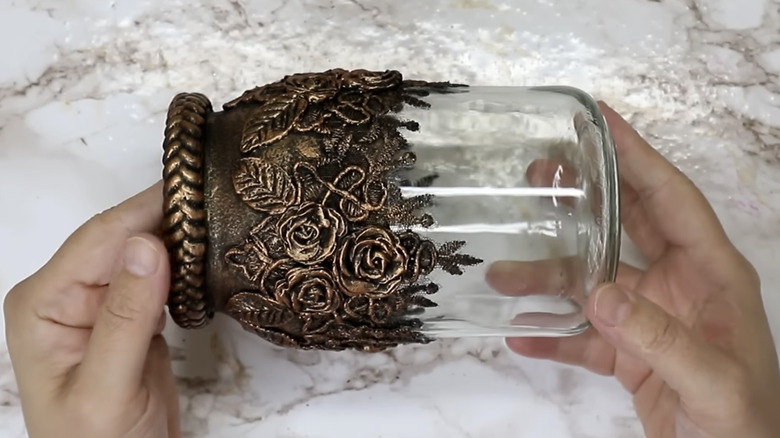
Air-dry clay is a fun, versatile material suitable for any level of DIYer. Indeed, you can take clay from basic to beautiful in just a few minutes, and clay paired with a glass vase or jar is always a winning combination. Choose several different vintage-inspired silicone molds, like the Funshowcase Scrollworks Mold, mixing leaves, flowers, and trim in a size that best suits your jar. Next, press the air-dry clay, such as the top-rated DAS Air Hardening Modeling Clay, into the molds and scrape off any excess with a pallet knife. Spritz water onto your finger and use it to smooth out the clay, being careful not to moisten it too much. A good hack to ensure the clay comes out in one piece is to put the molds into the freezer for 20 minutes.
Pop out your designs, let thaw, then start attaching them to your jar with a strong adhesive, like Aleene's All Purpose Original Tacky Glue. Fully coat the back of each clay piece with a small brush, press firmly onto the jar, and immediately wipe off any excess glue that may seep out. Allow everything to dry overnight for the best result, then paint your clay additions black. Next, cover the entire black section with a metallic paint, like silver or copper, which looks especially vintage. Apply a thin coat with a small brush or gloved finger, making sure to get into crannies without creating full coverage. You want some black peeking through so it looks like tarnished, timeworn metal. Finally, fill your new vase with a bouquet of dried flowers to complete the look.