

Woman Uses One Dollar Tree Board Game To Build A Charming Planter
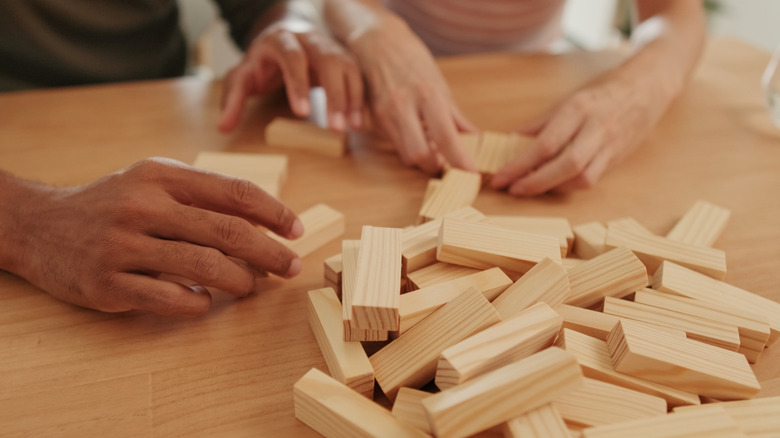
The cleverest crafters can take a trip to Dollar Tree and immediately come up with ideas on how to transform the store's many products into something completely different. When these DIY enthusiasts need a particular item for their home, they skip buying it new. Instead, they go on a shopping expedition to a discount store to find budget-friendly items to repurpose into what they need. Such is the case with YouTuber Crafting with JC, who, when she spotted a table game similar to Jenga in the Dollar Tree toy aisle, decided to turn the small wooden blocks into a charming rectangular planter.
You'll love how easy this DIY is once you gather your supplies and get busy crafting. You need one Tumbling Tower Game from Dollar Tree plus two extra pieces from a second game, so 74 blocks in total. At just $1.75 per game, buying two to get the extra pieces is inexpensive, and you can use the remaining Jenga-style blocks to DIY more stunning succulent planters in a different style. You'll also need some Gorilla Ultimate Waterproof Wood Glue, a pack of Crafter's Square Jumbo Natural Craft Sticks (also from Dollar Tree), and some paint, stain, or finishing wax in your chosen color. To help line up your pieces neatly during the gluing stage, invest in an Allwin Heavy-Duty Carbon Steel Carpenter's Square, which you'll likely also find useful for future craft projects.
Create a tray-style planter using Dollar Tree's Tumbling Tower blocks
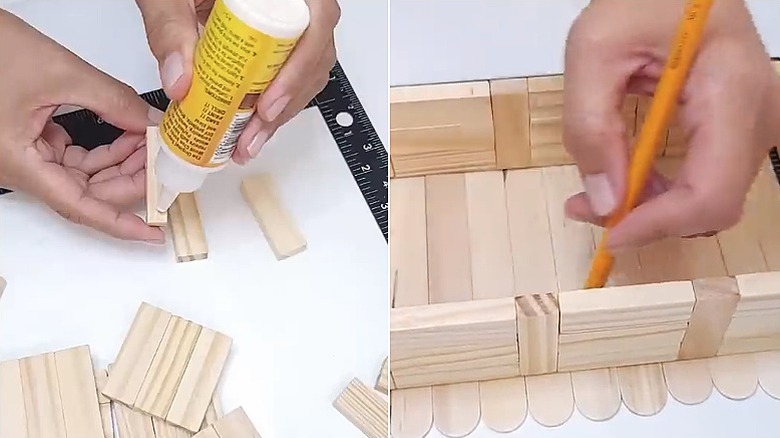
To get started, glue together three blocks to make a flat square. Continue doing this until you have a total of 14 squares. To form the first long side of your planter, take five of these squares and six extra blocks, and line them up in a row with a single block on either side of each square. Glue the squares and single blocks together. Repeat the process for the second long side. You should now have four squares leftover.
Glue two of these squares together twice to form one short side of your planter and repeat with the second set of squares. Set everything to one side to allow the glue to cure. If the wood glue is taking too long to dry, a tip to speed up the process is using a hairdryer or a fan. Once it's cured, it's time to form the planter. Stand the long sides parallel with each and other position the short sides inside them, one on each end. Glue all the pieces together.
Next, count out 17 of the jumbo craft sticks and line them up side by side. Place your planter on top and trace the inner edge of the planter onto the sticks with a pencil. Cut the sticks to size. You should notice that you have 12 of the tumbling blocks left over from the game sets. Glue these in place along the inside bottom edge of each long side — six blocks on each side. From the inside, glue the craft sticks on top of the frame, parallel to the short sides. You might have to trim the last one to create a tight fit.
Finishing off your handcrafted wooden tray-style planter
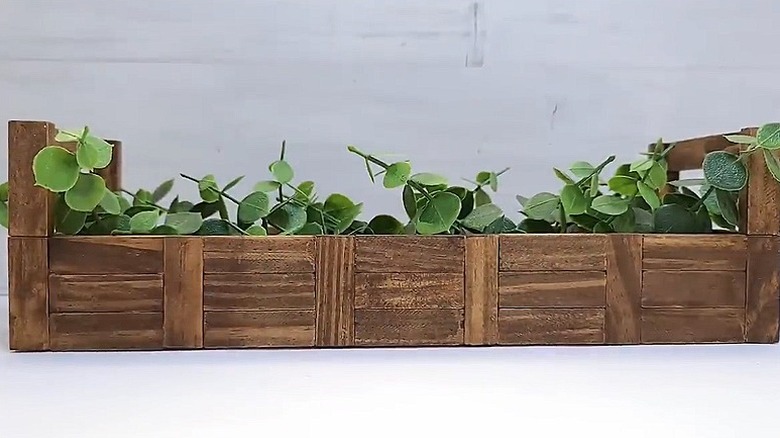
Now that you've completed this clever way to repurpose an item in your home into an adorable planter, all that's left to do is add a finish. You can do this once you've completed the assembly process or just before adding the craft stick base to the planter. For example, it may make total coverage easier if you paint the planter frame and the base blocks and cut craft sticks separately before gluing them together. You have lots of choices for the type of finish. You could follow creator Crafting with JC's example and use a colored wood finish, such as Minwax Polyshades, which comes in over a dozen hues. This will give your planter a rustic look. Or, if you want something bright, choose a vibrant shade from this FolkArt Outdoor Gloss Acrylic Paint Set instead.
As a final touch, you can add some handles made from leftover tumbling blocks or two short pieces of rope to your planter. To make wood block handles, glue four blocks into a C shape and stain or paint them. Then simply glue them to the rim of the planter on the short sides. To make the rope handles, carefully drill two holes in each short side of the planter and thread rope through them, knotting the ends to keep the rope in place. These handles are more decorative than practical and likely aren't weight-bearing, so always hold the body of the planter when moving it. Once you've attached the handles, place a few small pots of succulents, herbs, or other houseplants inside the planter.