

Don't Toss Wood Hangers: Turn Them Into A Dish Rack With This Impressive DIY
We may receive a commission on purchases made from links.
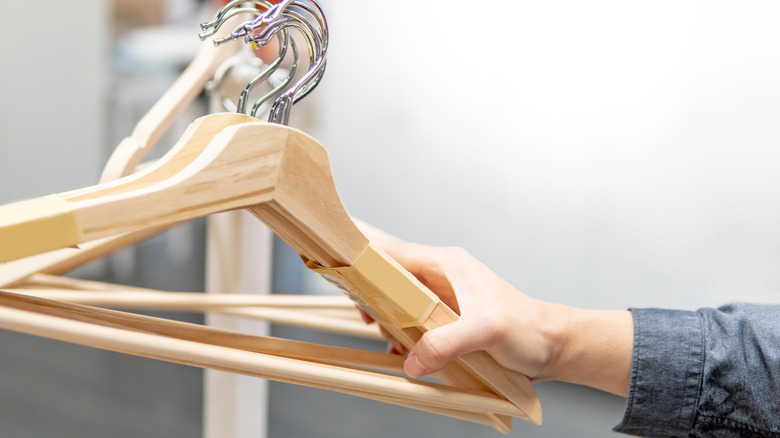
The best hangers keep your closet perfectly organized, but they are also one of the items that seems to mysteriously multiply every time you reach inside for a piece of clothing. If you've got an abundance of wooden hangers and no more garments to hang on them, don't throw them away. You can reuse them instead. One unexpected way to repurpose wooden hangers is to transform them into a kitchen drying dish rack with built-in drying arms. I bet you didn't expect that idea! You can easily make one of these kitchen counter essentials with a handful of broken or disused hangers and a little patience. Essentially, you arrange the wooden hangers in an alternating pattern, with each one positioned right-side up or upside down, to create the rack.
All you're going to need to complete this upcycling DIY project is up to 10 wooden hangers with their hooks removed. This number of hangers you need can vary depending on how big you want your drying rack to be. It's important that you choose hangers with wooden rather than metal trouser bars. Hangers without trouser bars won't work for this project, either. This is because you'll remove the bars and rest them in the notches you create on the hangers positioned right-side up. The bars are what keep the dishes safely in place on the drying rack. If you don't have hangers on hand already, head to IKEA or Amazon, which both sell better wooden hangers. You're also going to need a hand saw, an electric drill, and some wood screws. Once you've gathered all of these supplies and tools, you're ready to get crafting.
How to construct a new dish rack from old wooden hangers
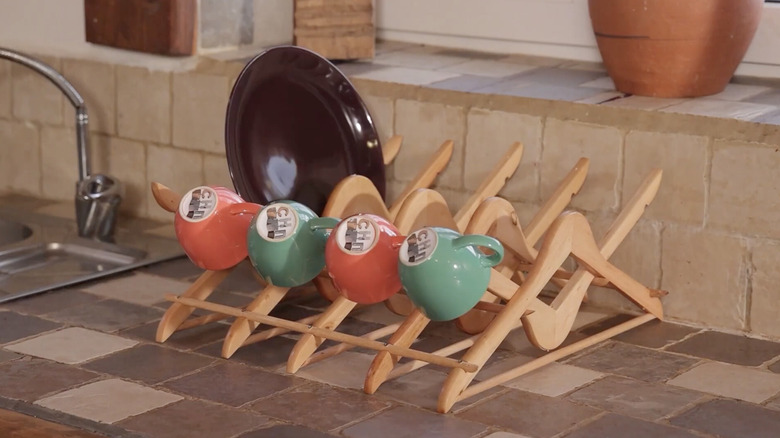
Pull five wooden hangers from the 10 hangers you've collected. These are the hangers to which you'll add notches for the trouser bar. Mark both sides of each hanger, approximately 1 inch from the end of each arm. Cut a notch slightly wider and deeper than the trouser bar so the bar fits snugly inside. Next, remove the trouser bars from all but two of the hangers with notches and the remaining five untouched hangers. Sometimes, the bar is glued into the hanger or the hanger is made from a solid piece of wood. In these cases, you'll need to cut the bar from the hanger. Push the removed trouser bars into the notches in the hangers and screw the bars in place.
Make sure the two hangers with intact trouser bars form the ends of the rack. If you feel like the rack needs more support, screw a second row of trouser bars or lengths of dowel to the underside of the hangers, an inch or so above the first row of bars. Finally, to create drying arms for cups — the shatter-proof way to store your coffee mugs — turn the remaining five hangers upside down and secure them to the right side up hangers. You now have a new dish-drying rack for your kitchen! To protect the rack from water damage, spray it with Olympic WaterGuard Clear Waterproofing Wood Sealer before using it. Another lovely idea is to paint your wooden hangers a color that matches your existing kitchen decor. To make sure the paint adheres to the hangers, sand them lightly beforehand.