

Skip The Store-Bought Lights: Brighten Garden Paths With Chic Lanterns Made From Milk Jugs
We may receive a commission on purchases made from links.
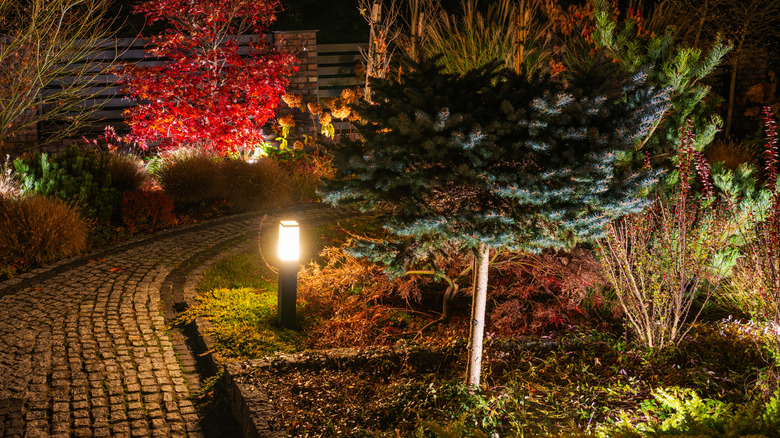
Milk jugs are a versatile addition to any DIYer's stash of supplies. They can be used for a wide variety of projects. You can, for example, use an old milk jug to create a spacious shower caddy, or you can transform one into a garden lantern. If you're looking for a new way to turn this ubiquitous plastic waste into something useful, skip the pricey outdoor lights for a cute DIY project that will illuminate a garden path in style.
With the help of a tutorial by livingthedreaminturquoise on Instagram, you can create a series of whimsical plastic lanterns covered in flowers and leaves to fit over the bulbs on a strand of string lights. And you don't need a lot of supplies to make it happen, either. This project requires a few milk jugs, a strand of solar lights, dried flowers and greenery, scissors, a hole punch, ribbon, and decoupage glue like Mod Podge. Since these lanterns will be used in your yard, consider buying Mod Podge Matte Multi-Surface All-in-One Glue Sealer, which is designed for both indoor and outdoor use. Having a stapler to secure the plastic into the shape of a lantern is also recommended.
You'll need to source as many milk jugs as the number of lanterns you want to create, although the number of jugs may also be dictated by the type of solar string lights you choose. While the original creator made 10 lanterns, you may need more or fewer lanterns based on what's lighting up your garden path. The 27-foot-long Brightech Ambience Pro Solar-Powered Outdoor String Lights are similar to what livingthedreaminturquoise used, though they have 12 bulbs that need to be covered rather than 10.
How to make your own milk jug lanterns to light up your garden path
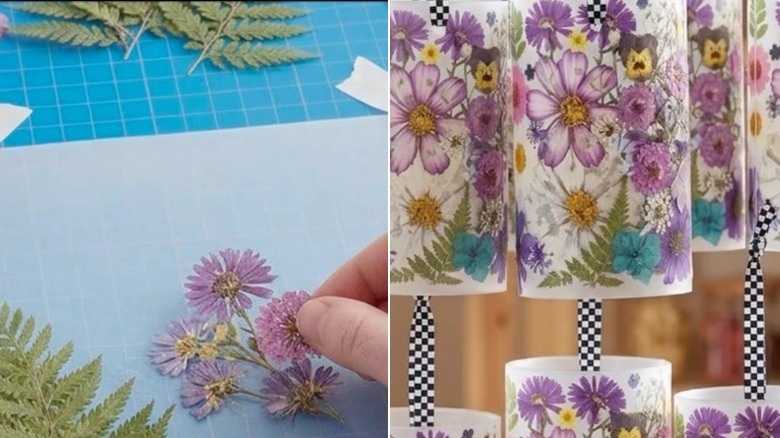
To start creating these milk jug lanterns, cut off the top and bottom of the jug, leaving you with a large sheet of the plastic. You need to lay the plastic out flat, so it's important to cut off the mouth and handle of the jug. Use something heavy to hold down the sides of the plastic sheet, giving you a large, flat surface for arranging your dried flowers and foliage without anything curling or shifting.
Since plastic isn't porous, you may need to prepare it before adding the Mod Podge and botanicals. Make sure that the plastic is free of oils and dry. Using some sandpaper to rough up the plastic can help the decoupage glue adhere better, although this is an optional step. To start decorating the plastic sheet, paint on a thin layer of Mod Podge and lay out the flowers and greenery in a pattern you like. Once all of the botanicals are laid out, allow the base layer of Mod Podge to dry before adding a top coat. This is an outdoor project, so you may even want to add a second top coat.
Once everything is dry, curve the plastic sheet into a cylinder, keeping the florals on the outside of the plastic. Secure the ends of the plastic sheet together — this is where you might want to use the stapler. Punch a couple of holes in the top rim of the cylinder and thread a length of ribbon through them. Use this ribbon to tie the lanterns onto the bulbs of the solar string lights, and you're done!
Ways to personalize your new milk jug lanterns
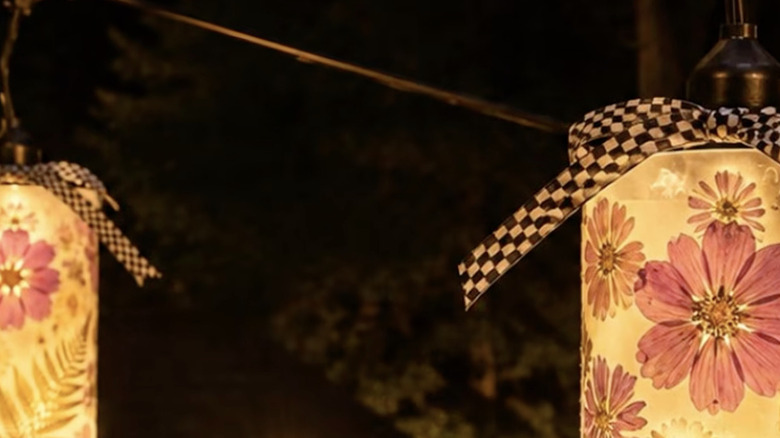
When you attempt a genius hack for reusing old milk jugs in your garden, you're helping to keep plastics out of the landfill. However, there are a few things to consider when making these lanterns for pathway illumination, including their durability and the best way to hang them. While Instagrammer livingthedreaminturquoise used ribbon to hang these lanterns from the lightbulbs, you may want to use something more weatherproof. Most craft ribbon will deteriorate when exposed to the elements over time. Thick rope, metal chain, or sturdy hooks designed for outdoor use could work better. Bad weather can also damage the lanterns themselves, so you may want to bring them indoors if you're expecting strong winds and heavy rain.
As is, these plastic lanterns with their colorful flowers and lush greenery will pop when fitted to string lights along a garden path. But this is also the kind of project that leaves plenty of room for personalization. You could paint one side of the plastic sheet in a pastel hue to create a stained-glass effect, then add the dried botanicals to the other side for even more color. Another option is to decorate some lanterns with only foliage and others with only blooms and alternate them when you're hanging them up. With a bundle of dried, pressed flowers, like these packs of over 100 Nisetten Dried Pressed Flowers, you can also choose specific species for each lantern, creating an educational trail of lanterns. This is a one-of-a-kind DIY project that really lets you have fun with plants!