

Use Tuna Cans To Transform Old Glass Jars Into Boho Lanterns
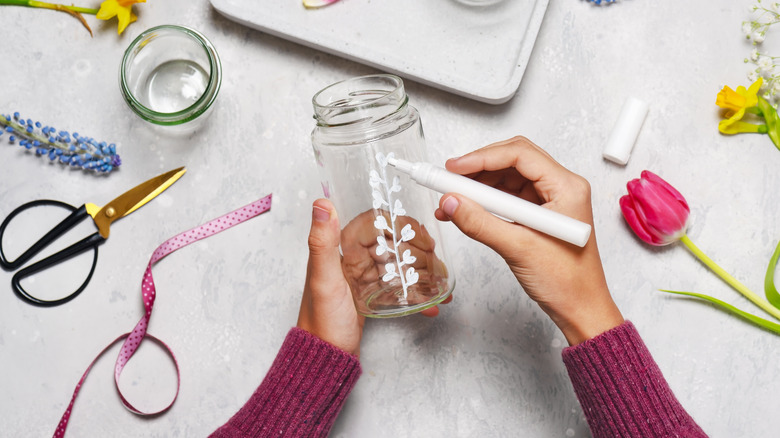
Would you believe that you can make the cutest boho lantern out of a glass jar, a tuna can, rope, and some other common crafting supplies and food items? It might sound far-fetched, but as YouTube creator LanaS DIY (@lanasdiy) shows us, it's entirely possible. You'll need to do a little bit of assembling, but all in all, this is a fairly simple project that you can tackle on a weekend afternoon.
Let's talk about what you'll need to make it happen. For starters, you should have an old glass jar, like the kind used for pickles, honey, or jam. Make sure you keep the original lid, too. On top of that, you'll need several other food packaging items, including an empty tuna can, a mesh bag (from a package of onions or citrus fruits), the lid from a milk jug, a water bottle cap, and another jar lid that's slightly smaller than the original glass jar's lid. The rest of the supply list is as follows: masking tape, scissors, a utility knife, metallic acrylic paint, cardboard, a foam paintbrush, a hot glue gun, a spool of thin rope, a lighter, a small piece of old leather, a battery-powered tea light, and something to protect your table from paint (like newspaper).
Preparing the different parts of your DIY boho lantern
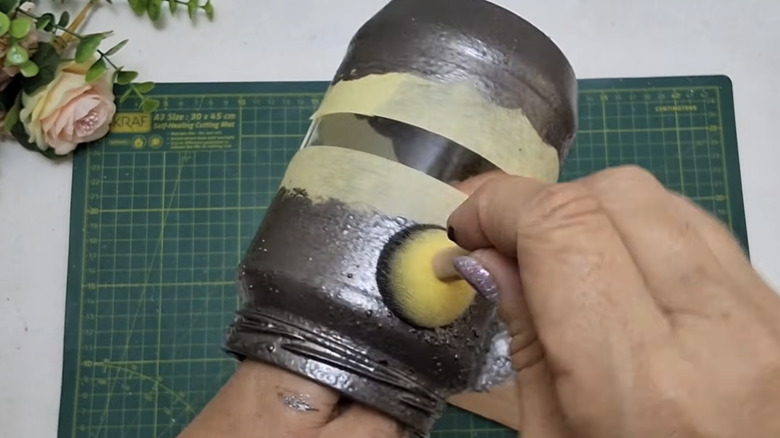
Before turning your old pickle jar into a hanging lantern, be sure to wash and dry all of the items that have come into contact with food. Then, wrap a strip of masking tape all the way around the jar (about a third of the way down). Leave a gap of an inch or so, then add a second strip of tape.
After prepping the jar, squirt some metallic paint — such as the FolkArt Multi-Surface Metallic Acrylic Paint in Metallic Nickel — on a square of cardboard. Dab it all over the jar with a round foam sponge, covering every surface (including the bottom) other than the area between the strips of tape. Lay down the newspaper and blot the paint all over the mesh, too.
Next, use your knife to cut out a circle of cardboard that fits inside the repurposed milk jug cap and glue it in place. Do the same with the smaller jar lid. Then, carefully cut out the center part of the water bottle cap, working slowly so you don't slice your fingers. To assemble the top of the lantern, glue these items together (going from biggest to smallest): the glass jar lid, the spare lid with cardboard inside, and the milk jug cap. Dab the paint all over the tiered piece you've just created and set it aside to dry.
Putting your DIY boho lantern together
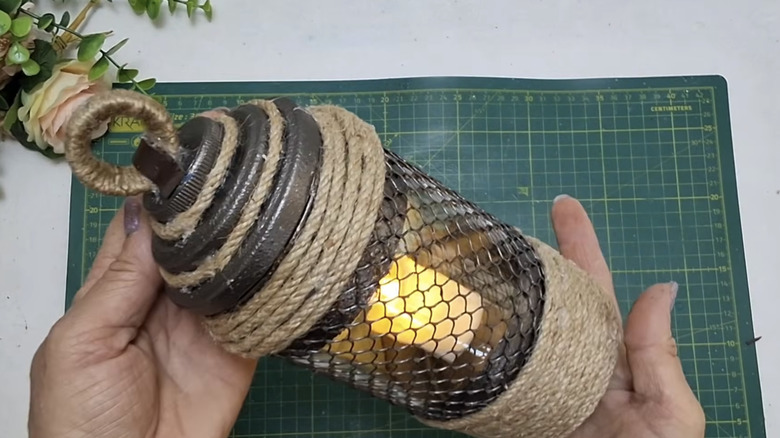
Grab the jar and peel off the tape strips, then wrap the mesh bag around it. Snip off any extra material at the bottom of the jar and seal it with hot glue. After that, wrap the rope around the outside of the tuna can, gluing it down one row at a time until the label is completely covered. When you're done, add a layer of glue to the bottom of the can and attach it to the underside of the glass jar. Glue four more rows of rope to the top of the jar (beneath the threaded part) and one around each section of the lid.
To finish the lantern, wrap rope around the hollowed-out bottle cap and secure it with glue. After that, use your knife to cut a small rectangular strip of leather. Attach it to the inside of the cap with glue, then connect it to the top of the jar lid. Run the lighter over every piece of rope to prevent it from fraying, keeping the flame an inch or so away so you don't burn it. Finally, drop the battery-powered light into the lantern and replace the lid. Don't use a real candle, as the rope, glue, and other crafting materials could catch fire.
When it's done, you can use your gorgeous DIY lantern in several places around your house. For example, you could put one or two under a covered section of your patio, or you might set them on your kitchen counters. Either way, if you decide to hang your lantern, make sure the lid is securely attached and that the handle and glued connections can safely support its weight.