

Build A Better-Looking Retaining Wall By Making One Easy Adjustment
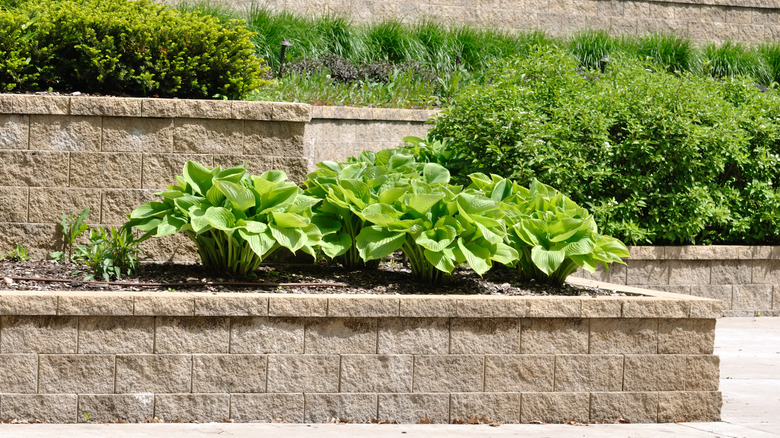
A retaining wall can be more than just a practical solution for holding back soil and rock in sloped areas of your yard. They can become a key feature, creating distinct garden spaces that separate your lawn and transform your outdoor spaces. While straight line retaining walls can divide upper levels of your yard from lower ones, you can also create decorative raised flower beds that curve and wrap around your driveway and boundaries. You can buy a range of interlocking retaining blocks made from natural stone, mechanically fractured rock, faux stone integrated with cinder block, and more. One addition that can transform it from good to great is a retaining wall cap.
A retaining wall cap is simple in form and function, but it can make a huge difference to the look of your retaining wall. You'll find them in a variety of materials and finishes, designed to match or complement the style of the product you're using. They're placed on the top of the retaining wall to finish the overall design, giving it a polished look. While it's about design, they're also functional.
Retaining wall caps will seal the top of the wall, adding a weatherproofing layer, and help to hold back the soil that the wall is keeping in place. To fit retaining wall caps yourself, you'll need the appropriate capping block or stone (depending on your retaining wall), masonry adhesive like Loctite, and a pair of gloves.
Tips for adding retaining wall caps
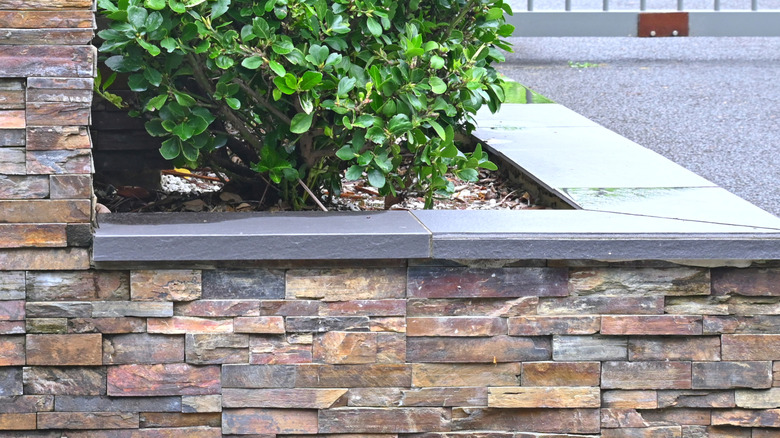
You first need to choose the right capping stones or blocks for your retaining wall. While in most cases you'll want to choose the same material — rock for rock and stone for stone — you can mix up the colors to make the cap of the retaining wall stand out. For example, if you've gone with a natural stone color for the wall, you could opt for a white stone top to frame the entire space. This really makes an impact when you use the retaining wall cap as a seating area around a cozy DIY fire pit. In some cases, you can vary the material for a contrasting look (concrete on a stacked stone veneer is a good example).
It's surprisingly easy to fit retaining wall caps yourself. Once the retaining wall is in place and you've checked that it's level, make sure the top is clean of debris and dust. We suggest using a hose to wash off the debris and soil, then, once it's dry, brush it with a garden broom. Once it's clean and dry, lay out the capping stones or blocks along the length of the wall so that you're ready to go. Make sure the surface you're laying them on is dry, too. Next, apply the masonry adhesive along either side of the wall, making sure there are no breaks so as to get the best seal. Then, one at a time, lay the wall caps down, press them into place, and let it set.