

Stop Tossing Old Terracotta Pots: Turn Them Into Rustic Plant Labels For Your Garden
We may receive a commission on purchases made from links.
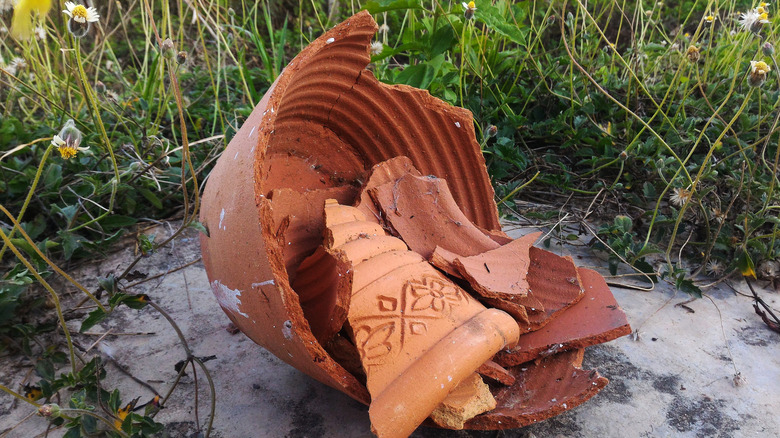
Whether your cat knocked it over or it cracked while being moved, it can feel like a waste to part with an old terracotta pot. Luckily, you don't have to. There are many clever ways to reuse terracotta pots even if they are broken. For example, if the damage is minor, you can save your broken and chipped terracotta pots to continue serving as homes for your favorite plants. If they're beyond repair, you can turn them into a home for backyard bees. And if you don't want the responsibility of caring for bees, you can simply turn the pieces into a cute, rustic plant label for your garden.
This is a quick and easy DIY project inspired by @WyseGuide on Instagram. It is perfect for someone with a packed veggie garden. You need durable labels to keep track of what you planted where anyway. So if you have a broken terracotta pot waiting to be tossed, you can make all the labels you need with the broken pieces and a sharpie or other permanent marker. While it's easy enough to make them just as Wyse does in the Instagram reel, taking a few extra steps beyond his technique can help make these rustic plant labels even more long-lasting and customized.
How to turn an old terracotta pot into rustic plant labels
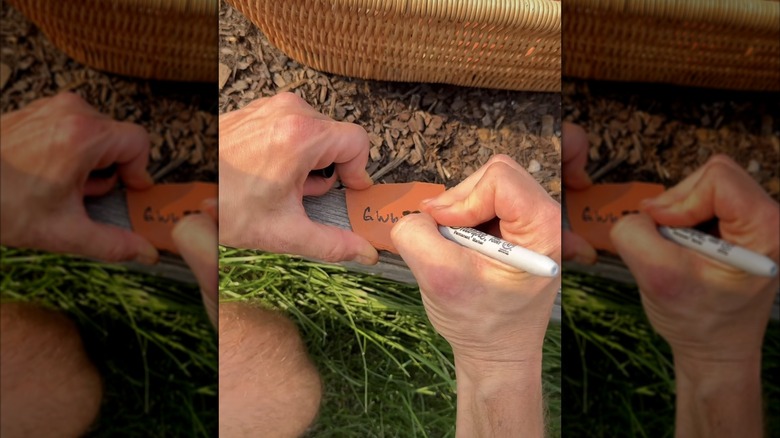
In Kaleb Wyse's short video on Instagram, the gardener starts by simply dropping an old terracotta pot on the ground and allowing it to break into small pieces. He then uses a permanent marker to write the names of plants on each of the shards and rests those shards on the soil near the plants he is labeling. A key detail Wyse notes is to turn the terracotta shard upside down so that the side you wrote on is lying face down. This might seem counterintuitive, but this protects what you've written from washing away with the rain or being faded with sun exposure over the summer. This is important because there is no sealant or other protective coating to protect your written label from disappearing. When you need to check what's planted where, you can simply pick up the label to check it.
If you have any pieces leftover after labeling all of your plants, you can use the trick Wyse mentions at the beginning of the video. That is, place a piece over the drainage hole in the bottom of another pot before planting something in it. When you water the plant in the pot, the shard over the drainage hole at the bottom will help keep soil in while still allowing water to drain through.
How to make terracotta plant labels that can lie facing up
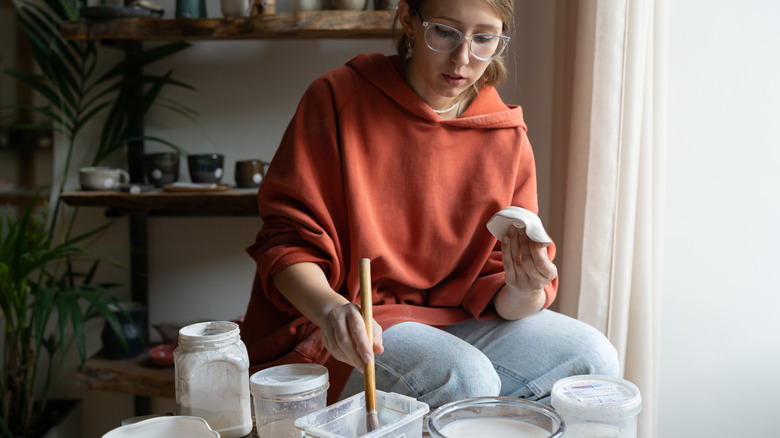
If you want plant labels that you can see at a glance without needing to flip them over, adding an extra step to this DIY can help. After writing the plant names on each piece, use a clay pot sealer like this Mod Podge spray available on Amazon for $14. You can also find versions that you use a brush to paint onto the terracotta surface. But with this version, you can simply spray the side you wrote on, allow it to dry fully, and then you'll have a protective coating that will prevent the label from wearing away with rain and sun.
If you use a spray like the one mentioned above, make sure you lay a drop cloth down to keep the spray from getting onto anything but your plant labels. More importantly, make sure you do this project outdoors or in a well-ventilated room. Then, give your terracotta pieces at least 24 hours to completely dry before placing them in your garden beds. With the protective coat in place, you can lay your plant labels face up or stick them upright into the soil so that you can see all of the names as you walk alongside your garden beds. If you're feeling extra creative, you can paint your terracotta pieces before adding the plant name to add a more colorful and personalized touch to your labels. Then use the sealer to lock in your design when you're done.