

Give Concrete Garden Paths A Hand Painted Upgrade That's One Of A Kind
We may receive a commission on purchases made from links.
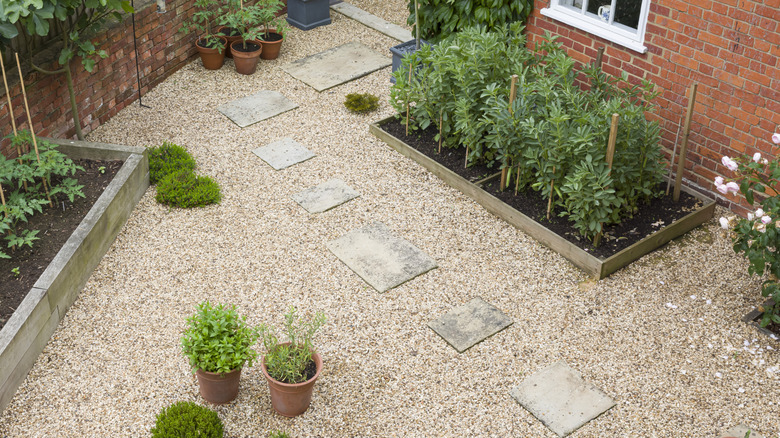
Installing a few stepping stones is one of the easiest ways to create a charming garden walkway. It doesn't require any difficult building, the materials are inexpensive, and the simple arrangement lends itself to a pretty, free-flowing garden design. Of course, you could stop here — plain concrete looks great contrasted against grass or gravel, especially in a serene, minimalist garden — but if you're craving a bit more ornamentation, this clever hand painting technique will transform your simple slabs into stunning tiles with a few basic materials.
Ornamental tiles are a trademark of many different aesthetics, from chic Old World to eclectic boho designs. While they're durable enough for use in a bathroom, they're not the best for plopping in the garden — indoor tiles are fairly thin and designed to sit on an existing backing, so the weight of stepping on them on an unsupported surface could cause cracks. Also factor in the slipperiness and smaller size of the tile compared to concrete stones and it's clear ornamental tiles are less than ideal for outdoor use. Unless you want to break them up and use them to create a mosaic DIY stepping stone, it's best to stick to the painted approach to get the tile look in your garden.
For this DIY, you'll need your concrete stepping stones, small paint rollers or brushes, your paint of choice (both latex and acrylic will work), spray adhesive, a tile-patterned stencil, and some polyurethane sealant. If you're not quite as concerned about creating a consistent look, you can also bypass the stencil and adhesive and choose to paint on your patterns by hand.
How to DIY a tile-look garden path
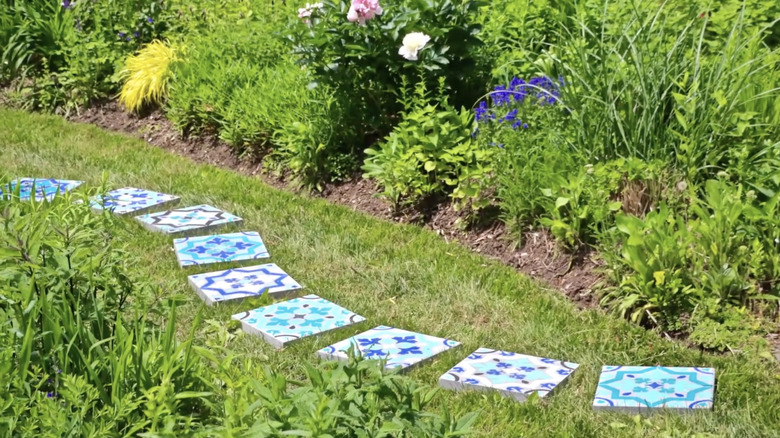
Thankfully, the process behind this DIY is fairly simple. Dust off your stepping stone to make sure you have a clean surface to work on, then use the spray adhesive to attach your stencil to the material and keep it from moving. Carefully paint in each section of the stencil with your desired colors, allow everything to dry, and then remove the template. Finish off with a few coats of the sealant, and once it's fully set, you're ready to place your stepping stones in your garden. If you'd rather avoid the sealant step, consider picking up some acrylic paint intended for exterior use, like this DecoArt Patio Outdoor Paint.
The design you choose will have the largest bearing on the final look of this project. For a more mid-century modern look, try out these Celaeno Reusable Tile Stencils with a starburst pattern. Want to nod to the garden theme? These Pinkipo Tile Painting Stencils will give your stepping stones a cute floral facelift. Regardless of the stencil design you go for, make sure that you choose one that's appropriately sized for your stepping stone.
If you're not finding a pre-cut design that you like online, hand-painting without the stencil is also an option. Look for existing tiles online as inspiration, then sketch out the design on your stones with pencil before painting. This will require a bit more work and the designs might not look as consistent from tile to tile, but it's a great option for those who want some more flexibility.
How to make this idea your own
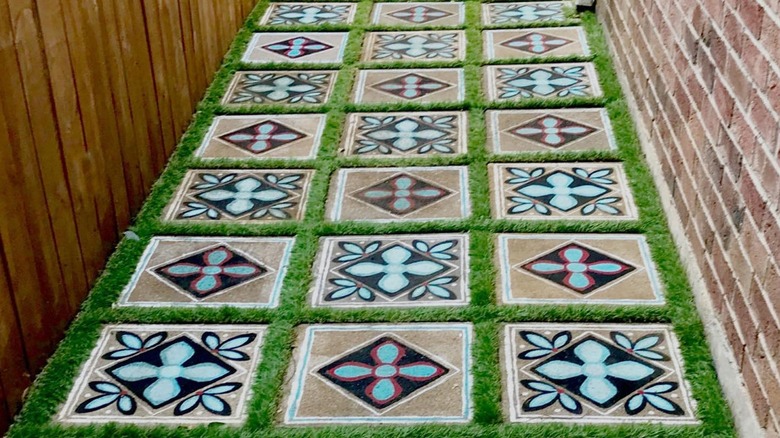
The design (or designs) you choose for your tiles will obviously have a major impact on their look, but there are plenty of other ways you can customize this idea to fit your desired aesthetic. A loose arrangement of tile-look stepping stones is great for adding a bit of whimsy to your garden, but if you're craving something more structured, consider arranging your stones is a more regular grid pattern. Keep all of the tiles the same design for a classic look, alternate two patterns for a bit more variety, or embrace an eclectic, free-flowing feel by giving each stone its own unique appearance. You can even extend this stenciling idea to a larger slab of concrete, like your patio, if you want to carry the same motif throughout your garden.
Color also plays a major role here. For a more vibrant final product, consider painting the background of your tiles a solid color before applying your stencil or adding on your accents. A clean base will allow the pattern to pop and completely disguise the concrete material below, creating a more realistic tile look. The colors you choose for your accents are completely up to you, but if you're going for different patterns, painting everything with the same palette will create a more cohesive, intentional feel. Stick with neutrals for a subtle, modern vibe, or add pops of vibrant, contrasting colors to really make things stand out. Talavera tiles are a great starting point for inspiration, but there are plenty of designs from modern to ancient that are worth exploring if you're in need of ideas.