

8 Ways To Cover Glass Jars Without Paint To Make Adorable Countertop Storage
We may receive a commission on purchases made from links.
Depending on what's regularly on your grocery list, you may steadily acquire glass jars. Before you know it, you have more jars than you know what to do with. While you can recycle most glass jars you don't have the space to store, you can also easily incorporate them into various DIY projects, including eco-savvy countertop storage. In other words, you can organize your belongings while saving a jar that was otherwise destined for the trash. Although painting jars to personalize them may be the first project that comes to mind, especially if you want an opaque storage solution, it's not the only decorative option. You can decorate jars with everything from glass gems and pressed flowers to lace and static window clings without sacrificing the visual appeal of your countertops.
When looking for the right method to transform a plain ol' glass jar into something cute or stylish without using paint, it's important to decide whether you want permanent or temporary coverage. Permanent coverage, like glued-on embellishments, is often difficult to remove, and you may damage the jar in the process. However, permanent coverage can last a long time, so it's a good option if you know you'll be sticking to one design. Other options, like static window clings or burlap sleeves, can usually be removed without fuss, giving you more freedom to play with various decor ideas. What's more, with removable decorations, you can change up your jars' look without needing to stockpile glass jars.
Glass gems
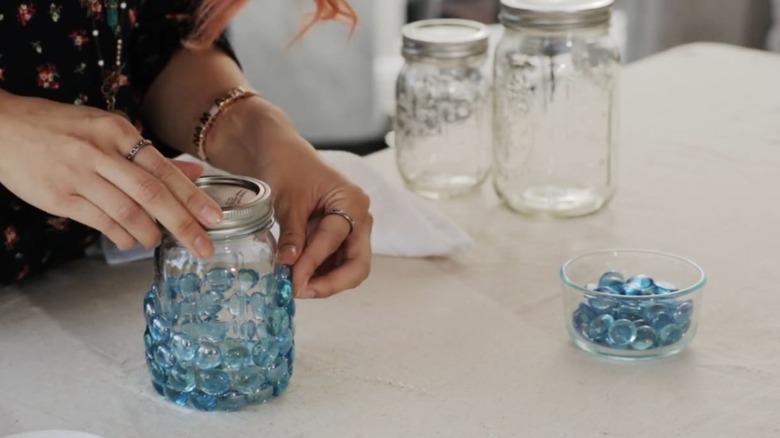
Glass gems add color and texture to a jar, helping transform an ordinary container into an adorable countertop storage solution. You could adhere a thin layer of sheer tulle to the jar first, creating a rough surface for the gems to stick to. Plus, the tulle will give you a little extra coverage beneath the stones. Then you can use the same adhesive to attach your gems, continuing until the jar is completely covered. Because glass gems come in so many colors, you can easily tailor the exterior of the jar to fit your existing interior palette.
Clothespins
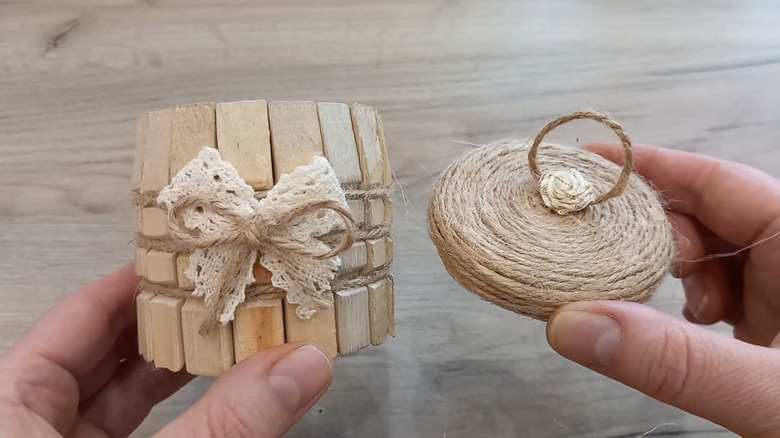
If you've ever considered the differences between plastic and wooden clothespins, you may have decided to switch from the latter to the former. Don't throw away those old wooden clothespins just yet, though — they can be repurposed to cover glass jars, transforming household trash into adorable countertop storage. To cover a glass jar with clothespins and make the cutest decor, simply remove the metal hinge from the center and attach the clothespin halves to the sides of a jar until it's completely covered. Larger jars may require a second tier of clothespins to achieve full coverage.
Napkin decoupage
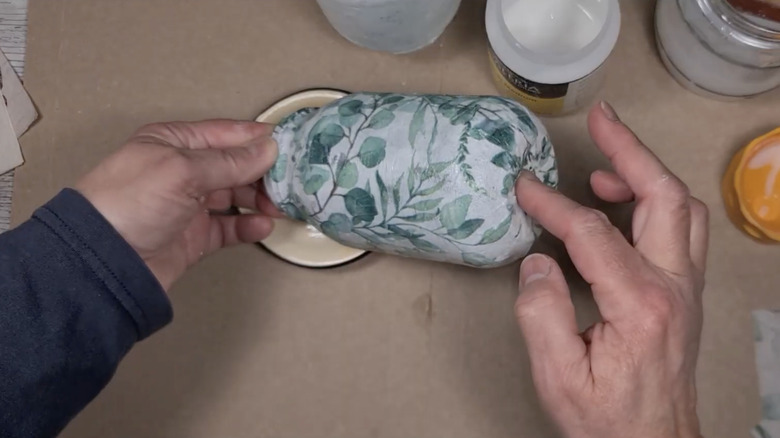
Today's interior decorating trends are making more room for upcycled and thrifty designs. Decoupage has grown in popularity in recent years as a result. It also happens to be easy to do, making it a great DIY project for beginners looking to salvage glass jars for storage. First, choose some paper napkins in a pattern you like. Then split one sheet into thin layers. Use Mod Podge to attach the paper to the outside of the jar with the pattern facing outwards. With decoupage, you can create more complex designs than you may have achieved with paint alone.
Pressed flowers
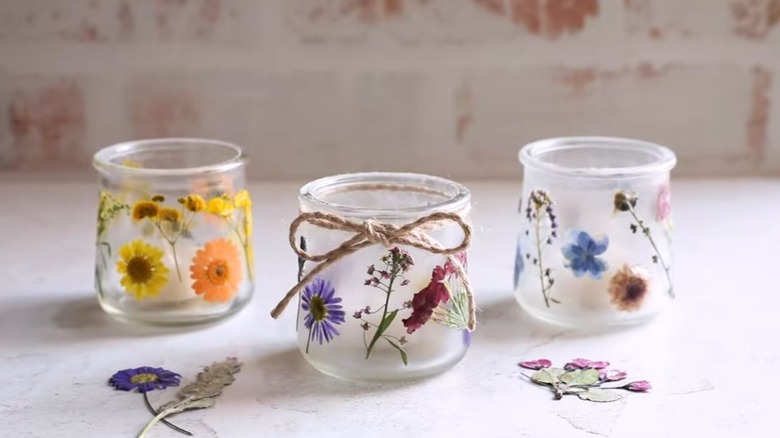
Are you looking for a more whimsical, cottagecore-style approach to covering glass jars? If so, you'll be glad to learn that you can use the same method you used in napkin decoupage to adhere dried flowers to the outside of jars. To get started, apply a small amount of Mod Podge to the jar, press on the first dried flower, and brush another coat of Mod Podge on top of the flower to ensure it remains in place. You can use flowers of various types, sizes, and colors to tailor this DIY storage solution to your home's existing decor.
Twine or yarn
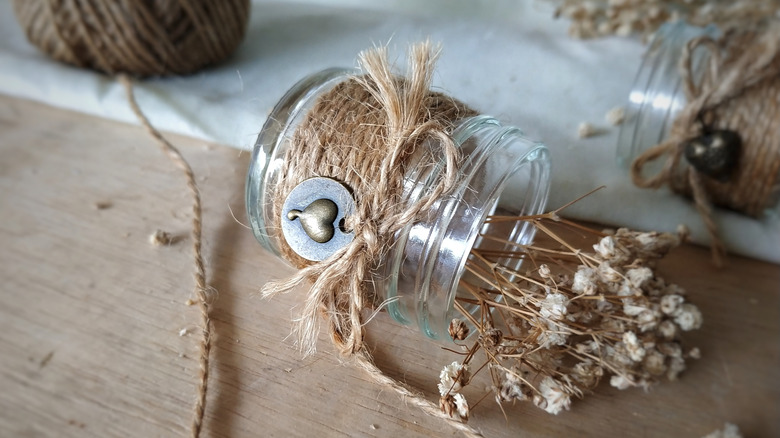
One of the easiest ways to disguise upcycled glass jars and turn them into adorable countertop storage is by covering the outside in twine or yarn. There are two ways to complete this design. Don't have any tools? Wrap the twine or yarn around the body of the jar, tying the ends in a bow at the top or bottom. For a cleaner look, use a hot glue gun to secure the string. Depending on the size of your jar, you could also opt for decorative rope, like this Radix Rope Natural Jute Twine with Green Leaves.
Lace decoupage
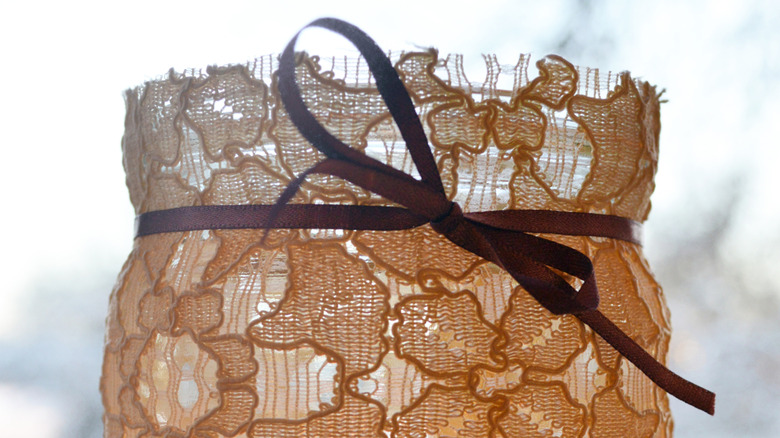
If you like how napkin decoupage looks on glass jars but want an easy way to bring the '90s kitchen aesthetic into your home, swap the paper napkins for lace fabric. This DIY idea functions similarly to napkin decoupage. You use Mod Podge to adhere the lace to the outside of the glass jar, creating a pretty, eye-catching exterior. For this project, you could cover the entire glass jar with lace fabric or ribbons, or decorate it with miniature doilies, like these Mindplus Super Mini White and Beige Cotton Crochet Doilies, in place of pressed flowers.
Static window clings
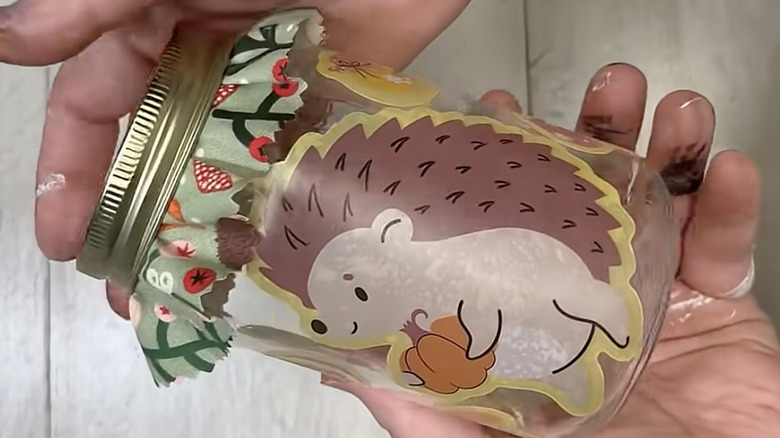
You may already be familiar with using static window clings to subtly liven up your home's seasonal decor, but did you know you can also use them to adorn an ordinary glass jar? This DIY project requires no tools or supplies aside from your choice of window clings. Because window clings are designed to be easily removed from glass, you can also change the look of your jars with the seasons, giving you plenty of versatility and customization options. If you don't want people to see inside your countertop storage jars, use decorative privacy window clings.
Burlap
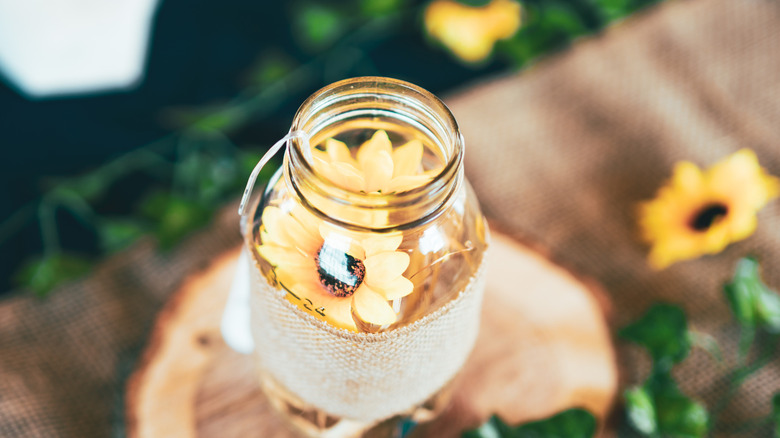
Enamored with our ultimate guide to rustic decor? Cover glass jars in burlap to bring that vibe to your countertop storage. Plus, you have plenty of style options. You could simply wrap the jars in the material, securing it with adhesive, or you could pair burlap with twine, lace, or ribbon for a more maximalist approach to the rustic look. If you can sew, you could create removable jar covers from a range of patterned fabrics, allowing you to easily and endlessly swap out your designs without requiring a new jar each time.