

Cover Vintage Glass Jars With Epsom Salt To Make Beautiful Home Decor Gems
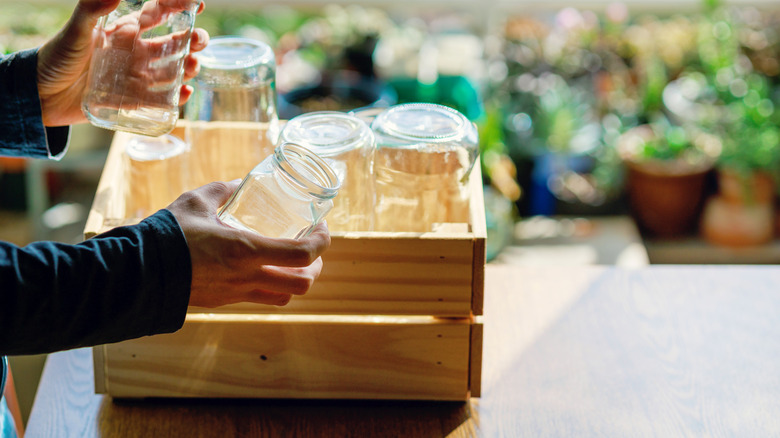
There are plenty of clever ways to reuse old glass jars around the house. Whether you're looking to upgrade your organization, craft some stylish ambient lighting, or create a seasonal centerpiece, the possibilities are truly endless. In most cases, however, these DIY projects don't actually transform the glass jar all that much. Sure, you could paint the jar or tie on a ribbon, but if you're hoping to create really stunning surface texture that still allows light to shine through the jar, coating the outside of a glass jar in Epsom salt might be the perfect DIY for you.
If you've ever found yourself transfixed by the gorgeous sheen of Epsom salt while you prepare a warm bath or whip up a cleaning solution made with Epsom salt to refresh your bathroom, you're not alone. Epsom salt naturally forms a crystalline structure thanks to its chemical composition, and the shiny chunks you find in store-bought bags are actually tiny transparent crystals, which give them their trademark sparkle. Coating decor pieces in this material lets you take advantage of that look and texture more permanently, and vintage glass jars are the perfect candidates for this treatment. All you'll need for this easy DIY project is a jar, a bag of Epsom salt, a soft brush, Mod Podge Gloss Sealer, Glue, and Finish, and clear sealant spray. If you're looking to minimize cleanup, line your work surface with a large silicone baking mat or parchment paper. The coating process can get a little messy!
How to frost a vintage glass jar using Epsom salt
To begin this DIY project, you'll need to track down the vintage glass jar you'll use as the base. Just about any glass receptacle will work for this project, but old Mason jars and food storage jars in unique colors and shapes can lend more interest to the final product. Look for valuable vintage jars at thrift stores and estate sales — they often appear on store shelves at very reasonable prices, so scoop them up if you see them.
All that's left to do before you can get to work is prepare your craft table by laying down the protective mat or paper, if desired, and ensure your glass jar is completely clean and dry. Work quickly to cover the jar in a thick, even coat of Mod Podge, then sprinkle on a layer of Epsom salt while the adhesive is still tacky. Once you're satisfied with the volume of salt, let the jar air dry or gently hit it with a heat gun or hair dryer to speed up the drying process.
Follow up with another layer of adhesive and Epsom salt if you prefer a more pronounced frosted effect, then finish with a coat of spray-on sealant, like Rust-Oleum Painter's Touch 2X Ultra Cover Spray Paint in matte clear. Keep in mind that, despite adding a layer or two of sealant, the finished frosted jars will not be waterproof or safe for storing food. This finishing coat helps to ensure that less Epsom salt will flake off, but the jars should only be used for indoor, decorative purposes.
How to make this Epsom salt decor hack your own
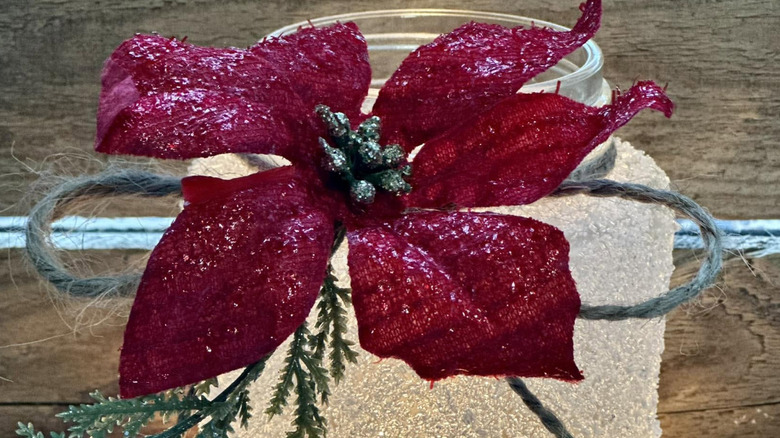
While this DIY decor idea is fairly simple, there are plenty of ways to style and customize your jars to your liking. You can use matte or shiny Mod Podge and sealant — each product gives a slightly different look to the project. Matte finishes are better for a snowy, soft aesthetic, while shiny finishes enhance the natural sheen of the Epsom salt crystals. You can also mix some glitter into the Epsom salt before sprinkling it onto the jar to up the sparkle factor or add a bit more color. Don't like the frozen-solid look? Only apply the Mod Podge to the rim of the jar or leave a portion of the jar uncovered to allow a view of what's inside.
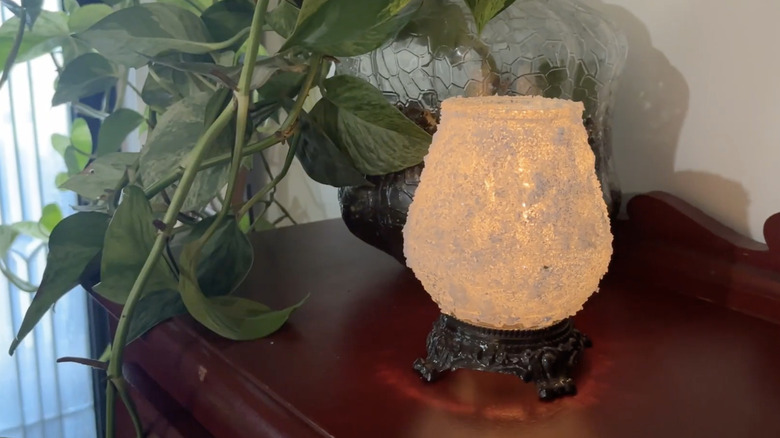
When it comes to styling your artificially frosted glass jar, you have a few options. These jars are perfect for winter decor on their own, but they really shine when used as candle holders or as a receptacle for fairy lights. They also make lovely vases for dried or faux plants. You can even use the same Epsom salt technique to coat the branches of greenery, giving them a frozen look. Finish off your jar by tying some ribbon or twine around the rim. It will disguise any rough edges and add some textural variation. Use your completed jars to elevate your tablescape for the holidays on a budget, bring some winter charm to your fireplace mantel, or simply increase the amount of sparkle in your home year-round. With a DIY project as easy as this, you might find yourself tempted to frost all your other glass items, too!