

Make An Adorable House For A Furry Friend From An Old Plastic Crate
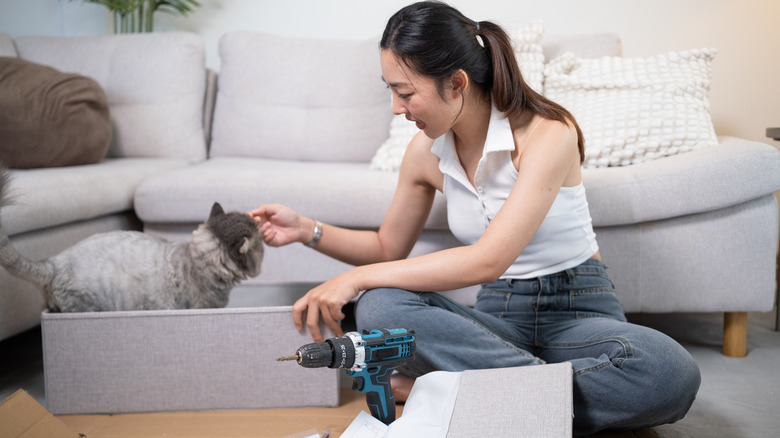
For the millions of Americans who own pets, these furry friends are more than just animals; they're part of the family. If that's how you feel, then you're probably willing to go great lengths to make sure yours are comfortable. One way to do that? Building them a cozy home of their own — like the one featured on the DIY Wood Lab India YouTube channel. Made from a plastic crate and pieces of scrap wood, this adorable little house is perfect for smaller cats or rabbits and would be a great project to tackle on a weekend afternoon.
While you won't need a ton of supplies or materials for this DIY, some power tools are required. That includes an angle grinder, drill, nail gun, and jigsaw. If you don't have all of this equipment, it's probably not worth going out and buying. Instead, you could ask to borrow them from a friend or rent them from a store like Home Depot. Aside from the tools, crate, and wood, you'll also need a garden hose, a marker, a couple of zip ties, metal brackets, nails, and screws. If you'd like to make sure your pets stay inside the house, you'll want a lock and key, too.
While you're free to leave the wood as-is, there are ways to add a bit more style to your pet's house. For example, you could paint it red (so it looks like Snoopy's house) or another fun color. Another option? Decorating it to look like a miniature version of your home. To get even more creative, you could draw or stencil paw prints, cat treats, and other pet-inspired motifs.
How to build the base of your pet house
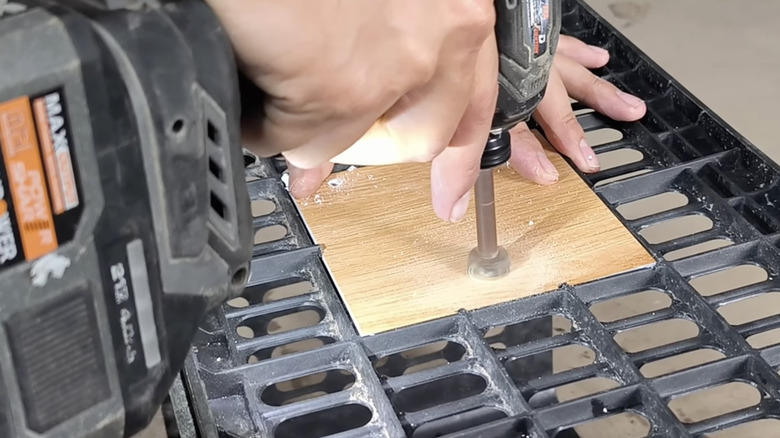
To start building your pets the cozy home they deserve, you'll need to clean the crate. This is especially important if it's been used to transport food or items that could harm animals. Spray the container with a hose and mild soap. Once it's dry, flip the crate on its side and mark the space where you'd like the door to go. Make sure it's big enough for your pets to move in and out comfortably. Then, cut out the opening with an angle grinder.
To make the door, lay a piece of wood over the opening and trim it to size so it can easily open and close. On the left side, drill two holes for the hinges; on the right, make one larger hole so you can pull the door open (and slide a lock in if you plan on doing that). Then, attach the door to your DIY cat shelter by running two zip ties through the hinge holes.
At this point, the crate will still be open at the top, so it would be a good time to add a cozy blanket or cushion to the house's floor. Later, you'll build the roof — and it might be tough to squeeze those items in through the entrance. You could also attach a softer, padded material around the door opening to prevent your furry friends from scratching themselves on any sharp pieces of plastic.
Finish off the house by adding a roof
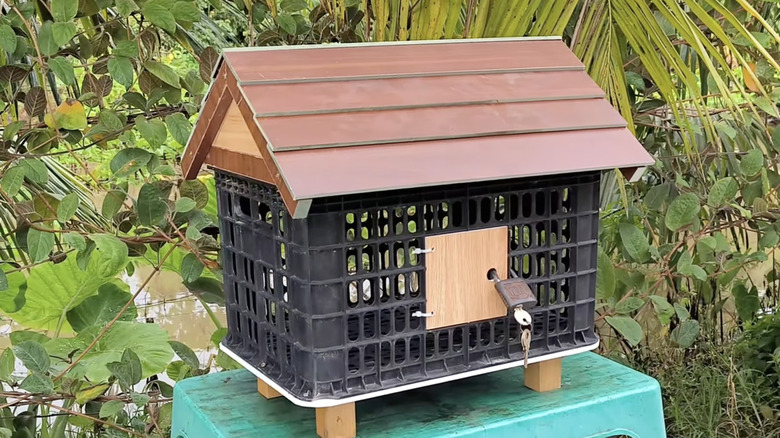
Now it's time to build the roof. Start by measuring the top edges of the crate, then laying four beams of wood over each one. Set them on your work table and use a nail gun to secure them into a rectangle. To create the rest of the roof framing, make two upside down V-shaped pieces that fit the shorter ends of the crate, nailing the wood pieces together. This will give you that classic triangle roof.
Next, place the four-beam rectangular frame on top of the crate, then mount it with eight brackets (two on each side). From there, measure and cut out a couple of triangular pieces of wood to cover the open ends of the V-shaped side pieces, securing them with the nail gun. To fill out the rest of the roof, run overlapping planks of wood in a horizontal direction from the bottom to top, mimicking shingles. If you're okay with the pet house sitting directly on the ground, you can leave it as-is. Otherwise, make a base out of a piece of wood (that's slightly larger than the bottom of the crate) and four wooden legs, securing it with screws.
While this house is good for indoor or outdoor cats, there is an extra step if you plan on leaving it outside. Since the roof is made of wood, you'll want to make sure it can withstand the elements. To waterproof the wood and reduce the chance of it rotting, apply an epoxy resin coat. It's also helpful to position the house under a covered part of your patio or deck.