

Make Eye-Catching Tiles Budget-Friendly With A Paper Mache DIY
We may receive a commission on purchases made from links.
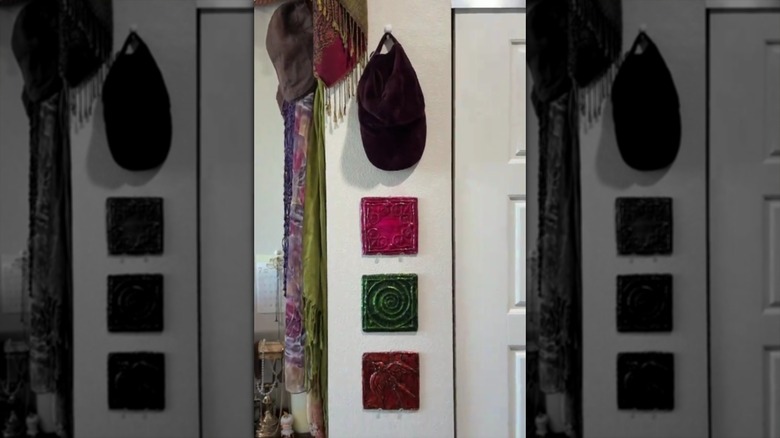
Decorative tiles are a great way to fill small spaces, like that teeny, tiny spot between your bathroom and bedroom doors. They're often as colorful as framed gallery-quality artwork on canvas or paper, and at the same time, introduce unexpected texture, visual rhythm, and elegance into your decor scheme in ways that other art media might not. Sounds perfect, right? It is — unless you're pinching pennies. Designer art tiles can cost anywhere from $25 to $40 a piece or more. Thankfully, there's such a thing as paper mache. And, for savvy crafters like you who know how to use paper mache, a conservative decorating budget doesn't mean you don't get the art tiles: It means you'll make them instead of buying them.
Paper mache crafts call for a variety of materials — typically, old newspapers, scrap paper, and glue. This DIY is no different. It requires those items, but you'll also need some other materials: pieces of cardboard, tin foil, and tubes of watercolor paints. A Mijello Mission Gold Water 24-Color Set works for a project like this, though you're not limited to that brand. You'll also need something like SmaringRobot Blue Painter's Tape.
However, art materials alone don't a paper mache tile make. You also need tools, so put a marker or a pen on your list. You'll also need a hot glue gun and Mod Podge. Finally, get some paintbrushes, as well as some scissors, a ruler, and a bowl, out of your work cabinet.
How to make paper mache art tiles
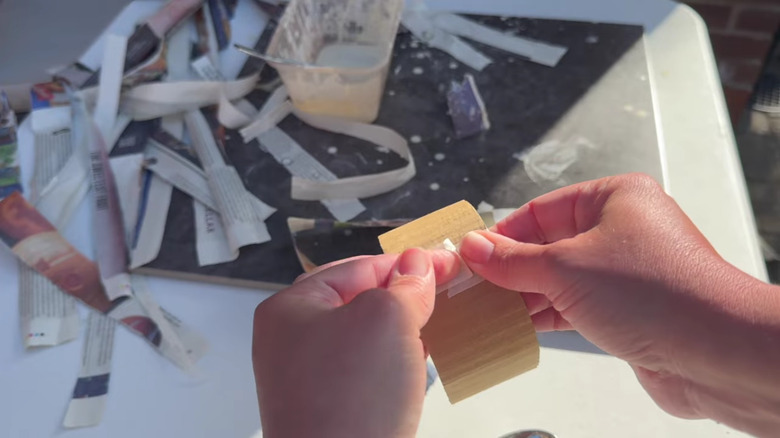
Paper mache materials start out soft and pliable until the materials dry. They have no form on their own, so crafters use something underneath the art materials to create their crafted object's shape. In this case, you'll use a couple of pieces of cardboard to create the tile shapes and styles. Cut them into evenly sized square pieces, like 4 inches by 4 inches. Add some of the blue tape around the edges. Cut your newspaper into long strips, pour some Mod Podge into the bowl with a little water to dilute it, and then dip the strips into the glue. Cover the squares with the strips of glued-covered paper. Allow that to dry.
Next, draw images on the tile. Geometric shapes, spirals, outlines of birds and flowers, or a blend of tile patterns are what you're going for here. If you're not confident with your drawing skills, use small stencils, like Yazhiji 3-inch-by-3-inch Thanksgiving Stencils for Painting, to make the pictures. Then, trace around the lines of your drawings with the glue gun. This creates an embossed effect. Once the glue dries, cover the squares with tin foil, and press the foil in around the hot glue embossing until the shapes underneath show through the foil. Glue the foil at the seams.
Then, paint the tiles. Keep in mind that it may take several coats before the pigment really sticks to the foil. After the whole tile is covered with paint, apply some Mod Podge to seal the tiles and make them shine. Attach a D-ring hook or a fabric ribbon to the back of the pieces to hang them up.
Some tips for using the art materials
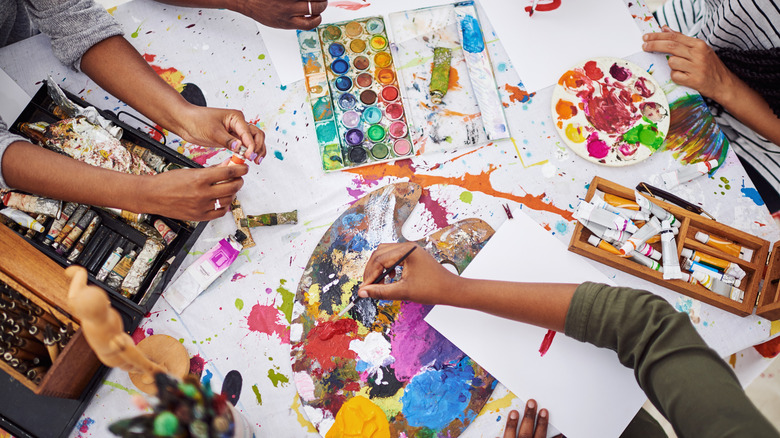
From an aesthetic standpoint, there is a reason for using the watercolor paint on the tin foil. If the paint is spread thinly, you'll see the shine of the foil underneath the paint on the finished tiles. This evokes the look of ceramic tiles. Still, there is good reason to look at the challenges that might come with using watercolor as a medium for this DIY. Chief among them? The paint can be difficult to lay down on the foil (and stick to it) without plenty of coats of paint and equal amounts of effort.
There are some options for getting around this. Normal watercolor paper has what's called a "tooth," which is the texture of the paper. Part of the medium's charm is how it responds to the paper it's painted on. Painting on foil not only removes the texture that watercolor paper creates, but the foil's slick surface makes it more difficult for the paint to stick to it. One of the simplest solutions for this problem is to get something like Daniel Smith Watercolor Ground and apply it to the foil before you paint. It acts like a primer, making the foil surface "stickier" for the watercolors.
The other option you have is to use a different medium. Watered-down acrylics tend to work better with foil. The medium requires less pigment, allowing you to use less of it to get the tiles' foil exteriors covered with pigment. Still, you may feel inclined to stay away from these solutions because you don't want to lose the sheen of the foil behind the paint. If that's the case, just remember that shine on the tiles can come from other sources, like the Mod Podge or even a layer of shellac.