

The Simple Hack That Transforms Your 5-Gallon Bucket Into Organized Tool Storage
We may receive a commission on purchases made from links.
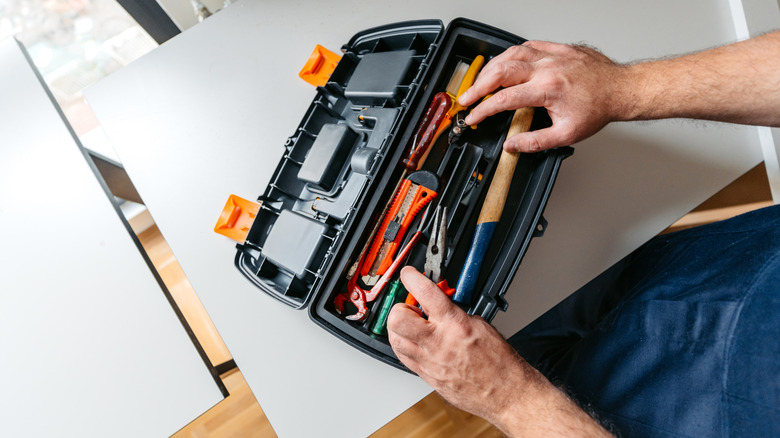
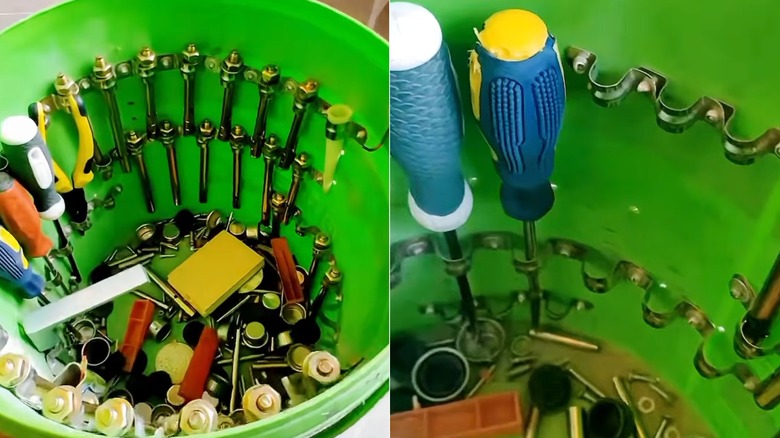
If you're a frequent DIYer, you've probably got a pretty decent-sized tool collection. It comes in handy when you take on a new project — but if you don't have an organization system in place, finding the right supplies can quickly become frustrating. Instead of going out and spending money on a brand-new toolbox, there's a cheaper alternative to consider, courtesy of the Mind Pop YouTube channel. With this simple but clever design, all you have to do is screw some clamps on the inside of a 5-gallon bucket, and you instantly have a DIY tool organizer.
Aside from its low cost, a benefit of this hack is that it allows you to view many different tools and accessories at once. That means less time spent digging around and quicker access to drill bits, screwdrivers, and other important items while you're working. In addition, these buckets are lightweight, so they're convenient for carrying around the house to tackle different projects. You could even turn one into a DIY portable garden tool carrier for outdoor jobs.
How to set up your 5-gallon bucket tool organizer
To make one of these tool organizers, you'll only need a few supplies — some of which you might already own. Let's start with the bucket. If you don't have one, you can grab a 5-Gallon Orange Homer Bucket at Home Depot for $3.98. Don't forget to grab the matching 5-Gallon Orange Paint Bucket Lid ($1.98), too.
You should also buy a few dozen tube straps (or something similar) to hold up your items. These come in various sizes, so you'll need to pick the right ones based on what you're trying to organize in your tool kit. On Amazon, though, you can buy a 30-pack of ¾" Stainless Steel Conduit Clamps for $6.59. Keep in mind that the Amazon product includes screws. You'll also need to purchase nuts and bolts separately.
Although the Mind Pop YouTube account doesn't provide instructions on how to build this organizer, we came up with our own based on what we saw in the video. First, decide how many rows of clamps you want in the bucket. This will depend on what you're planning on keeping inside of it, but we'd say that two or three would be a good number. Then, hold the first tube straps up against the inner wall of the bucket and secure it with the bolts. Install them from the outside in, using a nut to secure each bolt in place. Just be aware that the bolts may protrude slightly on the inside.
Repeat that process until you've added all of the clamps that you want.
Tips for using your tool organizer bucket
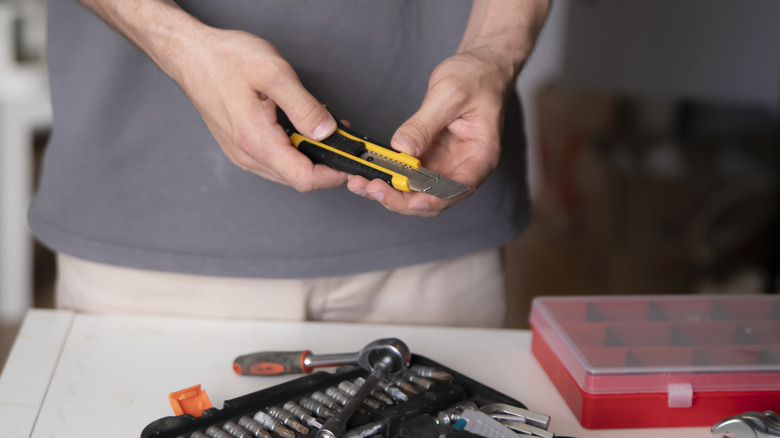
After you finish building your bucket, you can start slotting the items — such as bolts, pliers, wrenches, and paintbrushes — into the holders. On the bottom, you can store tools and other DIY equipment, like tape measures, utility knives, sandpaper, or a cordless drill. If you want to keep that section of the bucket tidy, you can buy an office supply organizer — like this Absonic 360-Degree Rotating Pen Holder ($30.99 on Amazon) — to separate the items. To get more storage up top, you can swap the basic bucket lid for a "Bucket Boss," which is a lid that also serves as an organizer.
While we do appreciate the portable nature of these DIY organizers, there are some safety tips to keep in mind when using them. For starters, make sure not to overload the bucket. According to Home Depot, the maximum recommended lifting weight for its buckets is 84 pounds, so you shouldn't exceed that.
It's also important to follow proper lifting techniques when moving your bucket — especially if it's on the heavier side. According to OSHA, this involves standing close to the bucket, bending at your knees and hips into a squat, keeping your head up and shoulders back, and using your core muscles as you lift the load. Don't twist your torso or hold your breath.