

Goodbye Traditional Birdbaths: The Cheaper DIY With Natural Elegance
We may receive a commission on purchases made from links.
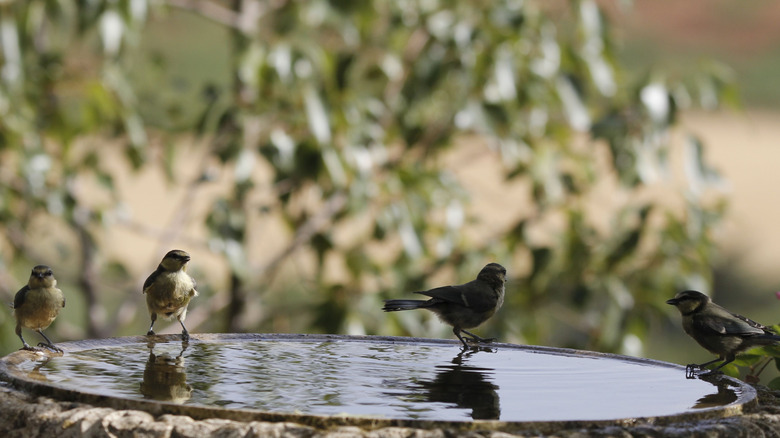
Birds will flock to yards that have fresh, clean water for them to drink and bathe in, especially during the warmer months of the year. If you adore watching the antics of the feathered visitors to your own garden, having a birdbath or two is absolutely essential. But the more traditional, ready-made baths you can buy at the store can be a bit boring. Plus, even if you know the best places to buy the ones that stand out, these pricier options may not fit into your budget. Thankfully, you can easily DIY an elegant-looking birdbath on the cheap using concrete and a bit of creativity, just like one creator did in a tutorial on the Family Handyman YouTube channel.
For this creative project, you'll want to buy a bag of fast-setting concrete mix, like Quikrete, which is relatively easy to work with. You also want a bag of sand, a small piece of chicken wire, a pair of rubber gloves, some non-toxic paint, and a bottle of tung oil, like Hope's 100% Pure Tung Oil. To complete this list of materials, you'll need to go out to the garden and find a large leaf. A rhubarb leaf would work well, or you could use an elephant ear or monstera leaf if you have either of these plants at your home. Then head back inside to your pantry and grab a bottle of vegetable oil. Finally, you'll need a large sheet of plastic, a large, old container to mix the concrete in, and a paintbrush or foam brush.
How to create a natural birdbath using concrete and a large leaf
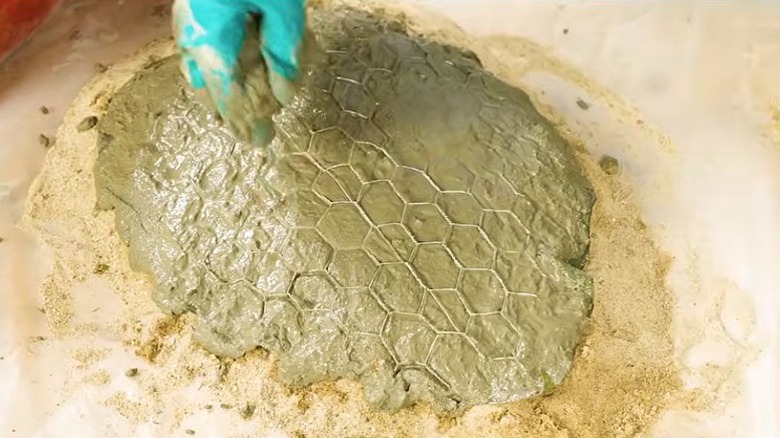
Firstly, find a solid surface to work on, like a workbench. Choose a spot that you're not going to need to use for the next few days. Cover the surface with a plastic sheet and pour some of the sand onto it. Use your hands to form the sand into a large, mounded leaf shape. It doesn't have to be very high — no more than about 2 inches. The height will determine the depth of the birdbath, which should be shallow. You might need to wet the sand to get it to hold its shape. Cut the stem off the leaf and place it upside down on the domed pile of sand. The protruding veins should be facing upward. Put on your rubber gloves and rub the surface of the leaf generously with vegetable oil. This will allow you to peel the leaf off the concrete easily.
Grab a large container and use it to mix the concrete with water until it resembles the consistency of brownie mix. You want it to be moldable and not too wet. Now comes the fun part! Scoop handfuls of the concrete mix onto the leaf and use your gloved hands to mold it so that it covers the leaf smoothly. Cut the chicken wire to the shape of the leaf — it should be a little smaller. Lay this onto the concrete, where it will help to reinforce your birdbath, and then cover it with another layer of the concrete mix. To elevate your birdbath off the ground a little, use extra concrete mix to create a raised rectangular platform in the middle of the leaf. Once you've completed this step, leave the concrete to dry and harden to the touch.
Adding the finishing touches to your new leaf birdbath
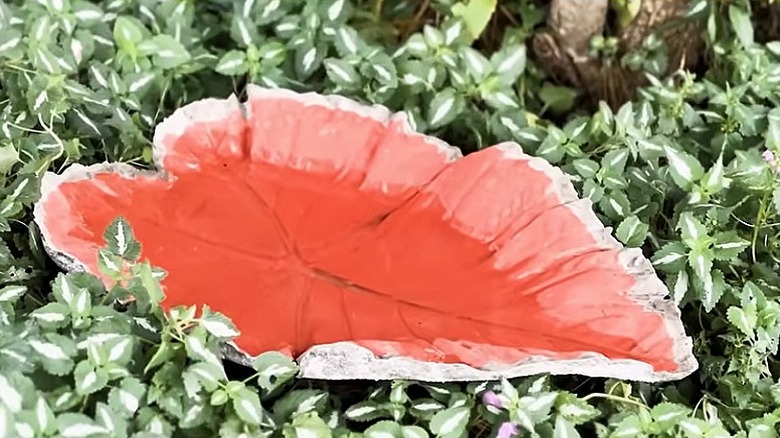
Now that the concrete has dried and hardened, you can turn over your birdbath and peel the leaf off the molded shape. You'll now want to leave your new leafy dish to cure for at least seven days or longer, depending on the concrete manufacturer's instructions, before painting your creation. Then it's time to paint your leaf in whatever color you want. Even though it's safe to paint a bird feeder, birdbaths are a little trickier. It's important to select a non-toxic paint, like Old-Fashioned Milk Paint, which contains all-natural ingredients and can be mixed with water to a thin consistency. Use a brush or foam roller to apply the paint to the inside of the leaf birdbath, adding as many coats as necessary. Or you could opt for an aquarium-safe paint, like Rust-Oleum Acrylic Enamel 2X Coverage or Krylon Fusion All-in-One spray paint.
To complete your new nature-inspired birdbath, you want to coat the interior with a non-toxic sealant, such as Tung oil or perhaps the beeswax you have left over after you used it to seal a cracked birdbath for the safety of your feathered friends. Apply the oil or wax with a rag or a foam brush, ensuring you get it into all the cracks and crevices of the imprinted leaf. After about an hour, the first coat should be dry, and you can add another. Follow the instructions on the product's packaging to determine how many coats you should apply. It's a good idea to wait for at least 30 days before placing your new birdbath out in the yard and filling it with water. This should give the sealant enough time to cure properly so that the bath is ready to handle the elements.