

The Grading Method That Helps Melted Snow Drain From Gravel Driveways
We may receive a commission on purchases made from links.
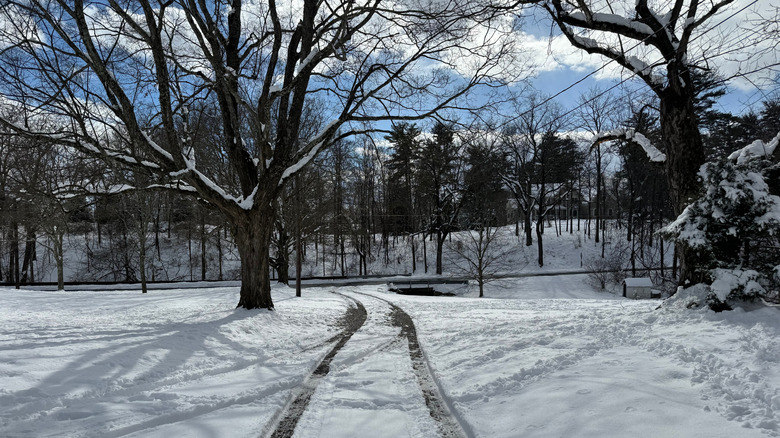
As the days and weeks grow colder and poor weather becomes more frequent, you've probably already started to prep your property for cold weather. Using the last few weeks of fall to get your yard winter-ready — from gutter-cleaning to tree trimming — gives you peace of mind. You need to hunker down to ride out cold weather, confident in the knowledge that no major fixes will be needed when it's least convenient. Beyond landscaping, there are some must-do tasks to prep your gravel driveway for winter, and those include drainage for melting snow.
You can stave off major driveway damage by adding a crown. This raised centerline runs the length of your driveway and gently tapers to either side — small slopes that can make all the difference in winter. You'd think that meltwater would trickle through the gravel and soak into the soil, but it's not that simple. The ground rises and sinks with each freeze and thaw cycle. Soon, you've got ruts and puddles that create standing water and an uneven, bumpy, and potentially damaging journey for vehicles and people on foot. Those puddles on your driveway are warning signs you shouldn't ignore; they can lead to soil washout that requires professional intervention.
Even the gravel you choose for your driveway can have a negative effect. Crushed stone locks together in winter, while rounded gravel rolls under tires and scatters, reducing traction and eroding the surface of the driveway. The key to a durable driveway lies in creating a crown, something that's possible to do yourself. As a bonus, a crown makes removing snow easier and can extend the life of your driveway. If your driveway already has a crown, it's still a good idea to head outside and check its condition. It may need to be rebuilt.
Want to be royalty this winter? Add a crown to your gravel driveway
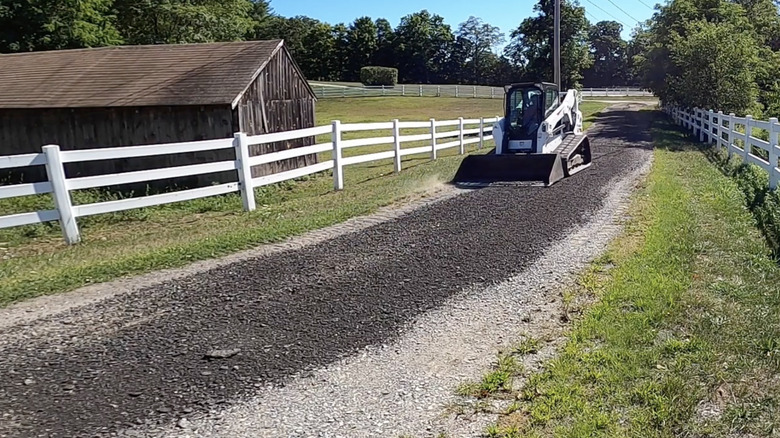
Before the coldest days of winter, ideally just after a bit of rain, break up the surface of your driveway and loosen the packed gravel with a skid steer or tractor grader with an adjustable cutting depth. If you don't have either of these machines, do the work by hand with a mattock, like this fiberglass-handled Hyper Tough Pick Mattock from Walmart. However, the crown may not last as long. Pull the gravel up from both sides of the driveway and move it towards the center. An obvious ridge should form. Check that the slope is about ¼ inch high per foot of driveway width. The slope you create on the crown matters — just adding more gravel to an existing gravel driveway won't solve your problems when snow starts to melt.
After shaping the crown, fill any thinning areas of your driveway with fresh gravel to create a stable foundation. High-traffic areas are prone to puddling, so focus on them. Lastly, use a compactor or hand tamper to compact the gravel and lock the crown in place. Level off any gravel that's piled up at either end of the driveway, a final step that will make the crown more durable. There are a few mistakes to avoid when crowning your driveway. Don't make the center line so steep that the gravel washes to the sides; the crown should be subtle. Water will erode any divots in the crown, so take advantage of blade angles to make it as consistently even as possible. Finally, clear adjacent culverts and ditches so the water doesn't run right back onto your driveway. Now, you're in for a smoother ride when all that winter snow starts to melt.