

Turn Tissue Paper And Cardboard Into A Festive, Colorful Fall Wreath
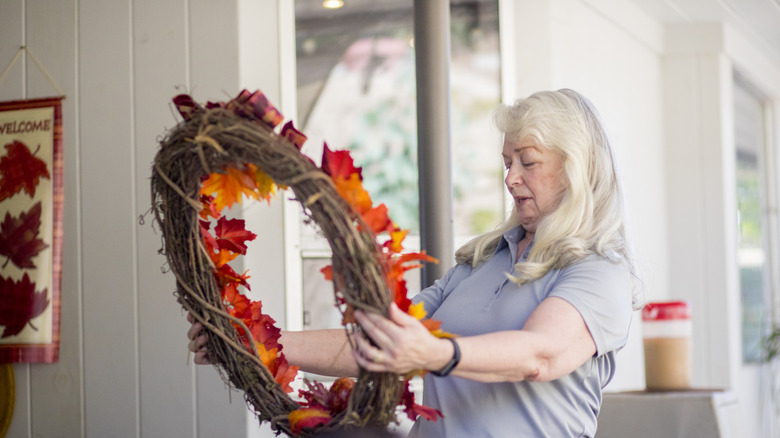
As leaves turn from shades of green to rich yellow, orange, rust, and deep brown, it feels like the time to mimic nature with a little redecoration of our own. There are several ways to subtly transition your home into fall. A festive DIY tissue paper and cardboard wreath is your ticket to decorating for fall without spending a dime if you already have some basic craft supplies and an overflowing supply of leftover tissue paper.
YouTube creator Tripta of Tripta Crafts demonstrates a beginner-friendly fall wreath made with cardboard, colored printer or construction paper, and colored tissue paper in the same shade. You'll also need scissors, a pencil or pen with a blunt end, and hot glue. If you swap standard school glue for hot glue, this is a craft that kids can help with. Try raiding your gift wrapping supplies for leftover tissue paper since the paper will end up crinkled anyway –– that makes this a creative way to repurpose items you already have around the house.
Cut, crinkle and stick –– this tissue paper wreath uses simple materials for beautiful effect
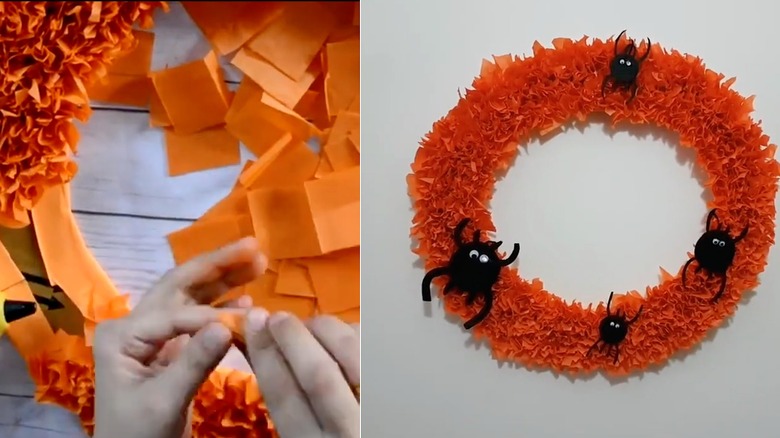
Start by cutting a ring from an old cardboard box. You can decide what size works for your door, wall, or wherever you plan to hang it. Snip the colored paper into long rectangles and hot glue it onto the interior and exterior of the ring. Leave enough overhang to fold over the edges of the ring and conceal the cardboard. Affix the paper strips to the back cardboard ring with glue as well.
Next, put that tissue paper to work. Lay a stack of tissue down –– the size of your ring will determine how much you'll need –– unfold and flatten it so the long side is towards you. Fold in half so the bottom edge meets the top. Do this two more times until you have a long, narrow rectangle to snip squares from –– about 2 inches each will do –– then cut at the folds and you'll instantly have piles of tissue squares to work with. Now press each square around the pencil end to make a little tuft.
A quick way to get gluing on your ring is to tape the wrapped end of the pencil to the glue gun, then start sticking all your little ruffly squares to the ring, packing tightly for a dense, full look. Keep going, cutting and crinkling more squares, as needed, until the wreath is fully covered. Add black paper spiders on top, if you'd like a spooky effect. There are definitely some easy and fun ways to vary this craft by style and season.
Customize your wreath for holidays and celebrations
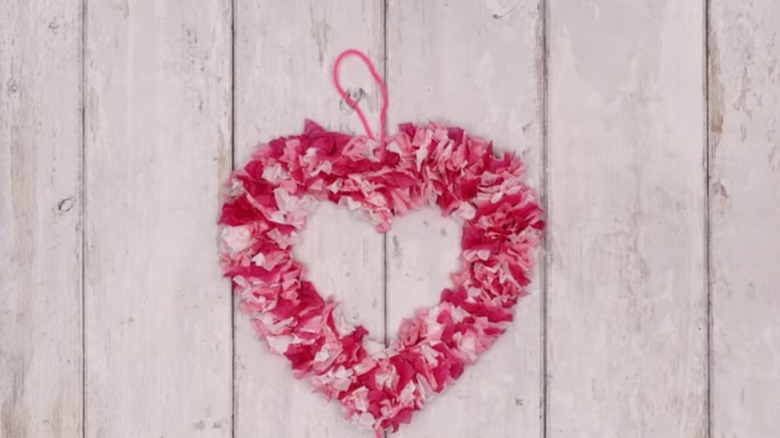
This beautiful fall decorating idea isn't constrained by fall colors or even its own monochromatic style. From the base up, you can customize every element: cut seasonal cardboard shapes — a Christmas tree, Valentine's Day Heart, shamrock, star, moon, number, or letter for a chic monogram. Even a solid circle could be used if you'd like to trace a large initial or number and use contrasting tissue colors to make it pop. Cover the cardboard edges with the same paper technique or brush on a layer of craft paint. For the tissue, layer multiple colors, or two different-sized squares, placing the smaller inside the larger. You can also mix in metallic or iridescent tissue, or go all out with the shimmery, glam effect. Swap crepe paper for tissue, too.
When it comes to color and pattern, the sky's the limit! Try an ombre fadearound the wreath, or start darker at the base with lighter shades on the way up or mixed in for a confetti effect. You could color block stripes, marking out diagonal sections before you start gluing to guide you. This technique would be especially fun for team or school colors or to match the room where the wreath will hang. Whatever the holiday or reason, there's a tuft color for it!
When it's finished, you've got hanging options, too. Aside from hooking on a nail, make a jute twine or yarn loop and stick it to the back with packing tape –– cover with matching paper for color coherence. Another idea is to attach the ends of a wide, wired ribbon, then tie the pieces in a bow at the top to obscure your hook or nail. Whatever your decision, it's going to look impressive, and you did it for pennies.