

Old Cardboard + A Little Creativity = A Colorful DIY Cosmic Lantern
We may receive a commission on purchases made from links.
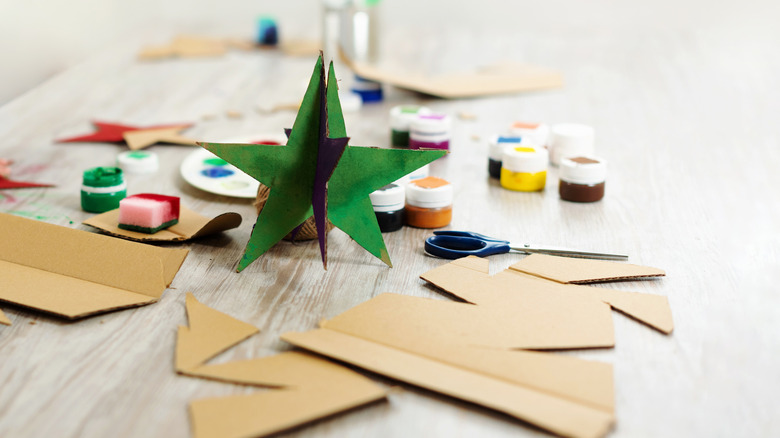
As a starry-eyed kid, you knew it: There's something so satisfying about making simple crafts from leftover cardboard, a couple of markers, and plastic tape. Even as an adult, these types of DIYs are enough to mentally light you up for the afternoon. But here's the real secret. With a smidgen of creativity and some freehand drawing skills, the craft that lights your spirit morphs into a cosmic lantern that lights up your table. It's a DIY that comes complete with details like stars and moons to keep your eyes looking at the heavens, even after you've come inside for the night.
If you're the type that saves your old cardboard because you think it could be used for something someday, this craft validates your patience. However, the pieces of repurposed cardboard you use for this need to be devoid of bends. Otherwise, the walls of the lantern will be weak. Beyond the cardboard, this project requires clear plastic panes, so it's also a good excuse to upcycle a plastic cupcake box (or something similar). The lid, at least, should be flat with no bumps or indentations. And, you'll need some source of light, like LED candles or lights.
This cardboard decor DIY also gives you an excuse to try some fun tools. You're going to cut the celestial shapes out with the help of a ChompSaw (if you don't have one, use something like this Jetmore Store Craft Knife to cut the cardboard instead) and a hole punch. You'll also need a pencil, a black felt-tipped marker, and a set of alcohol markers. These Ohuhu Alcohol Markers for Beginners would work. Finally, you'll need a glue gun, clear plastic tape, a ruler, and scissors.
Creating your celestial lantern from scraps of cardboard
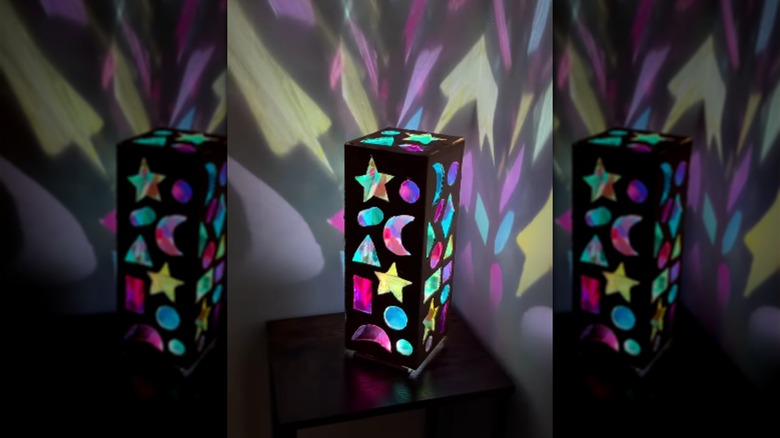
This lamp will have four equal-sized rectangular sides and a square top, all of which will be made from cardboard. The dimensions of the lantern's walls should be enough to fit around whatever light you're using to illuminate the lamp once you've taped the walls together. Once you decide on the dimensions of the lantern, measure the cardboard to those specs, and cut out the pieces. Next, draw objects like stars and crescent moons onto the pieces of cardboard. After that, punch a hole in the middle of one of the objects with the hole punch, and then use the saw or craft knife to cut out the shapes. Here's another step to consider, though it's not required. If you'd like your lantern's exterior to look a bit fancier, cover the cardboard with a coat of spray paint.
Next, cut apart the plastic carton: You want to cut the flat tops from the package. These will become the panes for the windows that cover the star and moon shapes on your lantern. Glue the panes onto the cardboard, and then color them with the markers. The other option you have, which replaces the need for both the plastic sheets and the markers, is to use colored cellophane sheets, like these Ahardaim Colored Cellophane Sheets. Just trim the pieces so that they're large enough to cover your celestial-shaped windows.
Tape the lantern's sides and top together. Set the light for it on a table and place the lantern shell over the light. The light from the lamp will shine through the star-and-moon-shaped windows, giving your DIY square lamp its celestial glow.