

Man Uses Old Wood Pallets To Make An Impressive Picket Fence With Built-In Planters
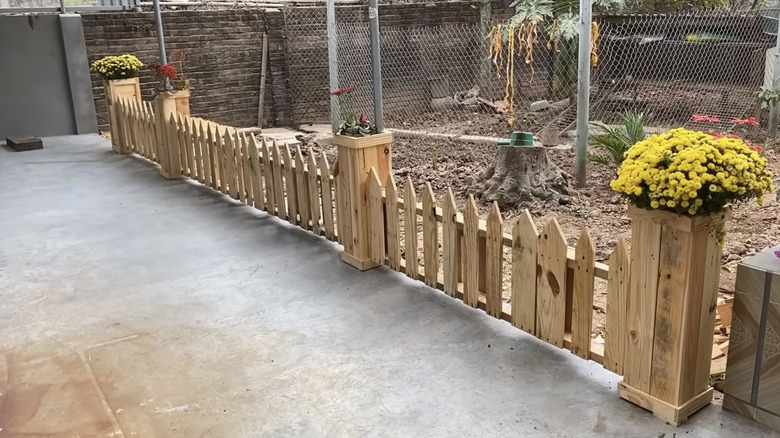
From compost bins to pergolas to trellises, it's pretty impressive how many creative ways there are to upcycle wood pallets for your garden. It makes sense, though, considering a pallet is essentially just a collection of individual planks of wood attached to one another. That's why they're excellent materials for building a picket fence with built-in planters — just like YouTuber Woodworking Skill (@woodworkingskill) did in one of his tutorials.
If you're interested in making a picket fence of your own, there are a few things to know ahead of time, starting with the supplies. You'll need at least a few wood pallets — the longer you want your fence to be, the more you should have. If you already have a stack of pallets in your shed or garage, you've got a good head start on this project. Otherwise, there should be plenty of places to find free pallets near you, including bars, pet stores, furniture stores, distribution centers, and more. Aside from the pallets, you should grab a tape measure, a saw, clamps, a marker, an electric sander, a nail gun, a drill, screws, and a hammer. It helps to have some basic carpentry knowledge as well, since you'll be cutting pallets and building planter boxes from pieces of scrap wood.
Before you begin, make sure to put on safety gear, including goggles or glasses and a mask. When handling the pallets, you should wear a pair of work gloves, too — just remember to take them off when using most power tools. Once you've gathered everything, you can start repurposing the pallets into a beautiful new picket fence. Here's how.
How to create your own picket fence from wood pallets
To begin this DIY woodworking project, lay a piece of scrap wood across the middle of your first pallet so it's perpendicular to the boards. Depending on how tall you want your fence to be, you can move the wood up for a taller fence or down for a shorter one. Then clamp the scrap wood in place at both ends and cut the pallet with your saw. Flip the pallet over and repeat the process on the other side, making sure to position your cutting guide slightly higher than you did for the first cut. When you're done, the planks on the back of the pallet should stick up higher than the front ones.
Next, you'll create the points on the pickets. To do that, use your tape measure and marker to sketch a triange on the top of each wooden board, then cut out the point with your saw. From there, sand the wood with an 80-grit sanding pad to get rid of any splinters, followed by a 150-grit pad to smooth the surface. Finish with a 220-grit sanding pad to prepare the boards for painting or staining.
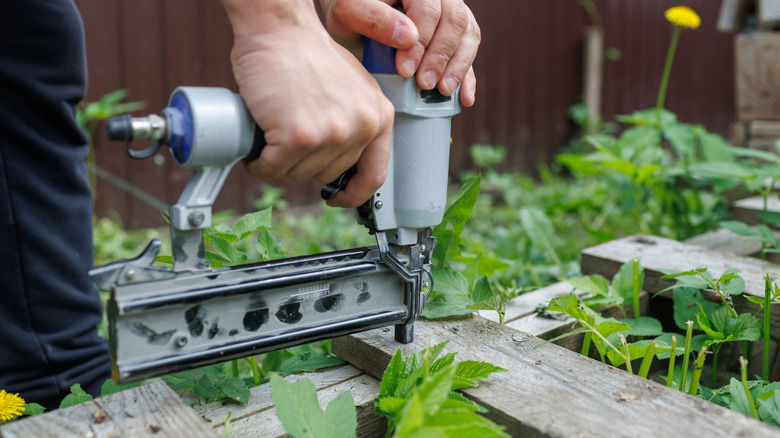
Before installing your picket fence in your yard, you'll need to build the tall wooden planters that hold it upright. Essentially, you'll cut the pieces of wood left over from the pallets into sets of shorter and longer wall planks. Using a nail gun, build the long sides of the planter first, securing them with wooden brackets. Then join them together using the shorter pieces to form the short walls of the planter. You'll end up with a series of tall, rectangular planter boxes that you'll use as supports for the picket fence.
Ideas for using and customizing your DIY picket fence
There are quite a few ways to install your new picket fence in your yard. For example, it could simply serve as a decorative element around a patio, or you might use it to separate your lawn from your vegetable garden. Another option? If you have small dogs, the fence could help keep them contained on your property. It'd also be great for crafting a magical, Disney-inspired backyard or castle for your little ones.
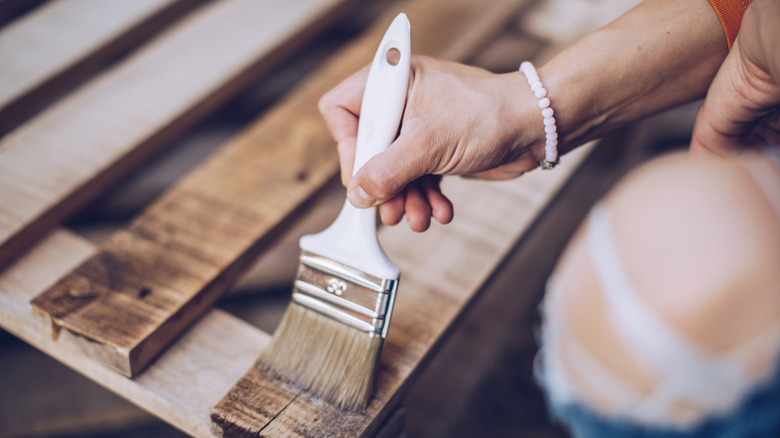
If you like the appearance of natural wood, you can leave your pallets as-is — but you should still seal the wood so it holds up better against the elements. Alternatively, you can stain or paint the wood for a more polished look. These finishes also create a barrier to protect the fence against moisture and, in some cases, UV rays — both of which can damage timber. Depending on your style preferences, you might paint the wood white for a classic picket fence vibe or use vibrant shades like blue, green, and yellow alongside stencils to create an eye-catching design.
The fence's built-in planters also give you an opportunity to add more color and life to your yard — you could, for example, grow plants with bright-hued flowers, like pansies or geraniums, in them. Just make sure to drill drainage holes in the base of the planters to prevent water from pooling inside them and potentially damaging the wood. One more idea: If you find yourself needing more space to showcase you plants, you could attach hanging planters to the picket fence as well.