

Turn Large Lampshades Into An Eye-Catching Side Table

Have you ever browsed a thrift store and been struck by the number of lampshades on the shelves, wondering what people could possibly use them for? Well, we have one answer for you, courtesy of this Hometalk YouTube video. By stacking two lampshades on top of each other (and connecting them with a few basic crafting supplies and a wooden tabletop), you can turn them into a one-of-a-kind side table.
To create this cleverly designed table, you will, of course, need a couple of large, tapered lampshades from a thrift or vintage store. The exact sizes don't matter, but when you flip one upside down, it should fit comfortably on top of the other one. (Keep in mind: Since thrift store inventories are constantly changing, you might not be able to find all of these materials at your local shop. In that case, you can turn a pair of IKEA lampshades into a decorative side table instead.) Before you leave the store, grab a belt as well.
After that, head to a craft supply shop or home improvement store and pick up a circular tabletop, like this RELIABILT 1-inch x 24-inch Softwood Board ($17.48) from Lowe's. Again, the specific size you'll need will depend on the dimensions of your lampshades, but the disc's diameter should be an inch or two bigger than the wide opening of the top lampshade. Finally, you'll also need a tube of clear glue or a hot glue gun, jute rope, acrylic paint, a paintbrush, old wallpaper scraps, and a pair of scissors.
Steps for creating your own lampshade side table
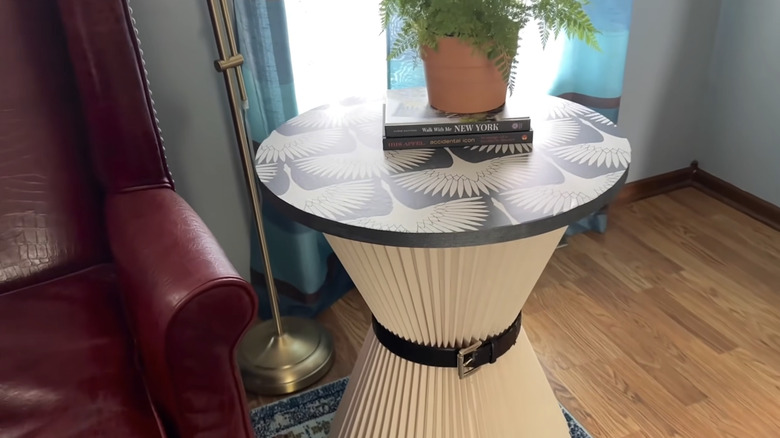
Once you've gathered your supplies, you can begin assembling your table. Start by placing the first lampshade on the floor, then adding a layer of glue on the top rim. Then, flip the other one upside down and press it down on top of the glue. Hold it in place for a few minutes to let the glue dry. Next, tie the lampshades' inner wire frames together with jute and give it a gentle shake to make sure the pieces are tightly attached to one another. After that, wrap the belt around the middle section of the table to hide the tops of the lampshades. (If needed, you can use scissors or a drill to poke an extra hole in the leather so it fits.) Glue the end of the belt down so it stays in place.
For the next phase of the project, you'll decorate the table's surface. To do that, paint the outer edge of the wooden disc, then add scraps of traditional or peel-and-stick wallpaper to the top side. (Don't have any extra wallpaper lying around? You could just paint the entire tabletop instead.) Smooth it out with your hands and cut off any excess material with a pair of scissors. When you're done, set the tabletop on the lampshade base, adding a few dots of hot glue to the rim if you want to keep it from sliding, and, like magic, you've got an eye-catching DIY side table.
Ideas for customizing and styling your side table
If you're happy with how the table looks in Hometalk's tutorial, you can leave it like that. But if you'd rather put your own personal spin on it, there are ways to do that, too. For example, there are dozens of ways to give old lampshades a fresh new look, including by coating them in chalk paint, adding a stencil design, and making them sparkle with glitter.
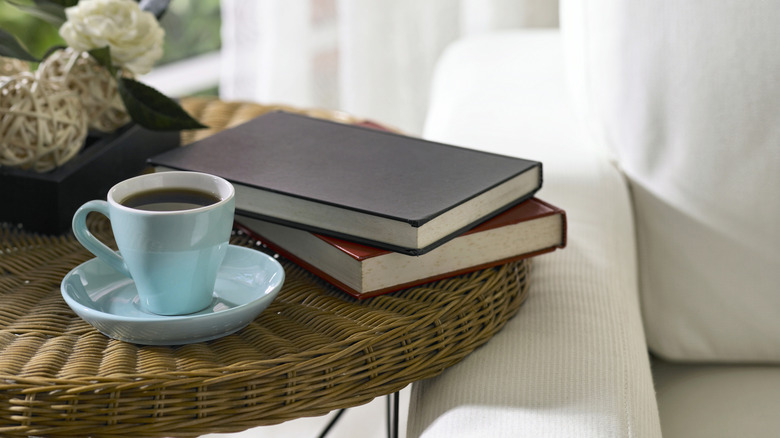
Not sure where to use your new table, or what to put on it? We've got you. While you probably don't want to add too much weight on top of the lampshades, you could prop it next to a chair to create a cozy reading nook and leave a couple of books on top of it. Otherwise, it could work nicely next to your bed or alongside your couch. In terms of decoration, this table would be the perfect spot for a small plant, a framed family picture, or dried flowers in a vase. For a cozy glow, try a flameless LED candle, since an open flame on a lightweight table with a fabric base isn't worth the fire risk.