

Turn An Old Waste Bin Into A Creative Way To Light Up Your Entryway
We may receive a commission on purchases made from links.
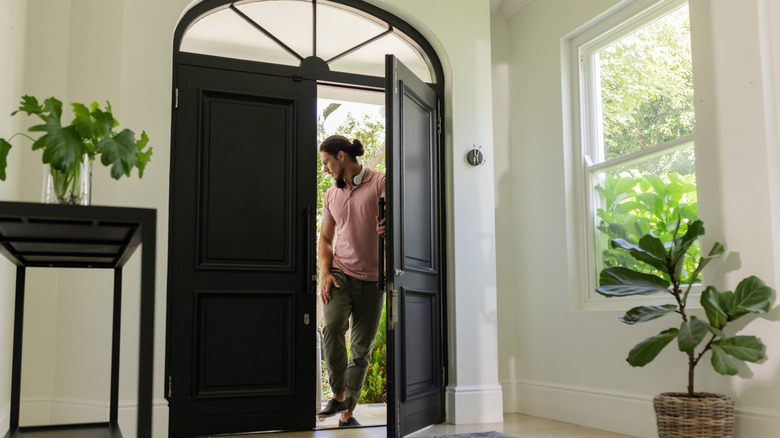
Finding the perfect, statement light fixture for your entryway can be difficult, but it's worth the effort since it helps set the tone of your home. There are a variety of entryway chandeliers that look cool and modern, but what if you're searching for something to put on the wall? We've got just the thing. You can create a beautiful wall sconce with a small woven wastebasket. You'll simply attach it to a wood plank and add a light bar inside to make a creative and unique entryway lighting solution.
The most important item for this project is the right waste bin. It's important that the bin is non-tapered, so the top and bottom are the same size and the sides are straight. You'll also want to ensure the bin has a sort of woven texture so you can see the light the piece. Next, you'll need a wood plank that's slightly thinner than your basket but slightly longer as well. Using a light bar, like this Rechargeable Indoor Light from MCGOR, makes this project simple (you don't have to worry about any wiring or electrical). You can opt for a battery-operated light bar instead. You'll also need some glue to attach the waste bin to your wood (like this Construction Adhesive from GORILLA), along with some decorative brass corners (such as these Decorative Metal Corner Covers from dophee). Grab some small screws for the brass corners. You will also need some way to attach your sconce to the wall. Consider screws or even something like these Hanging Strips from Command. Get ready to build a light that'll turn heads. Sconces are back in style, after all!
How to make a creative light using a waste bin
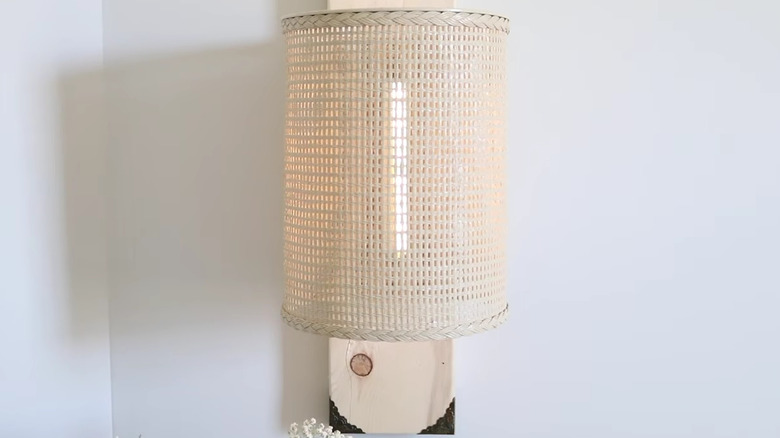
The first step is to remove the bottom of your waste bin so light can shine through both the top and bottom. Next, you'll attach the waste bin to the piece of wood using your Gorilla glue (it should take less than a minute to set). Then screw the brass corner pieces to each corner of the wood plank, and place your light bar inside the basket, in the center. If your light bar has adhesive on the back, you can simply use that. If it doesn't, or if the adhesive isn't very strong, consider using your glue to attach the bar inside. One thing to note: if you have a rechargeable light bar, make sure the charging port is at the bottom so you can easily plug in the cord to recharge it. If you have a battery-operated light bar, you may need to completely remove it from the sconce to replace the batteries once they die. It might be a good idea to use adhesive strips rather than glue for battery-operated light bars. Once the light is attached, it's time to hang your sconce on the wall using your screws or hanging strips!
There are numerous ways to make this project your own. Instead of leaving the wood and basket their natural colors, you could paint them black for a more modern take. Depending on the material of your waste bin, you could use something like this Spray Paint from Rust-Oleum. Consider building two sconces to frame each side of the entryway, or decorate with sconces all over your home! No matter where you place your new DIY sconce, you've just made a beautiful, creative lighting solution.