

You'd Never Guess These Tiny Ceramic-Style Bowls Are Made From Paper
We may receive a commission on purchases made from links.
Miniature furniture, household goods, and figurines have been around for centuries. While often used in dollhouses or as part of dioramas, they also feature prominently in the current fairy garden trend. Over the years, fairy gardens have evolved from small kits of pre-made items for the outdoors into fanciful landscapes with natural and handmade pieces that look just as good inside the home. And there are so many ways to DIY the perfect fairy garden using supplies from your craft room.
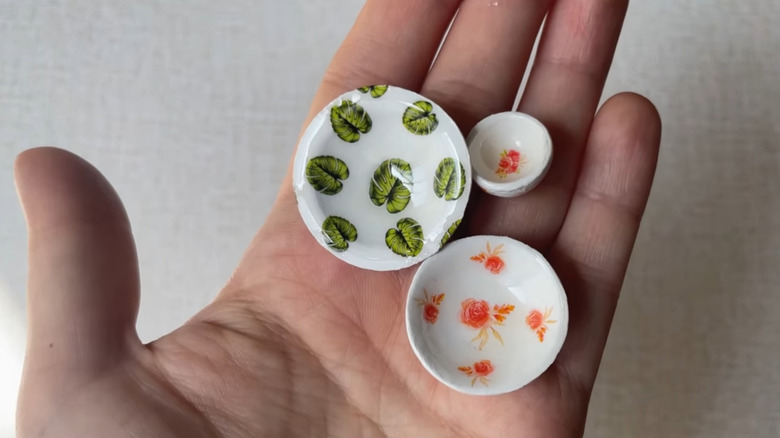
Whether you own a dollhouse or are thinking of building another kind of whimsical display, consider DIYing your own miniature accessories. Something easy to try your hand at first is making a set of tiny ceramic dishes from paper. In a tutorial by Narges Rezaei of Nari Little World, the YouTuber coils small strips of paper into a disc, then presses on the center to make them concave, finishing them with paint and clear nail polish. The resulting dishes resemble high-end ceramics that have been shrunk down for a fairy to enjoy.
For this project, you'll need a sheet of blank paper, a paper cutter or scissors, a ruler, super glue, a nail file, sandpaper, clear nail polish, acrylic paint, a small paint brush, a bowl of water, tweezers, and small nail decals. Rezaei used white paint and mini floral decals to make these miniatures look like white ceramic plates and bowls, but you can choose whatever paint color and designs you like for your own dishes. And when sourcing sandpaper for this DIY paint project, avoid this mistake — choosing the wrong grit. Start with fine-grit sandpaper to ensure you don't ruin the finished product.
How to make paper dishes that look like ceramic
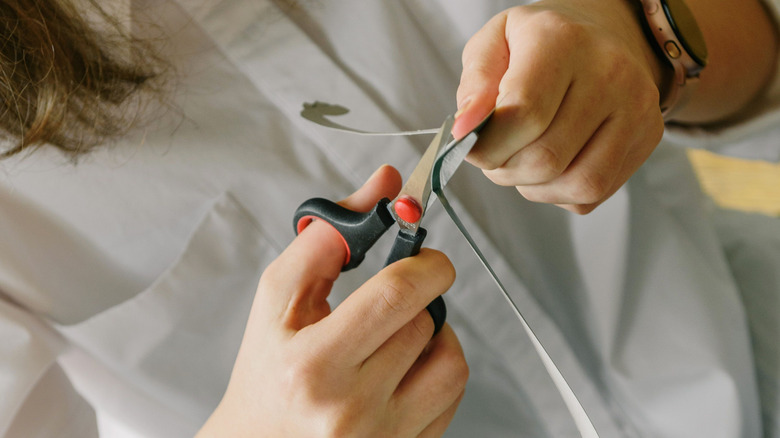
To begin DIYing these miniature dishes, measure out approximately ⅕-inch-wide strips on paper and cut them out. The number of paper strips you'll need depends on how many bowls and plates you want to make and how big you want them. Once you've cut enough paper strips, take the edge of the ruler and run it quickly along the strips to give them a slight curl and soften the fibers of the paper.
You're now ready to start making your dishes! Tightly roll the first strip of paper into a disc. When you get to the end of the first strip, add a dab of super glue and attach the next strip. Continue rolling and gluing until you have a disc that measures approximately ⅗ inch to 1¼ inches wide. One disc equals one dish. To form a bowl, gently hold the edges of the disc between two fingers and push the center paper downwards with another finger. You can manipulate the disc to achieve your desired depth.
Once you've shaped your dishes, coat the surfaces with a light layer of super glue. Once the glue has dried, use the file and sandpaper to sand down the edges and interior of the bowl until they're smooth. Next, paint the dishes white. While the paint is drying, cut out your nail decals, letting them soak in water to help you remove the backing paper. Using tweezers, take the decals out of the water and stick them onto the dishes. Finish with a layer of clear nail polish to seal the decals and give the tiny bowls and plates a glossy finish.
Customizing these mini dishes and displaying them in your space
This is a crafty DIY trend that is all the rage right now, so there are lots of mini dish customization ideas out there to explore. There are even ways to make them functional. One modification that'll also make the dishes more usable is to make them larger than dollhouse-sized. While the original bowls could work as single ring holders near the kitchen sink, you could use larger ones as trinket dishes for coins, rings, earrings, and other small items. If you decide to go this route, you'll need to cut many more paper strips to get paper discs that are at least 3 inches wide before shaping them.
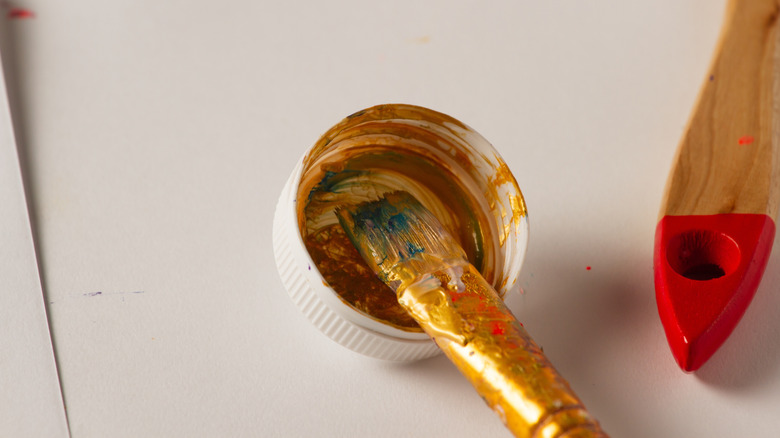
If you don't want to make larger versions of these paper bowls and plates, you can change up their look to personalize them for your space. For example, switching out the white paint for a different hue or adding gold to the rims of these tiny DIY dishes with something like Rub 'n Buff Wax Metallic Finish would have a big impact. Sometimes, though, less is more. "I kinda wish she would have clear coated the one at 2:12 with the blue pen marks... Reminds me of those Chinese dish sets," wrote a commenter on the Nari Little World tutorial video. To achieve this look, simply skip the sanding and painting steps and add a coat of clear nail polish to the dishes.