The Sandpaper Mistake You Want To Avoid For DIY Distressed Paint Projects

While out shopping one day, you run across a pretty wood bench that would look perfect sitting next to your farmhouse kitchen table. It would look even better with a distressed paint finish, so you begin to tackle this DIY project. When the time comes to sand the bench in order to create the weathered look you want, you suddenly find that you've accidentally created a big circle in the center of the wood surface. What happened? Choosing the wrong grit of sandpaper is a mistake you want to avoid when you're trying to make a piece of furniture look naturally distressed.
It's easy to become enthusiastic when sanding your paint project, but it's important to start slowly and use the right sandpaper grit. The grit of sandpaper is measured from low to high. A low number is the coarsest material, ranging from about 24 to 80. This type of sandpaper is very rough, used to remove old paint and smooth down sharp edges. A grit number between 100 and 150 is less coarse, often used to remove a layer of varnish. Grit between 180 and 220 is finer, used for projects such as sanding wood between applications of paint. A measurement of 400 and above is considered ultra-fine, used for polishing wood to achieve a sleek and smooth appearance.
Begin slowly and experiment with different grit sizes
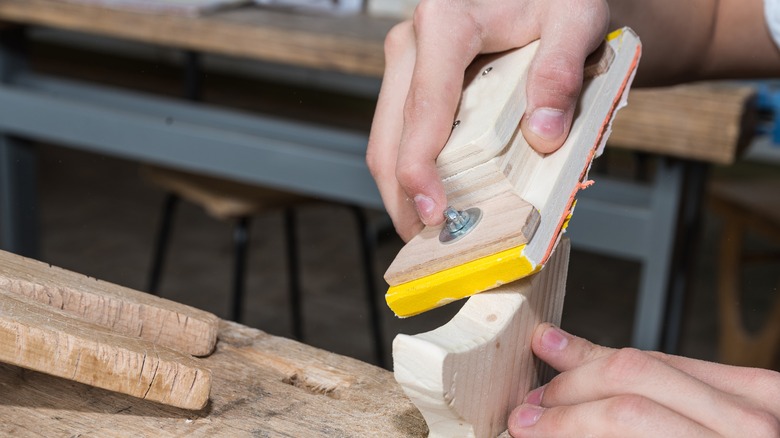
For your DIY project, try using a sanding sponge or block like the ones featured at Lowe's. They're easier to hold than regular sandpaper, and you're less likely to go too far in your efforts, which can happen quickly with a power sander. Try using a sandpaper grit in the range of 120 to 200. Start slowly by working on the edges of the furniture to dull the finish and see how soon the distressed look begins to appear. After this first step, experiment with a lower grit number for a truly weathered look, or choose a higher grit number for a more precise result.
Concentrate on the areas of the piece where normal wear-and-tear would naturally occur. Remember that the purpose is not to make the piece look symmetrical. A dresser that has aged over time would not look uniformly faded across its front, for example. There would be worn areas around the handles of the drawers as well as the corners where people had brushed by. Never hold a sander in one place for very long as well. Grit with a lower number can begin to remove the wood itself if it's applied in one place for too long, and a higher number can create those patches you're trying to avoid. With some patience and thoughtful consideration of which sandpaper grit to use, your new bench will become a beautiful addition to your home.