

He Uses Wood Pallets To Build A Simple Outdoor Table With Benches
Buying tables and chairs for the yard or patio can be expensive, but luckily, you can usually save money with any one of the numerous DIY outdoor furniture projects available. Plus, it can be hugely satisfying to have made those things yourself. If you're looking for an outdoor table and a pair of benches to match, then over on YouTube, the Creative Pallet Ideas channel has a simple solution. Let's take a look at the tools and materials you will need and how they are put together.
First, you'll need a couple of pallets. There should be plenty of places to find free pallets near you if you don't already have them. Be sure to check the markings, as they can tell you where the pallets came from and how they were made. Most aren't important to you, but you'll want to avoid any stamped with MB, which means they've been treated with a toxic insecticide called methyl bromide. Also avoid any with CP, which means they were used to transport chemicals. What kind won't be stated, but they might have been hazardous, so it's better to err on the side of caution.
The pallets aren't completely pulled apart to salvage the wood and built from scratch, but rather are cut down to form the tops and leg sections, with offcuts used for support where necessary. The table and two matching benches that sit on either side use the same method and are the same length, just a different width and height. It makes the construction very straightforward.
The main techniques for building the wood pallet table and benches
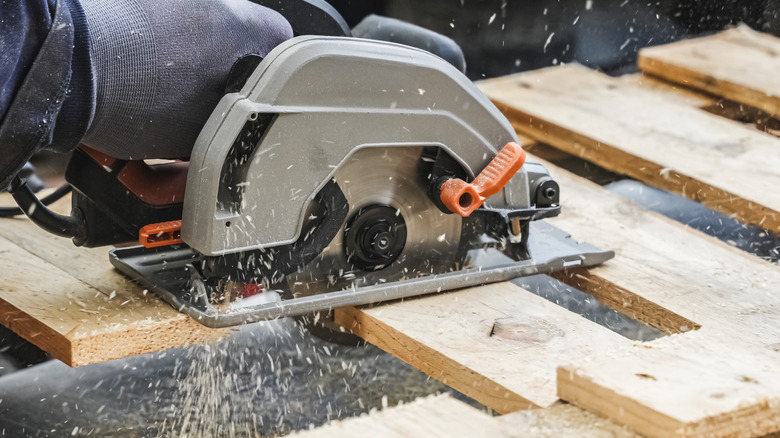
The creator uses a jigsaw to cut the pallet up, but novices may find it challenging to keep the blade from wandering. A circular saw makes it easier to cut straight lines and is among the must-have power tools for homeowners. The benchtops are made first using the full width of a pallet, but cut down to the required widths. No dimensions are provided, so some guesswork is necessary, but if you're working with free pallets, then any errors can be rectified without costing you money.
The first benchtop has offcuts inserted to support the open ends left when the pallet was cut through. The second benchtop needs a little more work, but it's only a question of duplicating the first. The table top is made simply by cutting the pallet to the required width.
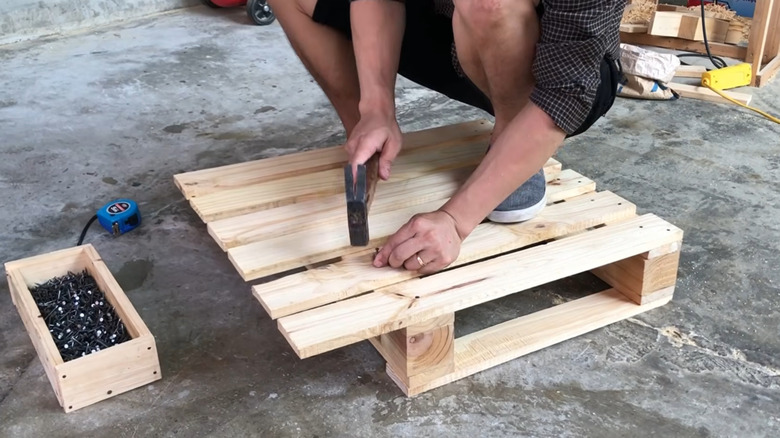
All of the legs follow the same pattern but are made to the appropriate width for the table and benches and different heights. Basically, they are a squared-off "d" shape. The bottom portion is reinforced with offcuts to provide strong support. Each top rests on two of these, and then the extended top section is used to screw the whole thing together. Using two screws per upright gives the necessary strength to hold the legs in place. It's a good idea to drill pilot holes rather than driving the screws straight in to prevent the wood from splitting.
Sanding and finishing the wood pallet table and benches
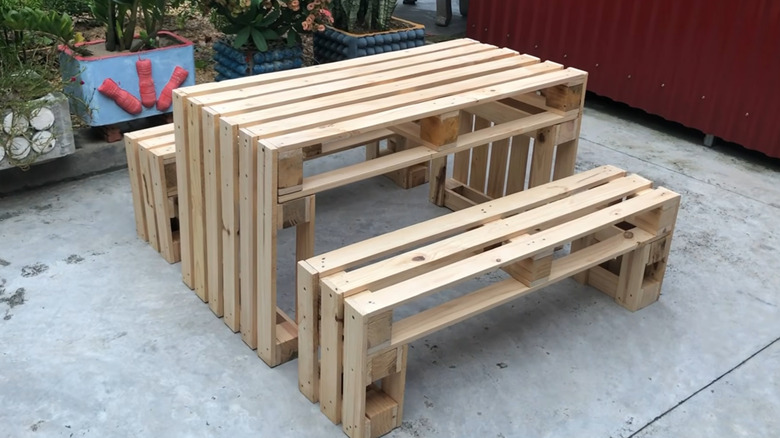
Once the table and benches are assembled, we see them sanded with an orbital sander. If your budget is tight, this could be achieved with sandpaper wrapped around a scrap block and plenty of elbow grease. The amount of work you need to do will depend on the quality of the wood pallets. You don't want to sit on a splinter or have one stab you in the leg. Before final construction, it's actually worth sanding any edges, particularly on what will be the underside.
The video doesn't show any finish being used. Unfortunately, most wood pallets will start to rot within a couple of months if left untreated outdoors. There are lots of ways you can protect them, and marine or spar varnish is particularly durable. These are usually clear, although different colored stains are available. You could also use exterior paint. If you are concerned about environmental issues, choose water-based versions, and always follow the instructions about the number of coats and drying times carefully.
Making this outdoor table and benches shouldn't present any real challenges, even if you are a relative novice. The main requirements are care and patience. The result of your efforts will be a useful addition to your yard.