Ways You Didn't Know You Were Ruining Your Walls

How well do you know your walls? In our day-to-day lives, we often take the four walls around us for granted that keep us protected from the elements, and only really think about them when there's an evident problem. But the truth is that our walls require as much TLC and upkeep as the rest of our homes, and the consequences for not treating them well can be costly. The average wall repair will set homeowners back $751, and more profound jobs can catapult your expenditure to well over $2,000, according to Home Advisor.
What's more, the ways that walls can become damaged are pretty extensive, and are not easy to fix. Even smaller cracks or chips can require a contractor's work and can be symptomatic of a much larger structural problem. And there are a huge amount of things that you could be doing on a day-to-day basis that could be damaging your walls without you even realizing it. Let's take a look at a few common, unknown mistakes you may be making in order to keep your walls from crumbling down.
Allowing humidity to build up in your home can lead to soggy, damp walls
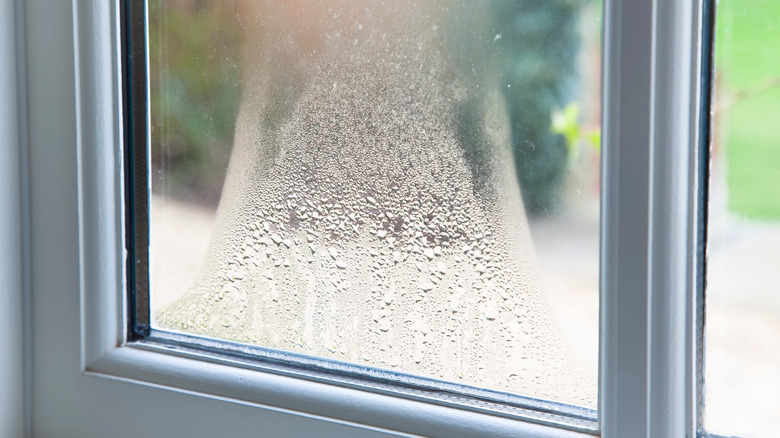
Humidity is no joke. Aside from making everything feel very uncomfortable (seriously, summer can be a real struggle), excessive humidity in your home can lead to build-ups of moisture that can affect your basement, your mechanical systems, and your flooring negatively, according to Networx. Your walls can also be seriously impacted by humidity, as the moist air gradually builds up in your walls. This can cause them to become damp, as well as a place where mildew and mold can thrive; too much humidity can also cause paint to peel off or bubble. Both interior and exterior walls can be affected by humidity.
Making sure your wall insulation is robust can help prevent moisture build-up, as can sealing cracks or gaps around walls, windows, or baseboards with caulk or weatherstrips. Using vapor-retardant paint can also help. Running a dehumidifier in rooms that are particularly humid can also be a good idea, according to Timber Wise. It's important to remember, however, that dehumidifiers alone shouldn't be considered solutions; there are simple changes you can make to your lifestyle, like keeping windows open in high-humidity areas (like laundry rooms or kitchens) that can help hugely.
Using any old tape when you paint walls can cause more damage than good
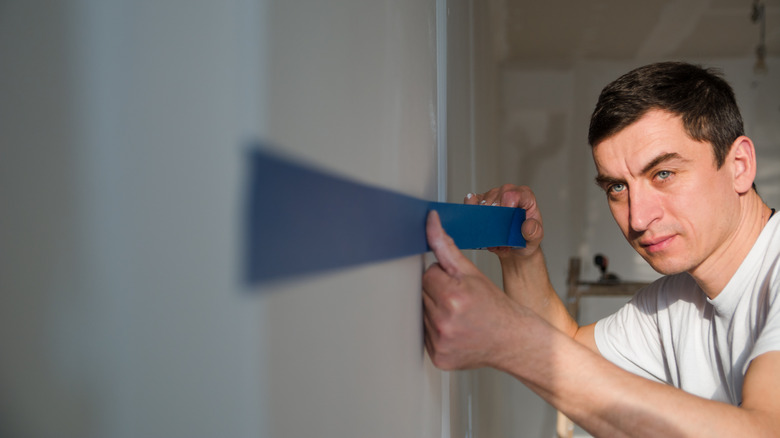
Painting around doorframes and electrical outlets can be finicky work, and if you're not near a specialist store, finding painter's tape might be a hassle. So surely the tape you have lying around will work just as well, right? Unfortunately, this thinking can lead you to damage your walls, as the adhesive on everyday tape that isn't designed for paint can bond with your wall, causing you to have to rip it off, potentially damaging the paintwork and causing even more work, says House Trick. Crucially, this is also the case with regular masking tape: Although it's often considered to be craft-friendly, it's your walls' worst enemy due to its strong adhesive.
So spare yourself the extra labor and opt for the right product. Scotch has several different lines of tape which are designed with your surfaces in mind, from a specialist multi-surface painter's tape to products that are better suited to rougher or gentler surfaces, according to Good Housekeeping. Frogtape's product specifically designed for delicate surfaces is also a great choice. And, if you can't find these options in your local hardware store, they're all available online.
Ignoring water damage is a big mistake
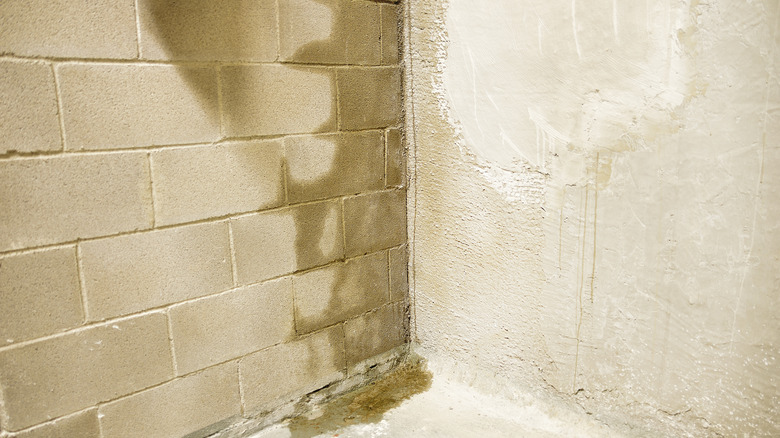
The words "water damage" can strike fear into the heart of any homeowner. What's even scarier is that when it comes to your walls, it can be hard to spot, and there's often more damage than we can see, according to Revere Construction & Roofing. The clearest sign of water damage in your walls is discoloration, appearing in streaks running down from your ceiling. Cracked or bubbling paint on your walls can also be an indicator of water damage, and frustratingly can mean larger, unseen damage; while you might be able to pop the smaller bubbles yourself, this work is best left to professionals.
When you spot water damage, tackling it immediately is crucial. The consequences of not doing so are huge, ranging from structural damage to health problems, electrical damage, mold and mildew build-up, and potential impact on your home insurance, says Home Angels. The hardest-to-identify wall water damage is softened drywall, as it can often not show on the surface. Keep alert to any smells of mold or rotting, and if you suspect any softening drywall, any buckling or depression when you push on it can be a sign.
Be careful when you clean your walls
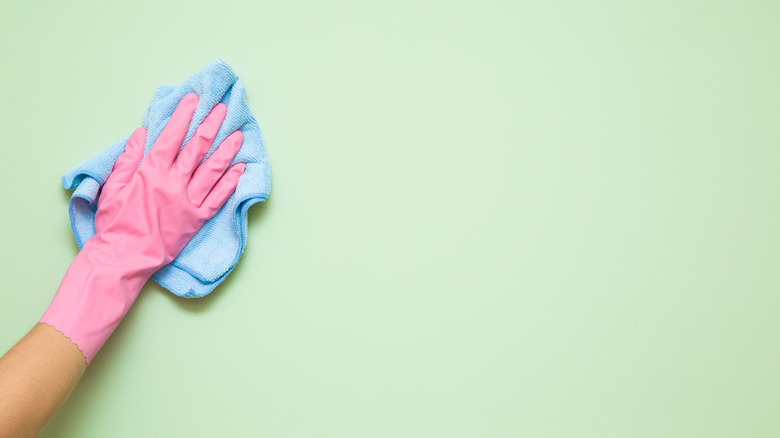
As with anything in life, our walls can sometimes need a little sprucing — but the surfaces of our walls can be trickier to clean than we think. "Cleaning the walls can be a delicate process, and what you use is dependent on what the wall treatment can hold up to and resist," says Sabrina Fierman, vice president of specialist cleaning supplier New York's Little Elves to Architectural Digest. What's particularly risky is using heavy-duty cleaning products like bleach on your walls: It can be way too harsh for the surfaces, and combining it with rubbing or wiping the wall can cause damage, details Hunker.
There are situations where harsh cleaning products like bleach can be useful, notably if you're trying to clean active mold or mildew, as it disinfects as well as clears away the unsightly mess. For everyday cleaning, though, a gentler product like a pH-neutral cleaner or a solution of dish soap and water, applied with a non-abrasive cloth or sponge, will do fine. If you are using bleach, dilute it first, and work in a well-ventilated area. For any wall-cleaning operation, using a dehumidifier or opening a window to dry is far more effective than just towel-drying, due to the porousness of walls.
Using dirt-resistant paint on your exterior walls is more important than you think
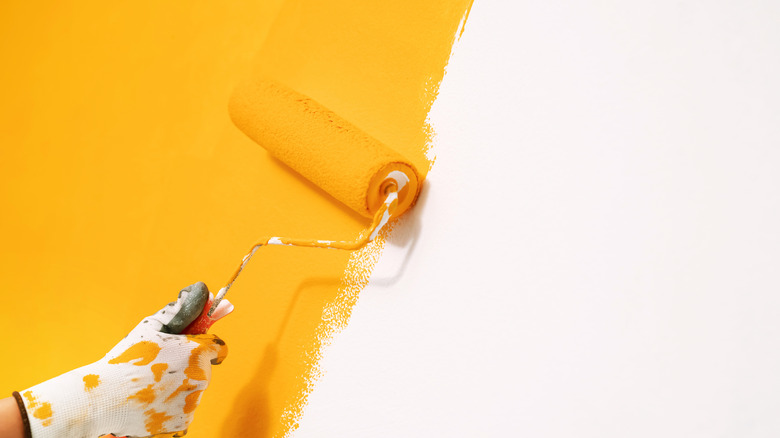
"Is dirt-resistant paint really necessary?" we hear you cry. Well, when it comes to your exterior walls, we're here to tell you that yes, it is — and failure to prepare your walls adequately can mean ruin further down the line. Dirt-resistant paints are specifically designed to be less porous than other kinds, meaning that dust and dirt aren't able to settle into surfaces as easily, according to Indigo Paints. Dirt-resistant paint is also particularly useful when designed with the ability to wash it easily in mind.
For these reasons, dirt-resistant paint is usually best when it has a glossy finish, as this produces an even, smooth surface that dirt has a hard time attaching to. It's important when picking paint for your home's exterior to think about the kind of area you live in: A location with a lot of rainfall, or which has a higher pollution level, might impact your choice of paint. Before applying any paint, make sure your exterior surfaces are clean and any cracks or gaps are filled in.
Trying to fix a damaged electrical wire yourself is best avoided

Sure, we love DIY as much as the next person. However, there are some jobs which are best handled by professionals — and tasks like fixing damaged electrical wires can not only result in damage to your electrical system (and, at worst, bears serious health hazards), but also to your walls. Fixing a wire with a replacement cable is not in the average DIYers capacity, says SF Gate, and ripping into your walls to do so can leave you with a bigger problem than you had before.
What's more, trying to seal up your wall yourself after any electrical repair can lead to bigger problems down the line. "Improperly sealed wall penetration will slowly and invisibly rot wood and potentially attract damp wood termites," says Colin Haentjens, an architect who works with The Knobs Company, to Best Life. While it is possible to insulate any damaged electrical wires yourself, as SF Gate illustrates, for the potential damage this procedure can do to both your walls and yourself, it's best to leave these kinds of things to the pros.
Whatever you do, don't ignore the signs of termites
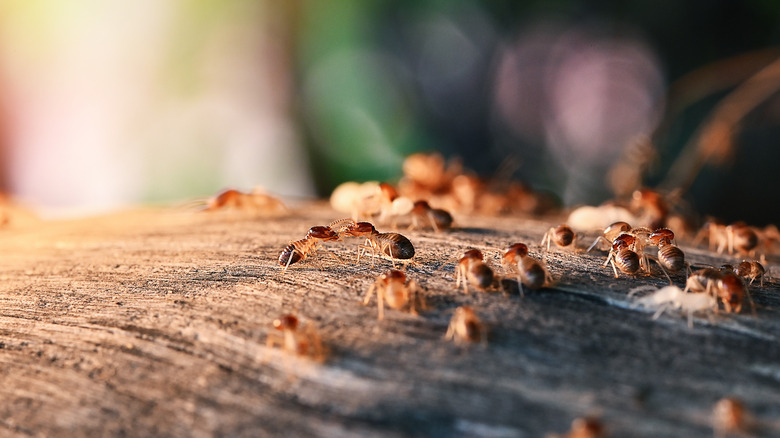
The mortal enemy of homeowners across America, termites cause approximately $5 billion per year in property damage, according to Terminix. And the pests don't just eat wood: As they also feed on cellulose, which is a component of drywall, termites can work their way through your interior walls in no time at all, causing huge damage and potential repair expenses if you don't tackle a termite problem fast.
That's why, when it comes to looking for termite damage, being alert and rigorous is vital. Both signs of any hollowed or damaged wood and any blistering to wood flooring can be a telltale sign of termites, states Terminix. Signs of tunneling into the mud around the outside of your home, where it meets the earth, can also indicate a pest problem, as well as any mounds of droppings that frequently resemble coffee grounds or sawdust. Spotting any of these could indicate a problem that needs tackling immediately. But crucially, termite damage can also continue unseen for extended periods before you even spot a problem; so if you're suspicious, booking a consultation with a pest control expert is a wise move.
Be careful with Command strips
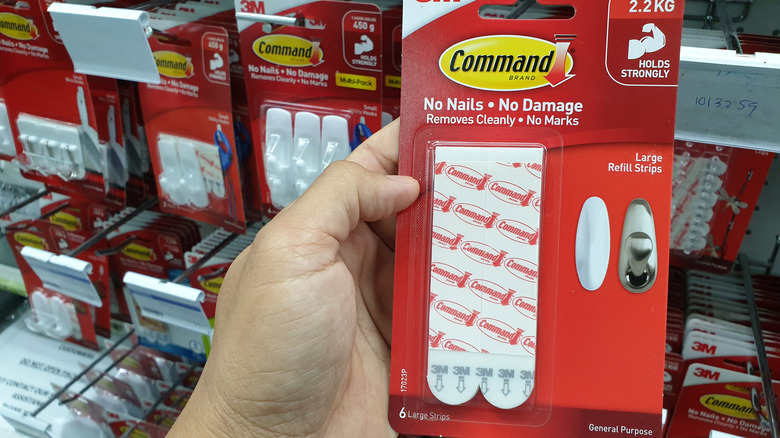
We often use Command strips to avoid wall damage, but unfortunately using these adhesive strips the wrong way (or on the wrong surfaces) can cause damage to walls that you didn't anticipate — and only spot years down the line when you come to remove them. Let's start with the surfaces: Command strips will only work as they're intended to on completely smooth walls and trying to stick them on rough or textured surfaces won't work, says Apartment Therapy. Trying to stick them to an unclean surface can also create an uneven or insecure bond, so cleaning walls with rubbing alcohol beforehand is recommended.
Trying to stick Command strips on recently painted walls can also be damaging — it's best to wait at least seven days after painting a wall before trying to use one. The most common way that Command strips can mess with your walls, though, is when you go to remove them: You need to pull the tab at the bottom towards the floor, not away from the wall horizontally. Doing this can rip it off and risk spoiling your surfaces. A top tip to remove the strips if they're not budging (or if the tab is missing) is to warm them up with a hairdryer, and then slide dental floss between the wall and the strip.
Using doorstops is a great way to avoid wall damage
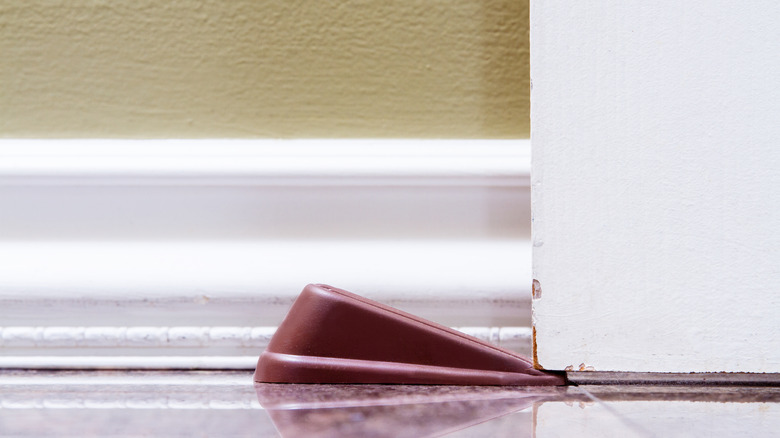
If you live in a busy household (especially with kids roaming around), you're probably well-used to the sound of doors slamming against walls. And that sound, over time, could be damaging your interior walls hugely, causing holes that could potentially need professional attention to fix, advises Zillow. The best method, after you've repaired any existing damage, is prevention in the form of a doorstop, which can be applied to your walls, doors, or door hinges to prevent impact and damage.
And who'd have thought there'd be so many choices when it comes to doorstops? If you're looking for something permanent, the Jack N' Drill 15-Pack Door Stopper or Kovosch 2-Pack Hinge Pin Door Stoppers are easy-to-install directly onto your wall or door, according to Business Insider. To prevent the doors from swinging shut in the first place, you could also opt for a magnetic doorstop, a classic door wedge, or a trendy weighted doorstop to keep things in position.
Protect your walls by using covers or bumpers on your chairs
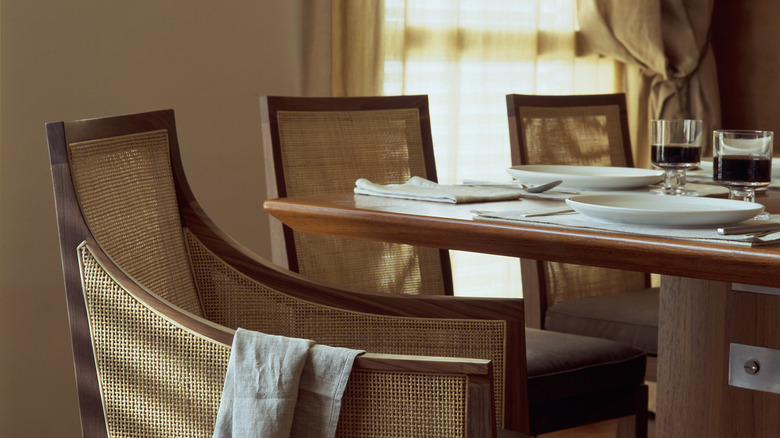
A particular risk factor in smaller rooms where furniture can be harder to maneuver, chairs being pushed back against walls can over time scratch or damage the paint and the wall underneath. The easiest solution for this is to prevent it in the first place by using a chair cover, says SF Gate. Slipcovers can be placed easily over your chairs, minimizing the damage that can be caused by them bashing against the walls — and as a bonus, they can look pretty good, if you coordinate them with your room's color scheme. What's more, slipcovers are removable, so if you ever sell your chairs on (or simply put them in a less risky place for your walls), you can whip 'em off.
In a pinch, you can also cover your chairs with a pillowcase; just make sure to pick one with a high thread count to make them friendlier to your walls. Stick-on rubber or felt bumpers can also be added to the back of chairs as well, and can be easily found in most hardware stores. Simply identify the spot that the chair makes contact with the wall, and attach them to your chair.
Don't ignore cracks in your walls
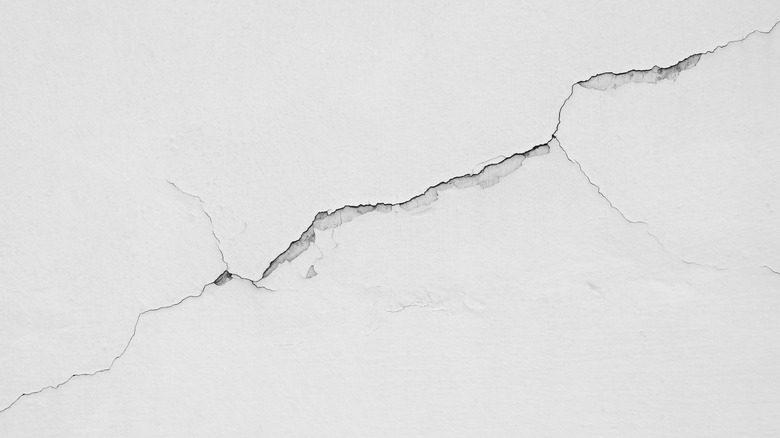
Sure, sounds obvious, right? Ignoring cracks in your walls may not seem like a smart thing to do — but it's all too easily done, particularly with smaller cracks that seem harmless. Indeed, some cracks are fairly harmless, and in new homes especially they can occur as a result of the house "settling" as the new lumber used to build it dries out, per Bob Vila. These usually appear as hairline cracks above windows or doors and can be fairly easily re-taped and painted after a year or so of your home being finished, so the wood is completely dry.
More worrying, though, are other types of cracks, which can lead to (or are a sign of) much bigger damage. Straight, thin cracks can be a sign of faulty taping and need addressing. Most serious are jagged, large, and/or diagonal cracks, which can point to the deterioration of supporting wood, or unfortunately, structural or foundational damage. This is also the case with cracks wider than ¼ inch. Ignoring these cracks is seriously not recommended; book an assessment with a builder or engineer immediately.
Kid-proofing your walls can prevent stress further down the line
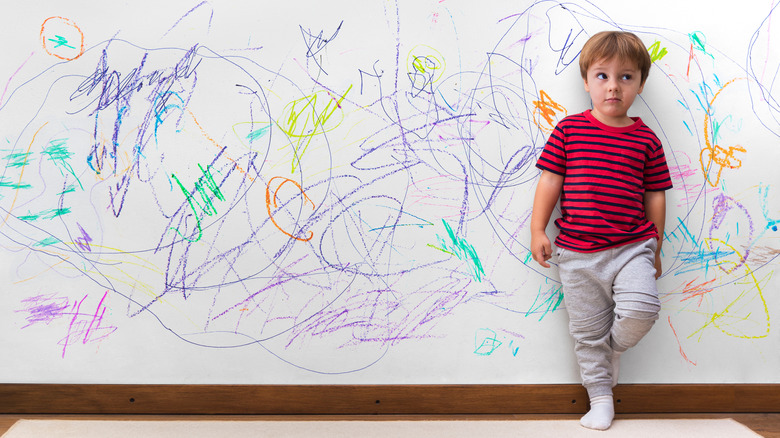
If you have kids (or know kids, or have been a kid — so most of us, right?), you'll know that accidents can happen. And if your little ones have ever gotten too brave with the crayons, you'll know that those accidents can mean costly clean-up for your walls. Luckily, you can prepare for this in advance by "kid-proofing" your walls, which starts with the kind of paint you choose, states Riggins Painting. Opting for a paint color that can hide smears and smudges, like gray or beige, can be a better choice than white. Additionally, a high-gloss paint can be a great choice in kid-friendly areas, due to it being robust and easier to clean. It might be a little vibrant for your front room, but a high-gloss coat in your kid's playroom will save you stress.
To that end, choosing a good-quality paint that's easy to clean will be infinitely less hassle than picking a cheap one that'll be harder to maintain. While you're kid-proofing your walls, it's a good opportunity to safeguard your electrical outlets, in order to keep your loved ones safe as they play.
Priming walls is something that a lot of people skip -- but you shouldn't
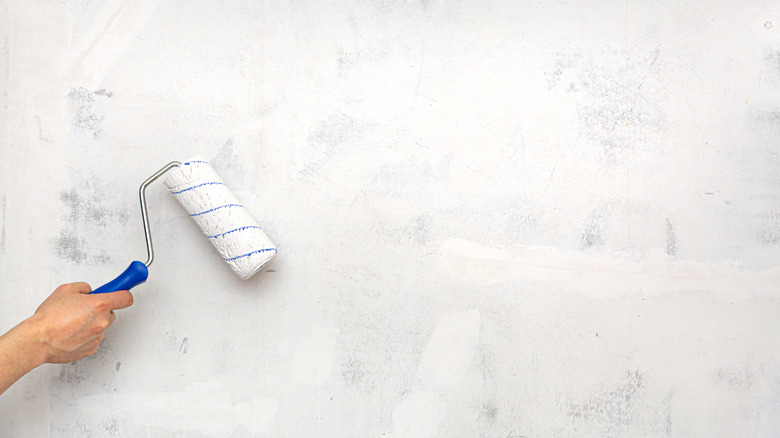
Priming walls before painting them seems like a real hassle, but not doing so can result in stress and damage. When you prime a wall, you're essentially creating a sealed, smooth surface for the paint to adhere to, states the Sharper Impressions Painting Company. This is particularly important if the surface you're painting is porous, stained, glossy, or if you're planning to paint a light color over a dark one. In all of these instances, priming correctly ensures a clean finish.
By not priming, however, you open yourself up a host of problems. Painting drywall without priming means that the paint can soak through unevenly, creating a blotchy effect, says SF Gate. It can also lead to a less uniform coverage and color, and can mean that the paint doesn't adhere to the wall properly, which can result in you finding that the color can start to rub off at a later time. In all of these instances, you could end up having to apply repeated coats of paint (not ideal for your walls, or wallet), and in the worst-case scenario have to strip it all off and restart.
If you're hanging things on the wall, check for studs first
If you're keen to get your prized artwork or family photos on the walls, there are some checks you need to do first. "Drywall is not as supportive as concrete or brick walls, so if you want to hang something, it's imperative that you first check where the studs are," states Issabel Williams, a member of the team at Fantastic Handyman UK, to Realtor. Otherwise, Williams warns, "you risk having a serious accident with falling objects." Furthermore, trying to hang objects on drywall or plaster alone can damage them, says SF Gate.
Instead, checking for studs before you hang can make sure you're driving nails or screws into a structure that can support them. They can be easily found with an electronic stud finder, or if you want to go lo-fi, search for any columns of dimples or bumps in the surface of the wall (it can help to use a flashlight for this), which can indicate that the wall is secured to a stud by nails. Knocking on a wall and listening for a solid instead of a hollow sound can also indicate a stud behind it.