15 Easy Tips For Painting Outdoor Furniture
We may receive a commission on purchases made from links.
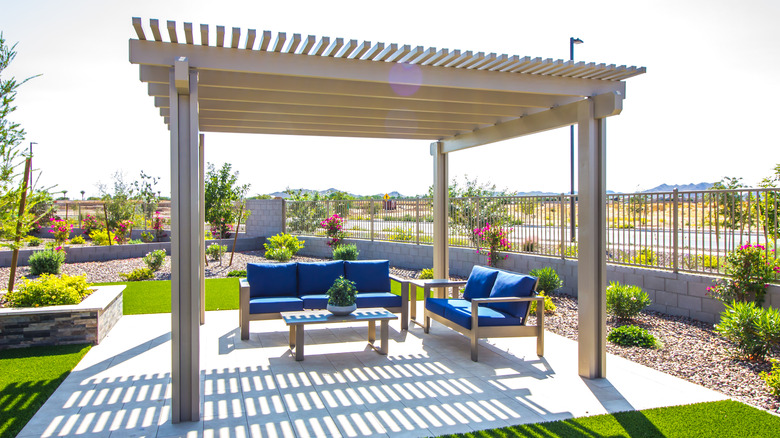
Outdoor furniture has a whole lot more to contend with than indoor furniture, since it's so frequently exposed to the elements, per Decor Interiors. Sure, you can quickly rush out to your patio to bring in the pillows before a rainstorm, but the fact is your outdoor dining set and chairs will likely spend almost all year outside. This means they'll be exposed to elements like sunshine, wind, and rain, and depending on the type of climate you live in, maybe even snow.
Luckily, there are many ways to give your outdoor furniture a bit of a refresh if it's beginning to look a tad worn. A simple can of paint can give your pieces a face lift, and since the items you're painting are already outside, you don't have to worry about those pesky paint fumes filling your house as you work on the project.
However, when it comes to painting outdoor furniture, there are a few tips and tricks that can help ensure the process goes smoothly. If you're looking to revamp your outdoor space by adding some fresh color to your outdoor furniture, here are 15 things to consider that should help you get the best possible results.
1. Evaluate your furniture and make any necessary repairs
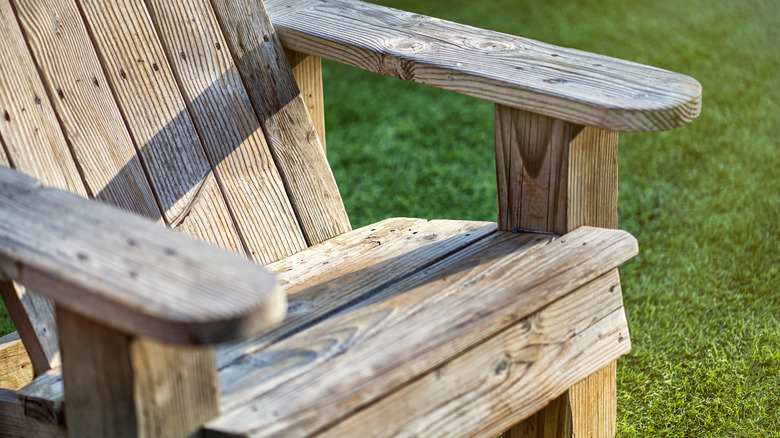
Before you begin painting, you want to evaluate your furniture and make an honest assessment of whether it's in good condition, a tip shared by Family Handyman. Small things like scratches or dents can be repaired, especially in materials like wood or metal. Cosmetic issues, like some staining, will likely be covered up by the paint.
However, if the wooden furniture piece you're looking to paint shows signs of being rotten, or if you're trying to refresh a set of heavily damaged plastic chairs, it may not be worth the time and effort to paint them. Before you start painting, quickly repair any small issues by tightening loose screws, sanding off sharp edges, etc. This will give you a solid base.
2. Clean the furniture first
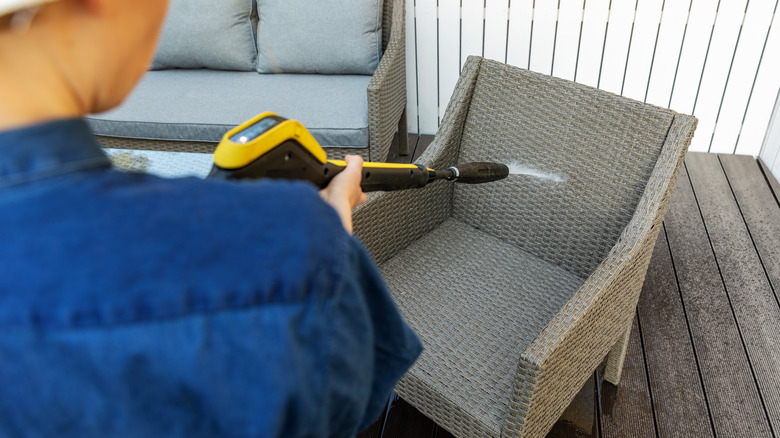
Before you start slapping paint on that set of chairs, you want to do the essential first step of cleaning the furniture, as Anika's DIY Life advises. The paint needs a clean surface to stick to, so start the process by wiping down your furniture and using some soap and water in order to get off any dirt, dust, spider webs or other sediment. While something like a power washer comes in handy for this step, it's certainly not needed. Ideally, this step should be taken at least a day or so before you're looking to start painting, so that the furniture can properly dry out after your cleaning.
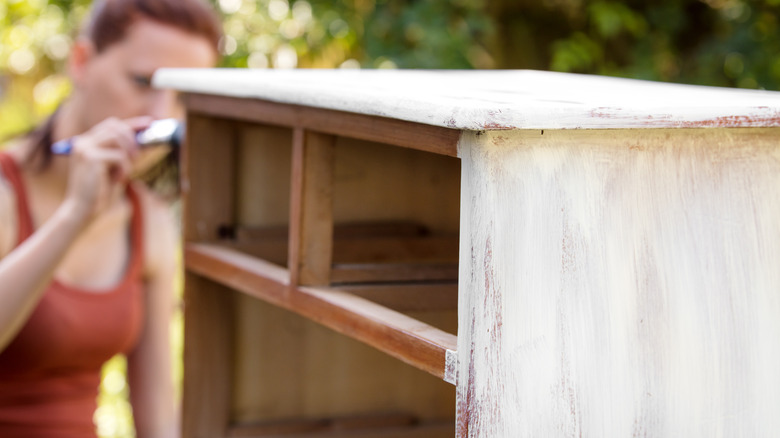
3. Sand the furniture
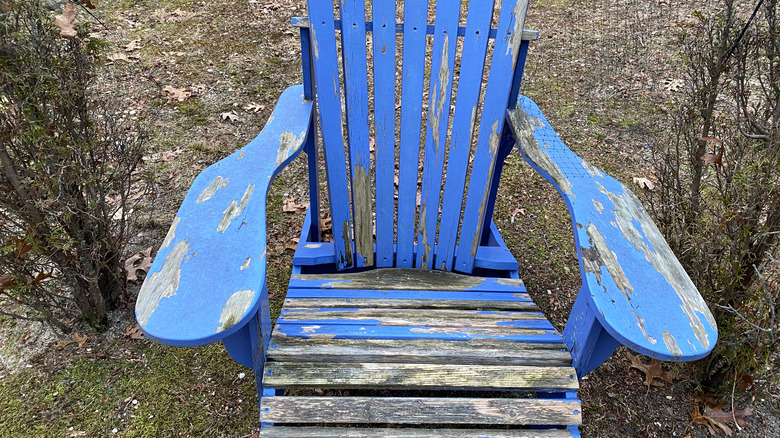
If the item you're looking to transform already has a few layers of flaking paint on it, you'll need to deal with that first (via Family Handyman). You want a smooth surface to work with, so you'll need some sandpaper and elbow grease to remove anything that could impact your painting job.
Regardless of condition, giving the piece you're painting a light sand can help ensure your project turns out looking spectacular, according to Anika's DIY Life. You may need to turn to harsher options like steel wool or a wire brush for pieces that have been treated to several different coats of paint over the years.
4. Pay attention to the weather
When painting outside, you don't have to worry about ventilation the way you do when painting interior spaces. However, you do need to worry about the elements. A rainy day will require you to cover your full painting area to protect your furniture — not ideal. A windy day can lead to issues as well, such as potential debris flying around and sticking on the surface of your freshly painted piece of furniture, or the pigment from spray paint blowing away before it properly coats your furniture. And high levels of humidity can cause the paint to dry improperly, according to Benjamin Moore. Ideally, just wait for a day where conditions are suited to painting.
5. Work in a shady spot if possible
While you may assume that a hot, sunny day is ideal for painting outdoors, there are some caveats to that. You want to be cautious about the temperature getting too high, as that can cause problems with the paint drying too quickly, according to Style at Home. Additionally, Benjamin Moore suggests a temperature of anywhere from 35 to 100 degrees Fahrenheit.
However, the other key consideration is whether you're in direct sunlight. The temperature of the surface of whatever you're painting may be different than the actual temperature registering on your outdoor thermometer. Painting when it's too hot or when there's direct sunlight shining down on you may lead to issues with the paint cracking or failing to adhere properly.
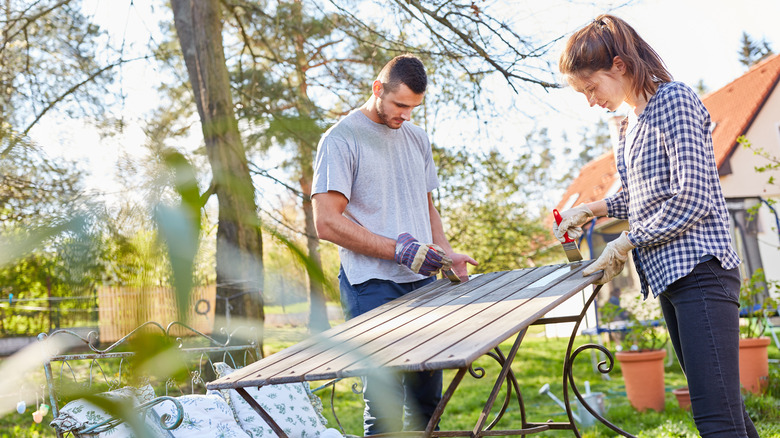
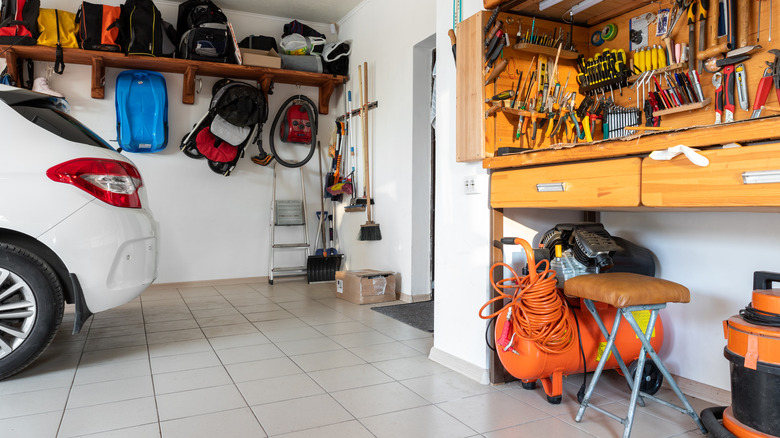
6. Put down tarps to protect the space you're painting in
You want to ensure you have a painting space where you won't worry about a few drops getting on the ground while painting outdoor furniture, per Family Handyman. One of the easiest ways to protect an area, whether you're painting in your garage, on your deck, or out on the grass, is to put down a tarp or drop cloth that provides a barrier for any spills or drips. You may also want to take any other outdoor furniture or accessories like planters, and simply move them out of the way before beginning.
7. Remove any hardware, if necessary
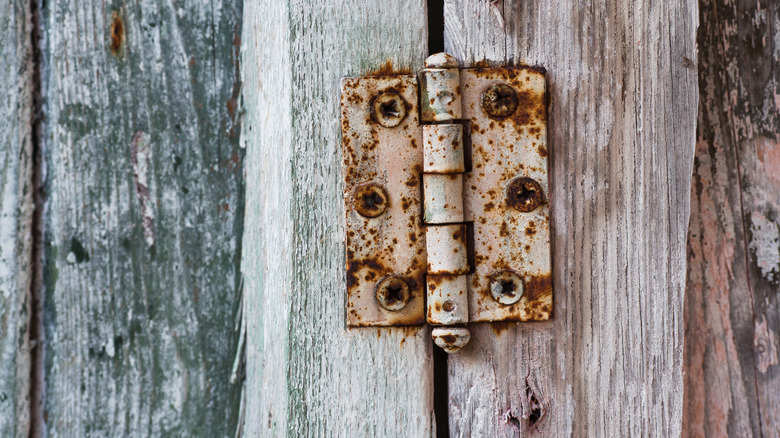
You may want to consider removing hardware to make your job easier. According to Home Depot, getting paint in hardware like hinges or handles can impact the function, causing them to "stick" and have trouble moving. You can either leave hardware as is or, if you're interested in refreshing it, use a lighter paint like spray paint to ensure its function isn't impacted. If there are pieces of hardware that you can't remove, use painter's tape to cover them up and keep them clear of any paint. There are certain hardware details that you may want to cover by painting, such as small screws or other metal components, but anything that moves or has some type of active function should be handled with care.
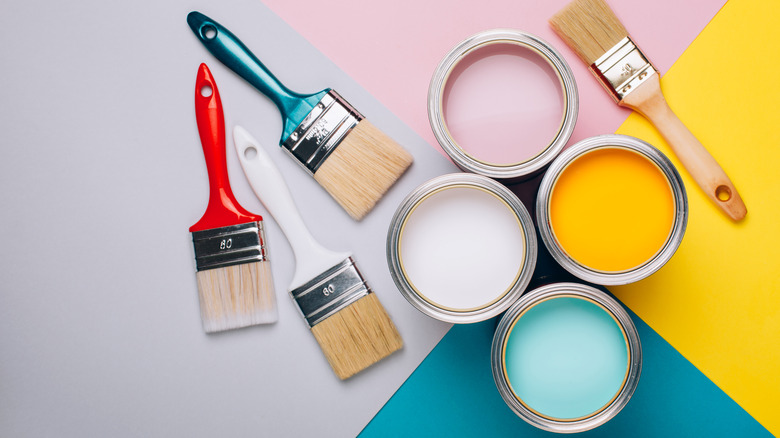
8. Select your paint type
When choosing your paint, first you need to determine whether you're looking to use regular paint and a paintbrush, or if you're going to go the spray paint route. Ultimately, it's a matter of personal preference, although many favor spray paint because of how easy it is to get a smooth, professional finish, according to Style at Home. Spray paint can also be a lifesaver if you're painting outdoor furniture with a unique texture, such as wicker or rattan pieces.
9. Figure out your finish
Choosing your desired finish is important for determining the overall look of your outdoor furniture, as well as ensuring the longevity of your paint job. While flat or matte paint finishes can give a unique antique look, these finishes are quite porous and likely to fade or face mildew issues, notes Sharper Impressions Painting. On the other end of the spectrum, high-gloss finishes can look nice as accents, but they can highlight imperfections. Something in the middle, with an eggshell or satin finish, is generally the best pick for something that will look nice and also stand up to a bit more wear and tear, or even some washing when needed.
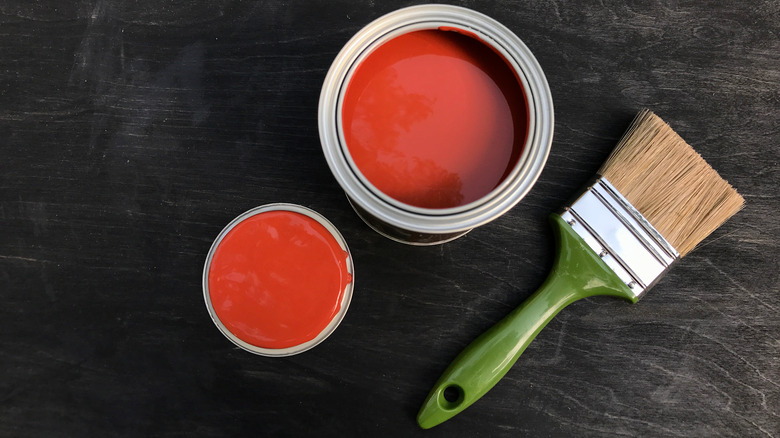
10. Pick your paint color

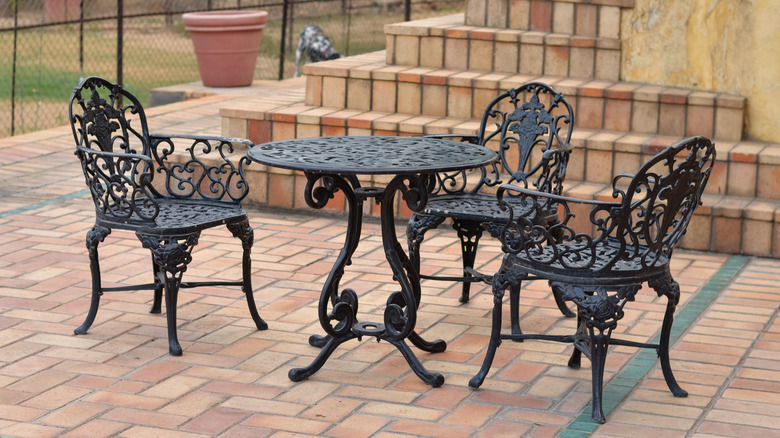
When it comes to choosing the paint color for your outdoor furniture, the sky is the limit — although there are a few classic options. One hue that works in just about every space is black — according to Apartment Therapy, this simple hue can give your furniture a high-end look. If you're looking for something different but still want to stay neutral, you may consider moody metallics like bronze, or find a neutral hue that's prevalent in your home. Your outdoor furniture is also the perfect place to experiment with color — just take the greenery and flowers around where you'll be placing the furniture into consideration, to ensure that your selected hue doesn't clash (via The Spruce).
11. Consider getting a good primer
For best results, you'll seriously want to consider using primer before you paint. There are some instances, such as if you're using spray paint or some type of paint that has primer built into the formula, where you don't need to worry about primer, as Style at Home clarifies. However, if you're painting bare wood, have selected a particularly vibrant color, or just want to ensure you have a smooth surface, primer can be a must.
12. Create a plan of attack
It can be easy to miss spots on a piece of furniture, which is why it's so useful to have a plan of attack for how you're going to paint the piece — particularly if you need to maneuver it in some way, as From House to Home advises. Before you paint, assess the piece and try to foresee any issues. For example, if you know you need to paint the underside of a table, it may be easier to flip it over and paint that part first. While you can always go back for touch-ups, taking a few minutes to plan how you'll paint a piece may potentially save you a lot of work.
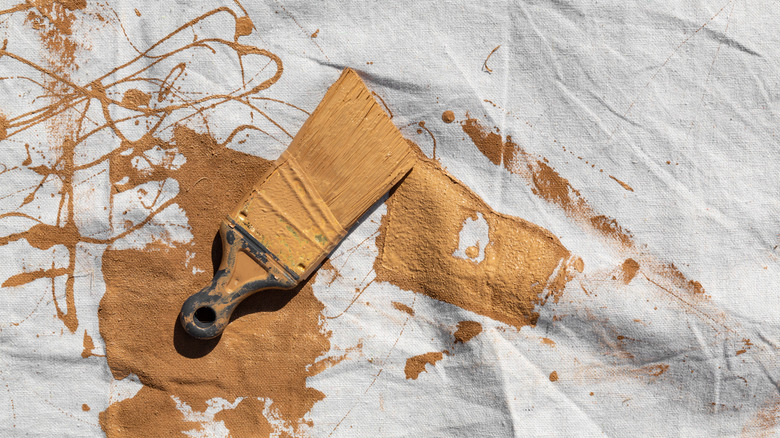
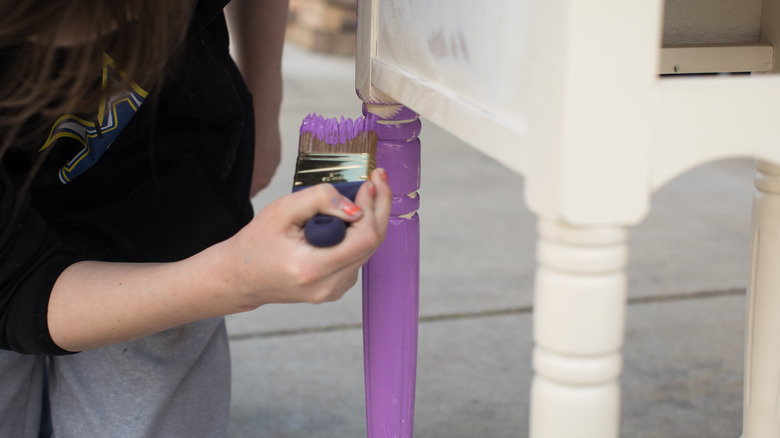
13. Apply multiple thin coats of paint
For best results, it's preferable to give your furniture piece multiple thinner coats rather than one thick coat, advises Country Living. Typically, it should take about three thin coats of paint to properly cover your piece, leaving six to eight hours of drying time between coats, so you can still get it all done in a weekend. As an added bonus, it'll make the process easier for you, as it's much more likely that you'll get drips or an uneven finish if you try to apply the paint in too thick a layer.
14. Place the furniture somewhere covered to dry
While it may be tempting to simply leave your outdoor furniture on the grass or patio to fully dry, there's one key consideration outside that you don't have to deal with indoors: the elements. Even a slight breeze might send debris, bugs, or more right into your freshly painted surface, as noted by Best Pick Reports. It's best if you can find a covered spot to allow your furniture to dry so that you eliminate the risk of anything getting into your smooth painted finish. Consider hauling your furniture pieces into your garage for the final stages of your project.
15. Allow 24 hours to dry before using
All you want is to sit and relax on your newly revamped outdoor furniture — however, you should resist that urge, at least for a little bit. According to Home Depot, you should wait at least 24 hours for the fresh paint on a piece of furniture to dry before you even think about using it. However, if you really want to protect the revamped furniture, you may want to wait even longer for it to fully "cure," up to a full 30 days for latex paints and seven days for oil-based paints (via Glidden). You can still use it until then, but until paint fully cures, it's not quite ready for everyday wear and tear.