Boston Ferns: Everything You Should Know Before Planting
We may receive a commission on purchases made from links.
The Boston fern (also known by its scientific name, Nephrolepis exaltata, or more colloquial name, the sword plant) is a species of the larger fern family, as per the University of Arkansas. They are a tropical-thriving variety of fern that grows well in southern, humid climates in the United States, such as in Florida and other states bordering the Gulf of Mexico. In non-tropical climates, the Boston fern is a lot more finicky, thriving outdoors in the summer season, but unable to survive the long, cold winters of northern regions. While a popular indoor plant, they struggle when not placed in a humid area and may frequently shed their fronds.
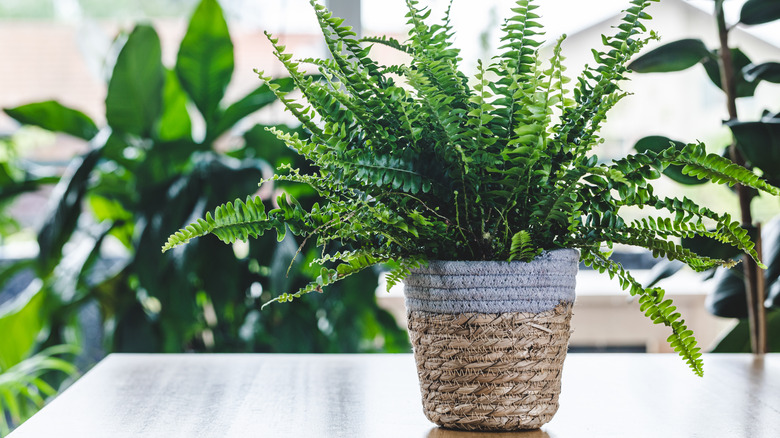
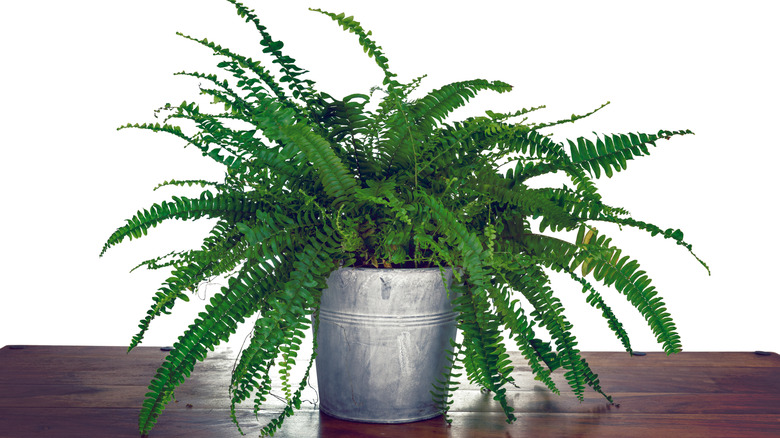
The Boston fern is a lovely addition to anyone's garden, marked by its long, drooping fronds that can reach lengths of around three feet, reports GardenBeast. The plant itself can range from between one and three feet in height while widths typically venture between two and three feet (via Better Homes & Gardens). The all-green color gives any space a soothing tropical vibe.
Many will be surprised to learn that the Boston fern did not come about all on its own. It had some help from florist F. C. Becker, who began propagating the plant in 1894 after finding that one plant in a shipment of ferns displayed different characteristics — the characteristics that would become the Boston fern. Keep reading to find out more about this plant and how to care for it.
How to use Boston ferns in garden
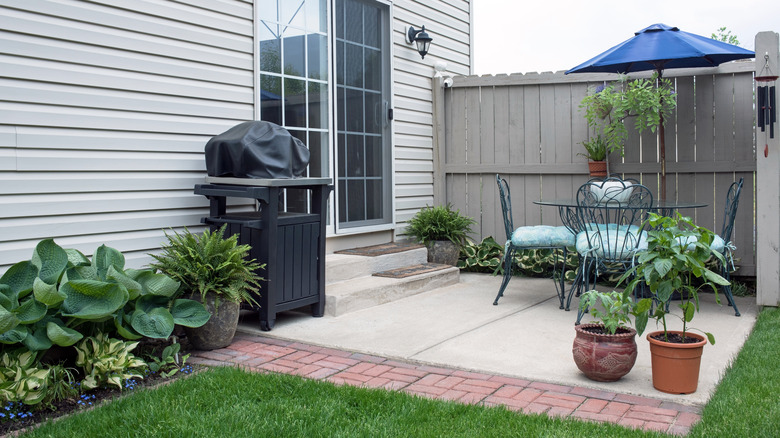
According to the Gardening Channel, if you live in a humid, warm environment, feel free to plant your Boston fern in the garden and leave it year round. Even if your climate passes through the seasons, you can take advantage of the summer months to exhibit your ferns outside and bring them indoors through the winter. Boston ferns can be planted in a garden bed with other plants and flowers or in a container. Since they are large plants, make sure you give them plenty of room to sprawl without encroaching on other members of your garden when planting in a bed.
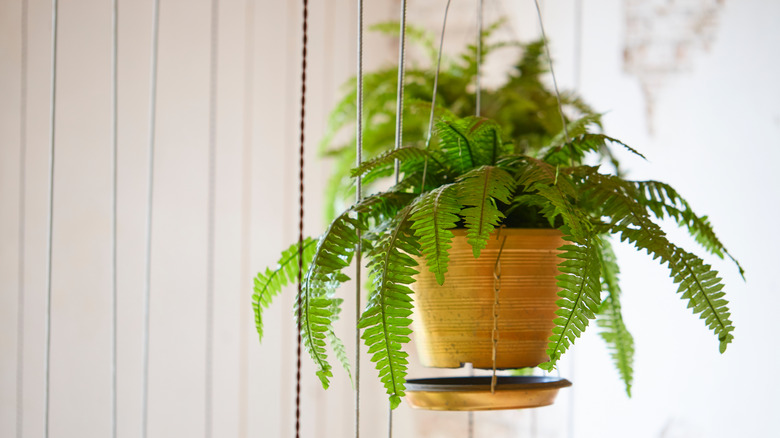
You can play around with where you plant your Boston fern based on the colors that are already present in your garden. If you have lots of colorful flowering plants, the lush green fern can add a nice contrast to a colorful landscape. Plant them around the border of a garden bed to serve as a frame for the other plants and flowers. Ferns need plenty of water but will not thrive in water-logged soil, so take care when planting near bodies of water. Hanging baskets are a popular way to display the Boston fern in an outdoor environment if you don't have garden space or want to add a pop of green to your porch or balcony.
How to grow Boston ferns
The tools you need to plant your Boston fern will depend on whether you've chosen a garden bed or a container to house your new plant. If you've chosen to hang your fern or plant it in a pot to be displayed either indoors or outdoors, you will need to purchase the proper container. Miracle Gro recommends plastic or terra cotta containers to ensure that your fern doesn't lose too much moisture between waterings. You'll also need a high-quality soil mix to fill the container. Once you have your materials, fill the container a third of the way to the top with the soil and then situate the Boston fern on top. There should be a couple fingerwidths of space between the root ball and the top of the container. Finally, pack the remainder of the container with soil and water your fern until the soil is properly saturated.
If you prefer to plant your Boston fern in a garden bed, you'll need a trowel to dig a hole for the root ball. You'll start by digging a hole for the fern that slightly exceeds the height of the root ball, as per Master Class. It should also measure twice the width of the fern's roots. Plop your fern in the hole and fill it in with soil, then water generously. It's as simple as that!
How to care for Boston ferns
The Boston fern isn't hard to care for, especially if the conditions you provide fulfill the proper sunlight, temperature, and soil requirements. Boston ferns thrive in soil that is high quality and chock full of nutrients to encourage its health and growth, per the Gardening Channel. If your soil doesn't meet these standards, don't hesitate to purchase some nutrient-heavy mulch or compost to flesh out the area around your ferns. While you should be cautious of overwatering your Boston ferns, keep in mind that they require a healthy amount of water every day and will quickly die if deprived of this essential resource. Yellowing fronds are a sign that your ferns are in desperate need of water. A good rule of thumb is to keep the soil perpetually damp.
The Boston fern prefers filtered sunlight in lieu of direct light or shade, which is why many growers opt to keep their ferns on a porch or balcony instead of in their yards. A bonus to planting your ferns or placing their containers near your house or in a partially enclosed space is that they will be protected from winds, which are detrimental to the health of your fern by drying out the soil. If your soil is nutrient-poor, consider sprinkling your Boston fern with fertilizer every six to eight weeks. While you can choose from a wide range of fertilizers, all suitable for your ferns, water-soluble ones are ideal.
Varieties of Boston fern
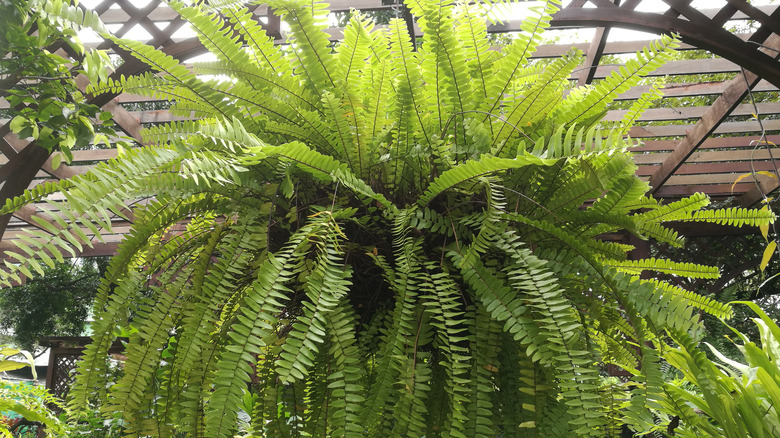
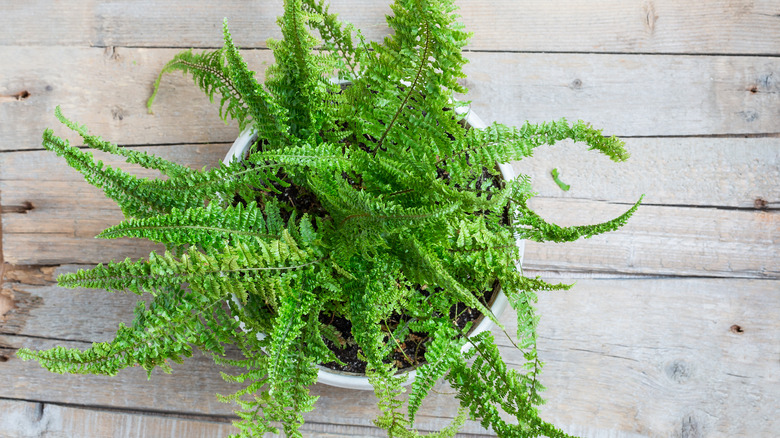
There are many different varieties of Boston fern that you can choose from to brighten up your outdoor or indoor environment. Epic Gardening reports that there are around 50 varieties of this plant, which have all made their way around the world, although some thrive better in certain climates than others. Originally found in tropical locations, including Florida, South America, Mexico, and the West Indies, the Boston fern grows naturally in swamps and forests. This type of fern tends to be large in general, ranging from one to three feet in height and often reaching three feet in width, but there is some range in size among the various varieties.
All of the fern varieties have cute names, such as the Tiger Fern, which is marked by swirls of alternating green and yellow foliage, and Rita's Gold Fern, aptly named for its gold-colored fronds (via Better Homes & Gardens). You will also find the Dallas Fern, notable for its much-smaller fronds, and the Fluffy Ruffles Fern, with fronds that curl slightly.
Is the Boston fern toxic?

One of the perks of bringing the Boston fern into your home or yard is that the plant is non-toxic to both humans and animals, reports The Spruce. Often times, curious pets are drawn to the low-hanging fronds of the Boston fern, making it likely that they will try to play with or chew on the leaves. You can rest assured, however, that if your pet likes to ingest plants, this is one that you won't have to worry about.
It is important to note that if your dog or cat is prone to eating plants, you should keep them high up and out of reach, even the Boston fern. This will protect your plant from harm and destruction, making it more likely that it will thrive in your home. While pets can be trained to stay away from plants, you can use your pet's untamable curiosity to try hanging your Boston fern in a basket from the ceiling or porch rafters. The free-falling fronds look beautiful when hanging from a high-up position and will not suffer from pet attacks.
How to repot your Boston fern
Repotting your Boston fern should be a straightforward and harmless task. According to SF Gate, the majority of Boston ferns will outgrow their pots in two to three years. However, the amount of time between repotting depends on the variety of fern and the individual plant's growth rate. Some will need to be repotted sooner, while others may be happy in their pot for longer than three years. If you're unsure about whether or not you should move your fern to a bigger pot, take a peek at the drainage holes at the bottom of the pot. If you see roots escaping these holes, your fern is likely in need of more space. Reduced growth and the soil drying out faster than normal are a couple more indications that you should head to your nearest gardening store to pick up a bigger container.
Once you've determined that it's time to repot your Boston fern, choose a pot a couple of inches wider than the current one. Repotting is as simple as potting your fern in the first place. Fill the pot a third of the way with soil, place the root ball on top, and cover with more soil. Water the soil until you see liquid emerging from the base of the pot and you're good to go!
Boston fern diseases to watch out for
According to Garden Guides, the Boston fern is not exempt from plant diseases and can suffer from several different fungal and soil-related afflictions. One of the major issues that the Boston fern can have is Pythium root rot, which is a fungal disease caused by poor airflow, high humidity, and overwatering. This disease can be easily combatted with chemical treatments, although preventative measures should also be taken to avoid recurrence. Another fungal disease is Rhizoctonia aerial blight, which is identified by brown spots and webbing along the fronds. Repotting in sterile soil and chemically treating both the plant and soil should take care of this problem.
If your soil is overly salty or if you've been fertilizing your Boston fern too frequently, you might notice that your fern comes down with a case of leaf tip and runner burn, which is characterized by brown, dying fronds. This problem can be resolved by flushing the soil with at least a gallon of water a handful of times. While flushing, dig up your fern and soak it in plain water to get rid of residual salts. You can replant your Boston fern after flushing, but hold off on watering again until the soil dries up a bit. Repeat the process if the problem occurs again.